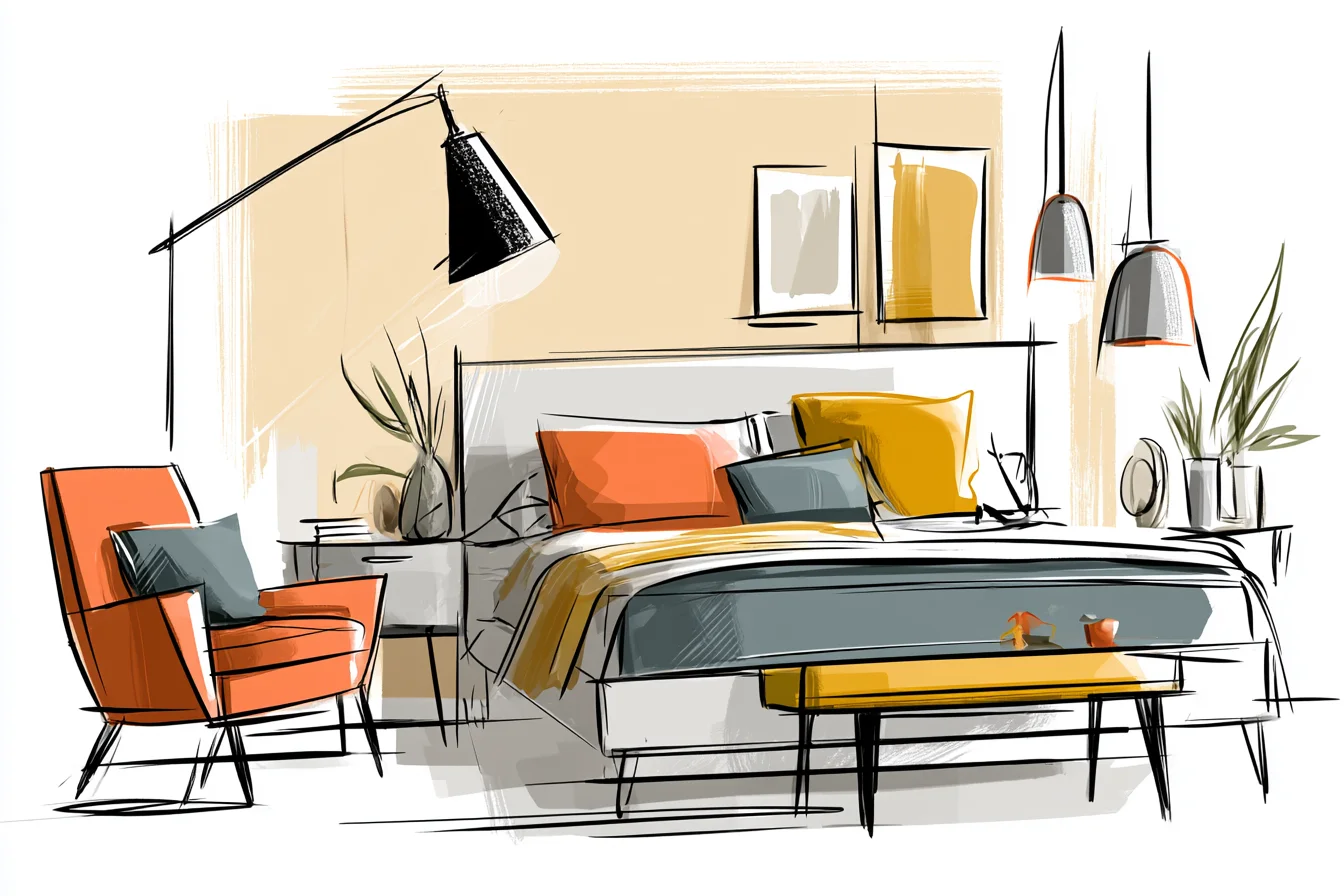
Ok, so it’s time to reveal my craziest DIY endeavour from last year…. fitting a King Size Bed into what can only be described as a Shoe Box Bedroom. Crazy, right?! Hear me out, it was INSANELY crazy but hear me on why…it worked and I literally could never go back to sleeping in anything other than a King sized bed EVER again.
Back at the Depot. This resulted in him waking me (and baby girl in my belly at seven months pregnant) up every time he tossed and turned on our old double bed. So….what to do, what to do….the old mattress had to go!
BUT our bedroom in the Dunstable House is extremely small. (Around 10×11ft or about 3m2) Definitely no room for a King bed!. Everyone told me I was crazy.
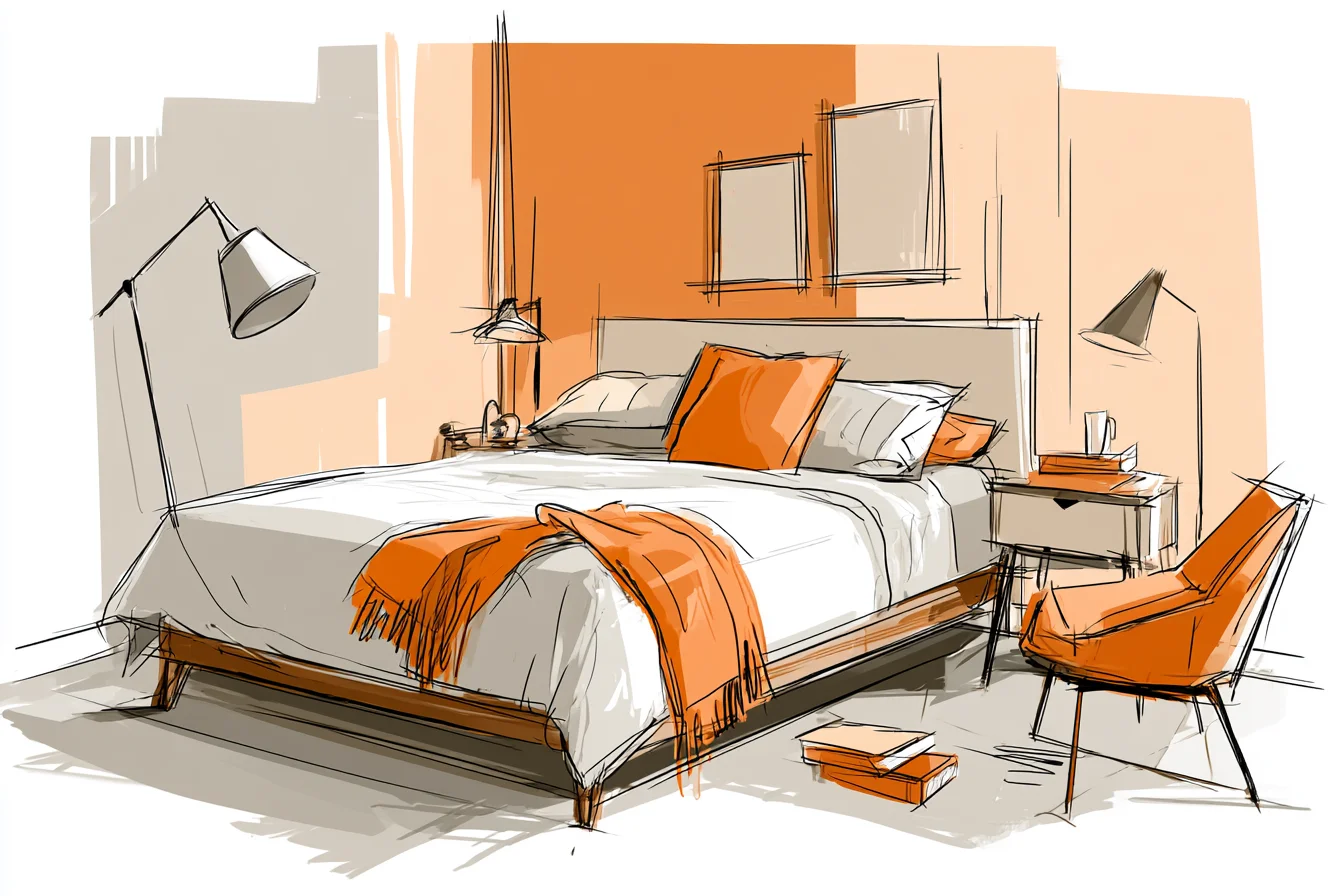
Mum came over and after surveying the room she just shook her head. “Aisha you can’t fit that big of a bed into this tiny room – where are you going to put anything else?” She wasn’t wrong….my Mum does know what she’s talking about.
But I had crunched the numbers….the average King Bed is 76” wide x 80” long. Meaning it would fit in our bedroom with a couple feet to spare on each side, but would we actually be able to LIVE with it?YES! Here’ what I learned – Just because something fits into your room, doesn’t mean you can LIVE in it.
You need room to walk around your bed or you will find yourself awkwardly doing this crab-ish walk every time you want to get dressed or throw open a window. Some Blog I read said you should have at least 24” of clearance around your bed. Me – when it comes to small spaces you have to think outside of the box with your space.
We didn’t put our bed in the middle of the room like you often see in magazines. Bedrooms are usually professionally designed with much larger spaces so when you see pictures, everything is perfectly aligned in the centre of the room. We placed our bed against one wall.
Our bedroom features a large window with amazing morning sun, so we placed our bed against the wall opposite our window. By placing our bed against one wall we were left with about 36” of wiggle room next to the window wall and about 12” next to the wall. That 12” allows us to charge our phones night and nothing else (literally all we need).
Finding a headboard was almost a deal-breaker when it came to our new King bed. Liam immediately fell in love with this gorgeous oversized padded headboard he found online. It was gorgeous but it would have eaten up another 6 inches of space we didn’t have.
I remembered this adorable boutique hotel I stayed at in Brighton how they mounted a VERY thin headboard directly to the wall. No funky legs sticking out – allowing their bed to sit flush up against it. I then stumbled across this lovely rattan headboard at West Elm.
Costs $240 and mounts straight to the wall. Totally worth the money since it still gives you that high-end look but doesn’t take up any floor space. Storage was key when planning out this layout.
The platform bed we bought actually came with four deeper drawers underneath – genius for storing all of Amara’s out-grown clothes and all of our Winter blankets. We actually had to get rid of both of our bedside tables because they were making our room look cluttered like a furniture showroom rather than giving us any kind of usable space. Swapped them out for two floating shelves from IKEA – maybe $20 each and gave us plenty of storage for any items we need without taking up any floor room.
Funny thing about lighting – wasn’t as easy as I first thought. Obviously we couldn’t use table lamps without bedside tables. Our ceiling light was also one of those horrible fluourescent ceiling lights that made the entire room feel like we were sitting in a doctors waiting room.
You Might Also Like

Found these wall mounted reading lamps at John Lewis – brass ones that swivel and dim. They mount right above where our heads lay when we sleep and give us ample light to read without disturbing each other. Couldn’t decide on rugs for the life of me.
At first I wanted to get a smaller rug that would fit perfectly under our bed ;however as soon as I laid it on the floor it really made the room look choppy and like we had no space. Ended up getting a LARGE rug (8’x10′) that hangs off of our bed three sides. Counter-intuitive when dealing with a small room; but by spreading your rug across multiple areas of your floor it create one large surface area instead of individual islands of furniture which tricks your eye into seeing more space.
We also had to completely rethink our storage options. Liam inherited this gorgeous (yet HUGE) wardrobe from his grandmother that we LOVED…. however it took up nearly a quarter of our room. List it on Facebook marketplace sadly and had a custom- built-in wardrobe constructed along one wall.
Maybe $800 for the IKEA shelving unit plus cost of labour to have it fitted; but gave us double the storage in half the space. Mirrors, everywhere…..DUH. Mirrors are great for making a room feel bigger, but where you place them is important.
We have a large mirror hung on the wall opposite our window so that the natural light from outside bounces back into our room. We also hung a smaller mirror on our bedroom door – sounds crazy; but when our door is opened it creates an illusion of depth that makes the room feel less boxed in. Since we needed the colours to really work overtime in this room; I knew I had to be strategic about our choices.
REALLY wanted to paint our walls a dark/ moody shade (like you see EVERYWHERE on Instagram) but in a room this tiny we would of essentially been sleeping in a cave. Painted our walls a warm white and brought in colour with our bedding. Purchased a beautiful forest green linen duvet cover from The White Company and added velvet throw pillows in navy and deep red.
Feels cozy and elegant without being over powering. One thing NO-ONE tells you about…. trying to fit a King size bed into an area that can only be accessed from one side is like training for the Olympic gymnastics team. You will find yourself doing this ridiculous reach-around-motion trying to tuck the far corner of your quilt….
Bought one of those Duvet Attachments which basically connect your whole comforter set together so instead of pulling up a sheet and blanket I can just lift and pull up the top sheet/duvet cover combo – life saver especially considering I’m 7 months pregnant at the moment. It took us about 2 months to measure, plan and then actually put our bedroom together since we had to work around Amara’s nap times and Liam’s work schedule.
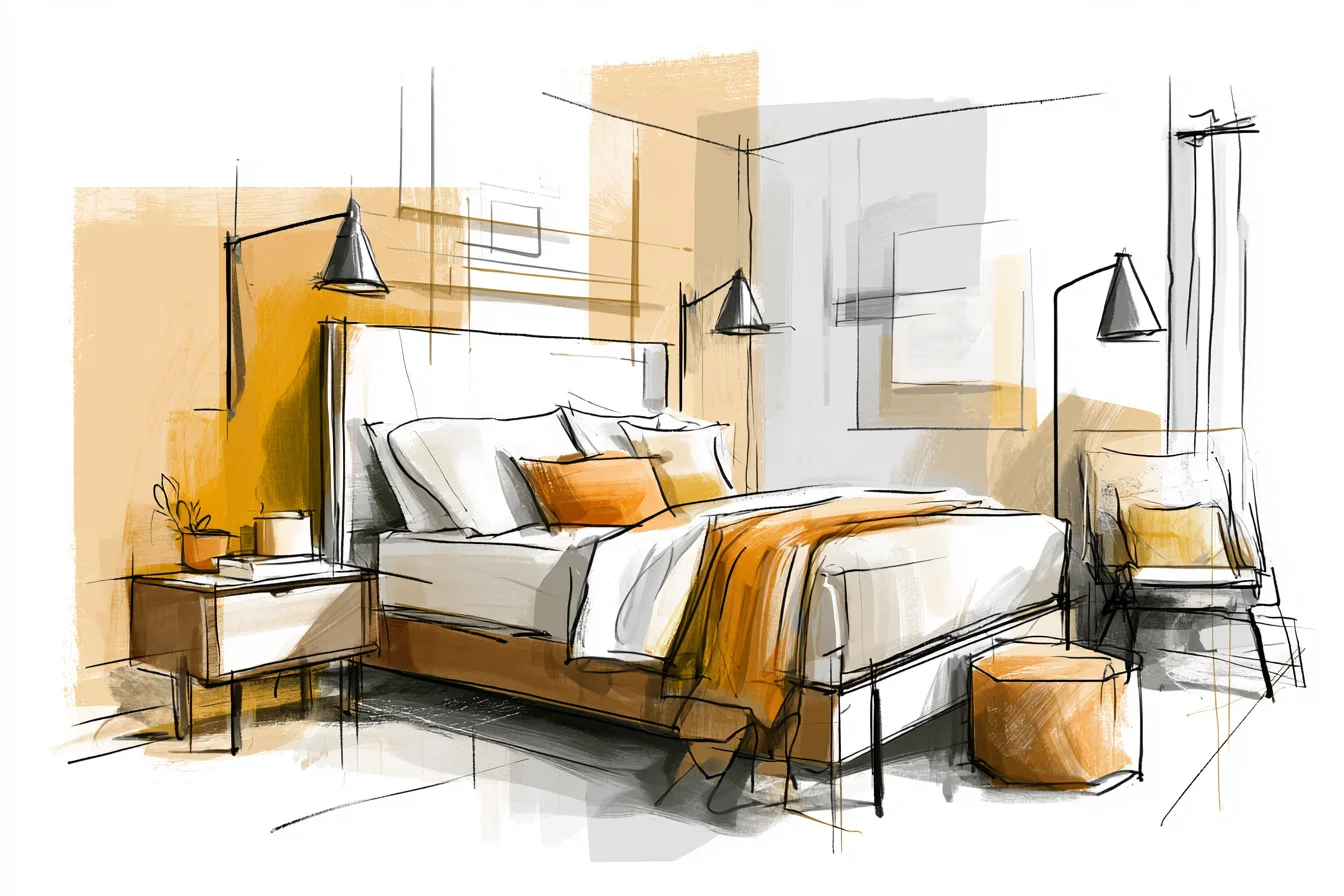
Overall cost was maybe $1500 for everything (bed included etc..).
Seemed like so much money at the time…but when your paying for bits over a couple of months it wasn’t too bad. Did I mention how much our room transformed? Absolute game-changer.
What used to feel cramped and like an afterthought now feels like a relaxing sanctuary AND feels bigger with the oversized bed in it. Best part about our Bedroom is ignoring everyone who told me it wouldn’t work. Sometimes you just have to listen to your gut on what your family needs even if it seems ridiculous on paper.
All three of us are sleeping better, Liam’s back has healed and now I have room to stretch out with my pregnancy pillow without hitting the floor. When baby #2 comes along we will have enough room to fit a bedside crib! Our bedroom will NEVER be big enough to be featured in a home magazine; but that doesn’t mean it doesn’t function PERFECTLY for us.
Amara can climb up into bed with us for story time at night, we have storage for all of our necessities and it actually feels like we have a real adult bedroom vs trying to squeeze everything into college dorm style living. Sometimes the CRAZIEST ideas are actually the genius ones.