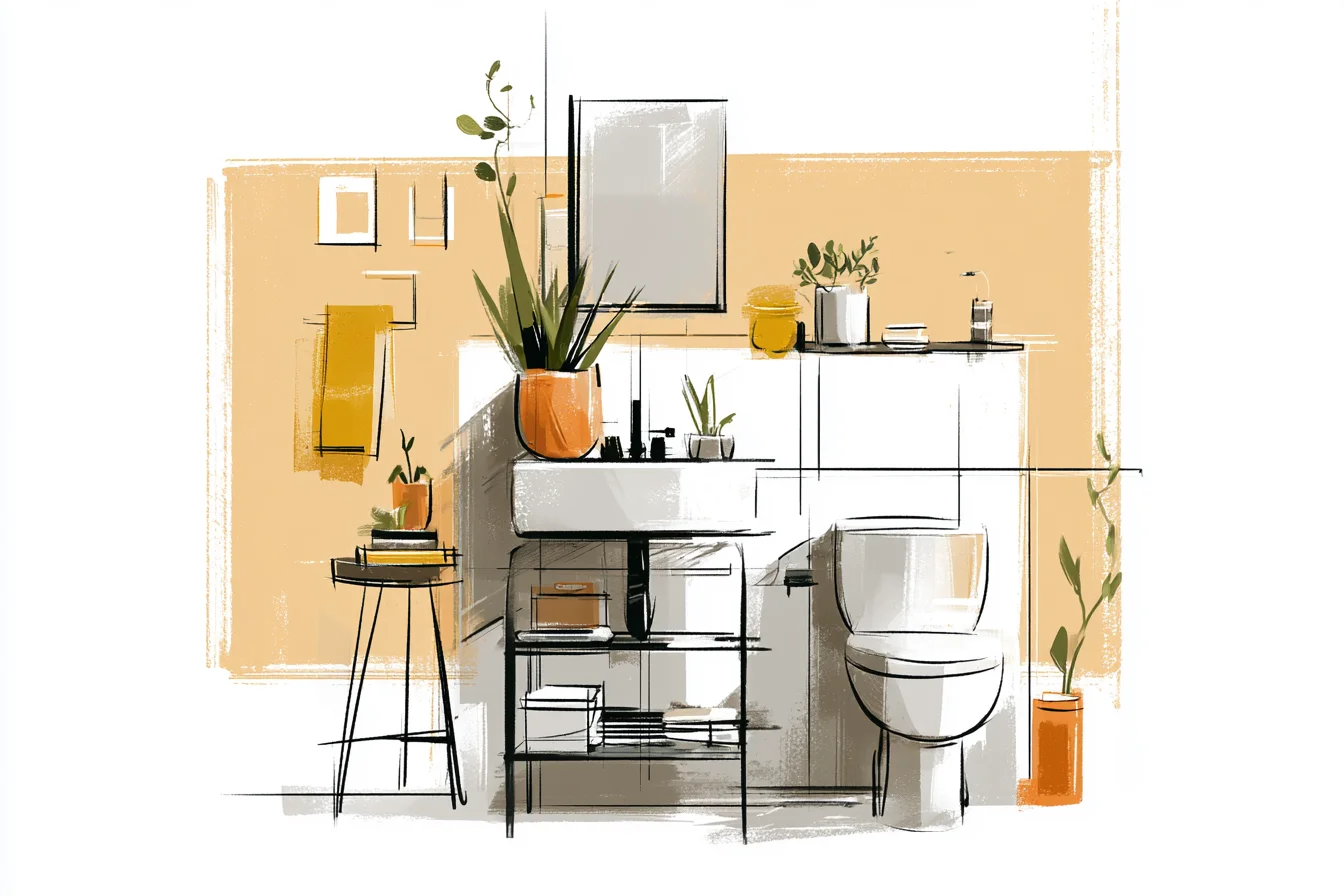
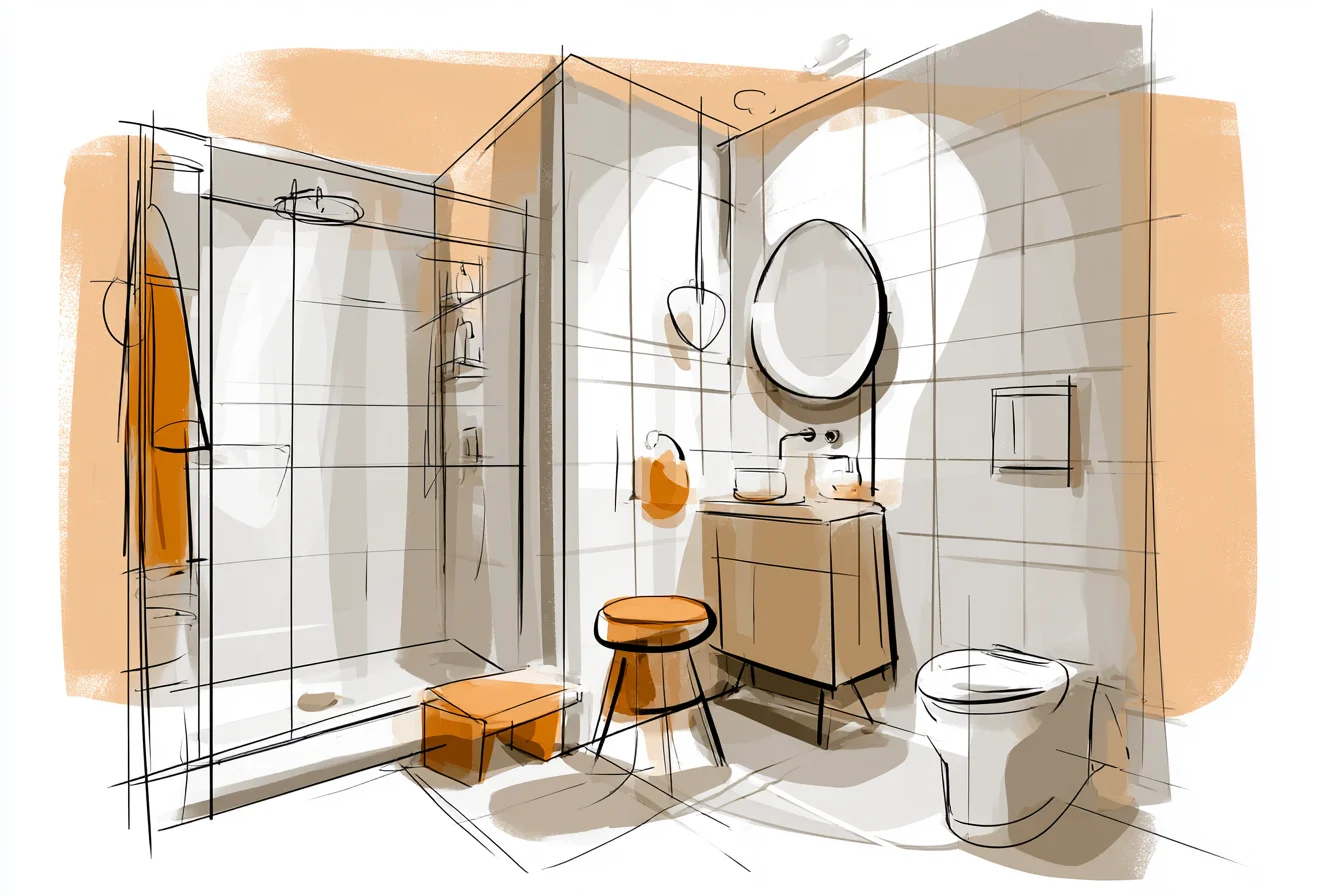
Let’s start this off by saying I didn’t always care about bathrooms. When I first moved into my condo three years ago, the guest bathroom was beige and white tile and aplenty of items you’d find in a 2015 builder bathroom showcase. It did the job.
It was clean enough. Why should I care what the bathroom looked like? Fast forward one week to when my parents came to visit for the first time.
After they left their guest stay, my mum seemed bothered about something. It wasn’t until she stepped into that beige and white prison we’d come to know as the guest bathroom that I knew what it was. “It’s very functional,” she said without raising her eyebrows.
Okay – fair enough.
I knew my mum was coming from a place of decorum and experience; she’d had brass fixtures until like 2012 when everyone told her about all the really expensive nickel fixtures that were a “better resale.” But her statement nagged at me. The guest bathroom was basic because it was meant to be! Every bathroom in my building looked the same, and mine was no exception.
It got me thinking: what if I tried actually fixing up my “basic builder bathroom” like my mum had encouraged? Here’s the thing: I didn’t want to renovate. Like, actually tear things down to the studs and rebuild remodel.
I had my kitchen on next year’s list, I hadn’t finished paying for the hardwood floors I dropped into my bedroom after accidentally measuring wrong the first time I ordered them…..no thanks. If I was going to dip my toe into any of this stuff, I wanted it to be easy to fix if I hated it. After reading through every Pinterest recommendation and Instagram hashtag I could find (#shiplapbathrooms, #luxurybathroomanything), I found that there are TONS of things you can update to your bathroom without actually renovating it.
Heck, some of the upgrades I made I was able to do in an afternoon. Like, start at 12pm and be done by 4pm kind of afternoon. THE GOODS: Replace all the fixtures.
Showers, sinks, toilets. I’ll wait. If you’re reading this and in the market for a fresh bathroom, you’ve probably already scrolled through enough TikTok #bathroommakeover videos to know that upgrading your fixtures is step numero uno.
Cabinet hardware? Yes. Taps?
Definitely. towel racks? Why not! I’ll be honest, I fell into the trap of reading too many bathroom designer Instagrams.
Like, I get it, they make a lot of money convincing people their designs are “unique” and “custom,” but some of them have some legit points. One thing that kept popping up in my feed was matte black taps. Imagine that, black instead of chrome.
No bigwhoop. Swapping out your bathroom tap is actually easier than you might think. Sure, you need to make sure you have the correct setup.
Some sinks come with one hole for the tap. Others might have three spread out holes. Others might have the same three holes, but closer together.
Trust me, I didn’t measure before I went to Home Depot the first time. But once you get that all sorted, all you need to do is turn off your water under the sink, wrench your old tap off, clean up the surface of your sink, and put your new baby in! The whole process took me under an hour.
Including the drive to Home Depot. And $120 got me a truly gorgeous tap that instantly elevated my entire sink area. The towel racks were even easier.
Unscrew your old towel rack. Screw your new towel rack in the exact same place. Boom.
I opted for matte black towel racks as well to match my new tap. I got these heftier ones to match the quality of my new tap. About $60 and 30 minutes later, those suckers were up.
I also changed the light fixture. Holy Toledo. This made the biggest difference.
Gone was that horrid Hollywood light bar with about eight hundred paper bulbs shining down on you when you take one drip too many after midnight. In its place I installed two wall mounts on either side of the mirror, also in matte black to match my fabulous new fixtures. Pro tip: painting yourself and installing a new light fixture requires you to turn off electricity to your bathroom.
Safety first, folks. Installing new light fixtures was a bit more labour intensive than the tap and towel racks, but still totally do-able. Like with the tap, you’ll need to turn off your breaker and remove your old fixture.
Line up the new fixture’s screws with the exposed wiring in your wall (BLACK TO BLACK, WHITE TO WHITE, GROUND TO GROUND. This is the United States of America, not rocket science.) and secure your new light to the wall. And just like that, you’re done!
This pair of fixtures was $150 and took me maybe two hours with instructions on-hand. And I promise, every guest who uses that bathroom notices the lights. They don’t even realise how insanely bright those builder-grade light bars are until you take them down.
You Might Also Like

I even installed a dimmer switch for my vanity light! Another ~easy~ electrical job that makes your bathroom 1000x better. Not only can you set the mood with a dimmer, but it just feels expensive to have that option.
That dimmer switch was $25. Last but not least, mirrors. Whenever I see builders upgrading a bathroom, it always seems like they rip out these huge frameless mirrors off the wall.
Truthfully, that was the situation I was dealing with. Super strong bonding agent to make sure that mirror doesn’t autumn on your kids, step children, or pets. Getting that sucker out intact was…well, a process.
I watched at least six different YouTubers take those babies off before attempting it myself. Piano wire. Safety glasses.
Peel that baby off slow-like! From there, I patch up the holes and went to Menards to find a smaller frame mirror to replace it. Painting and installing this bad boy finished off my sink area.
It literally took the entire day (paint and all). $80 later I had a mirror that actually fit the proportions of my vanity. Bathrooms are SO predictable when it comes to paint colour. It’s almost always white.
Not bad white, just plain white. I painted mine a nice warm grey that I loved in my living room and tested on an inconspicuous part of the wall. Pro tip: bathrooms take wayyyyy more paint than you think, because despite covering 50% of the square footage of your home, they’re smaller!
Which means even high end paint isn’t that expensive for a bathroom. Painting a bathroom IS a bit more work than other rooms in your home. You have to be mindful of moisture and ventilation, so I actually picked up this special bathroom paint that’s supposed to be more mildew-resistant.
And paint your ceiling. Never thought about it before, but bathroom ceilings tend to discolor ever-so slightly over time and it’s super obvious once you paint! Grab your materials and paint that bathroom.
This honestly took me a full day just because I did multiple coats and took breaks. But it wasn’t even that bad. Besides, you’ll have plenty of free time while you’re waiting for paint to dry!
Bonus upgrade: shower curtain! I had one of those curved tension rod shower curtain setups going on before. With an equally boring white shower curtain to match.
Now, when I say “upgrade your shower curtain,” I’m not saying spend $100 on some crazy artisan designer curtain you’ll have to replace in a year. I found this groovy pattern to match my new walls and grey fixtures at Target and hung it from a ceiling mounted track. Adds actual HEIGHT to your bathroom and makes your shower feel more finished!
Pro tip: one of my favourite tricks to make a small bathroom feel bigger is those curved shower curtain rods. Because they’re curved, they push your eye upward, giving the illusion of height. If you already have an adjustable shower rod, this costs you nothing!
Otherwise, these bad boys are about $25 and take ten minutes to re-position. This shelf cost me about $60 for all three and took maybe two hours to properly mount into wall studs. Nothing fancy.
But goshdarnit if those extra shelves didn’t clear up all the clutter I had on my bathroom counters! Pro tip: those expandable drawer dividers are a GODSEND. Why did I ever live without these in every drawer in my home??
Ok goodbye for now, I’ve got some drawers to organise. Did you notice I didn’t put new towels on that list? You should!
Dollar stores and Targets of the world: please step up your soft towel game. But seriously. Spend a little extra on some nice towels that match your room and aren’t just bleached bright white.
Game changer. Total cost for this shoulder-fireditchen? : About $600 and three weekends.
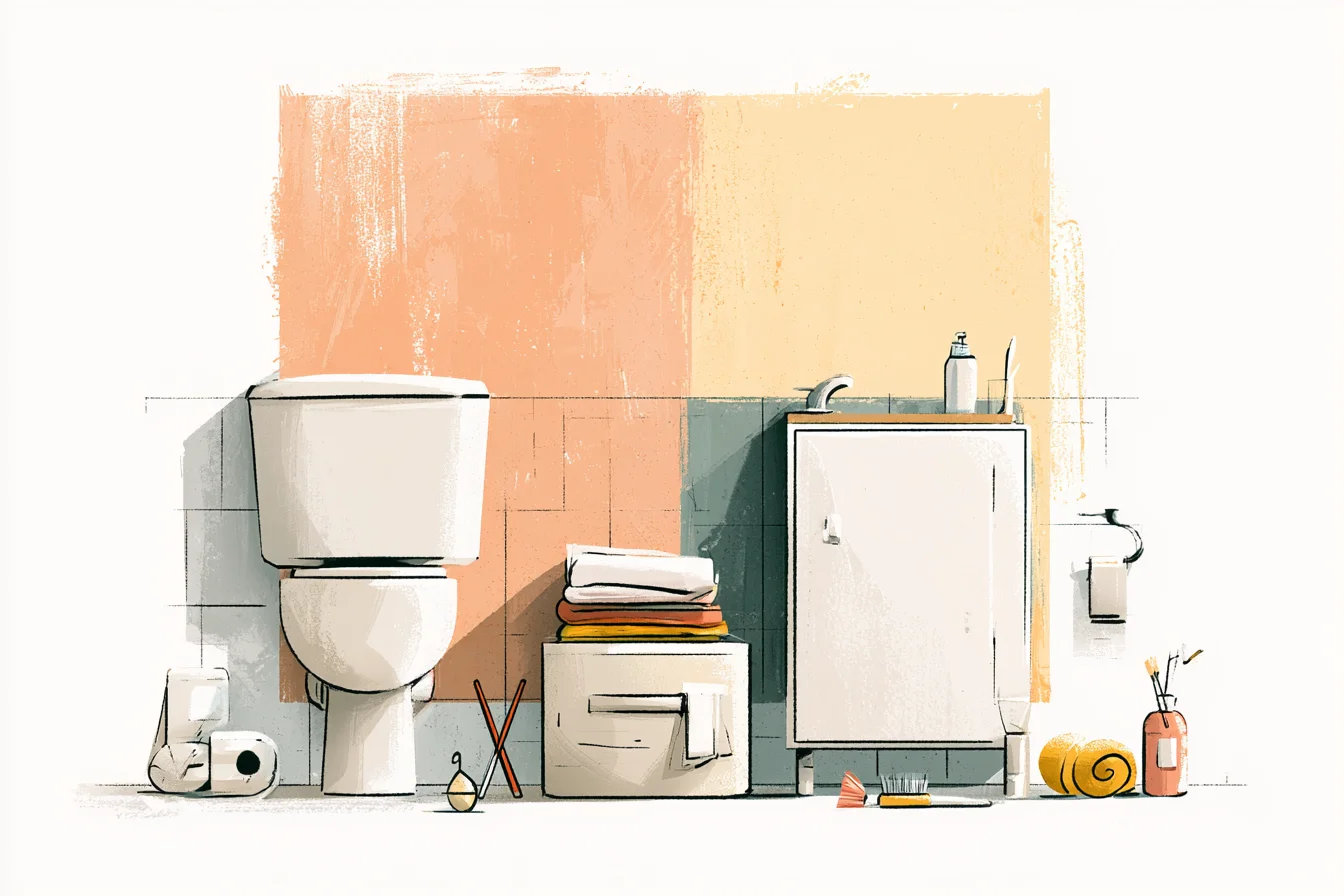
Which pales in comparison to anything remodel style.
The crazy thing is, whenever I walk into my guest bathroom now, it just feels designed. Coordinated. Like someone ACTUALLY lives here and not just a million white-coloured objects that matched at The Home Store.
And the best part? My mum said it looked nice the next time she came to visit. And may or may not have asked me if I “remodeled.” The moral of this story is that if you don’t love your bathroom, you can totally change that.
And most of the big “wow” factors aren’t actually super expensive or crazy time-consuming. They just require a few weekends and the willpower to learn how to use your power drill. Honestly, my master bath is next.
It’s the same ugly we’ve come to know and love, just on a slightly larger scale. I’ll keep you posted!