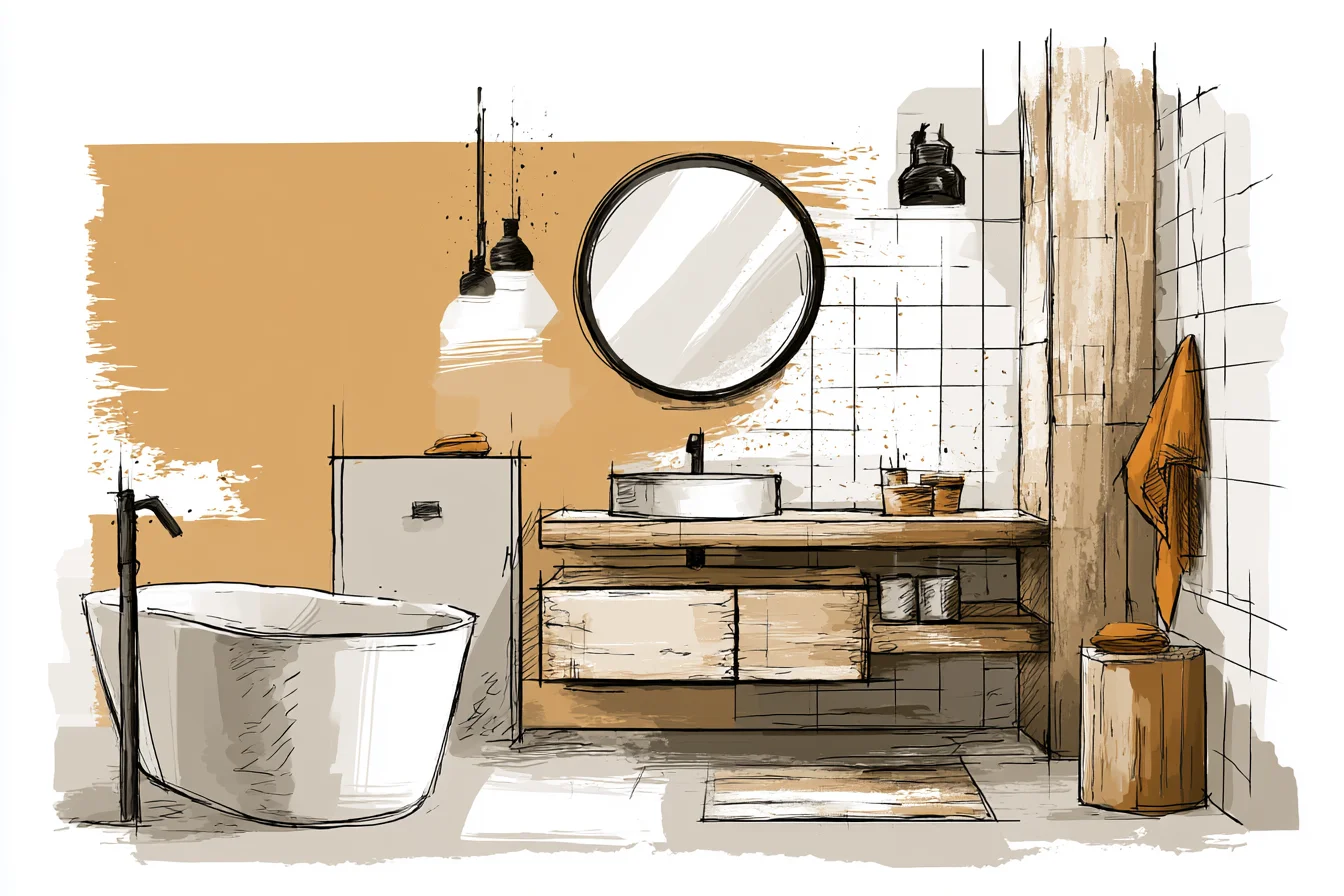
You know how you walk into some bathrooms and they just feel… off? I felt exactly the same way about my bathroom for months. The walls in my tiny bathroom at my current flat are this flat, beige-ey colour and it made the already tight quarters feel like a dentist’s waiting room in 1987.
And of course, when your bathroom is about the size of a payphone booth (ok maybe I’m exaggerating… slightly) every design choice is amplified ten-fold. I’d been putting-off doing anything about it for ages. Tile seemed like such a huge commitment.
Plus, lets be honest here, bathroom tile costs have got ridiculous. They’re made of tiny diamonds and razors.
So before even touching the terrifying existing tile with paintbrush-let alone hammer and chisel (which is honestly the only way those suckers are coming off), I knew my landlord would have some choice language for me.
But then my friend Sarah said she had wallpapered her bathroom downstairs and I thought “Wait… what?! You can wallpaper a bathroom? !” Spoiler alert: you can, and it’s kind of genius. Ok so before I get into the how and what I used-I learned a couple things along the way that might save you some headaches.
First off I discovered (after nearly falling down a pinterest hole of moisture resistant wallpaper options) that wallpaper varies drastically on how suitable it is for a steamy, humid environment. You need to find a wallpaper that can stand up to the occasional splatter from extra bubbly hand washing, or the steam from your shower. Most vinyl coated papers will work great!
They essentially have a rain coat on them already. Another thing I discovered is that many manufacturers now make “bathroom rated” wallpapers- which are practically buttercream when it comes to water-resistant. Now onto my wineries… Winery #1.
DIY fail. I fell in love with the pattern- adorable William Morris print with little swirling vines and birdies – but didn’t realise it wasn’t moisture resistant. Lesson learned.
By week 2, corners were starting to peel, and by week 3 I found myself nervously picking at curling edges like I was quitting some sort of addiction. The grey cloud that hovered over me for those two weeks was embarrassing enough, but having to spend actual money to teach me a lesson? Completely heartbreaking.
Lesson #2 Learned. Winery #2: Circa Allison, via Graham & Brown. I didn’t want anything too busy in there- just a simple small scale pattern.
I ended up using these teeny tiny hexagons in an almost sage and cream colour. Another thing to keep in mind about small spaces like bathrooms is that the size of your pattern matters. Bold, overwhelming patterns will make a small space feel even smaller- like you’re living inside an exploded kaleidoscope.
Think small scale and repetitive patterns to trick your eye into thinking there’s more space than there actually is. Which is also why diagonal stripes work so well in narrow hallways! You want your walls as smooth-as-f^^^ck.
Ok maybe not that smooth, but you get what I’m saying. Take the time to really clean the walls down and patch any holes or gaps. Wallpaper zero’s out on bulges and uneven walls instantly so you need to DIY nice-level stuff first.
You Might Also Like

That meant going over every.single.bump with sand paper and wall filler until my arms felt like Jell-o. Totally worth the muscle soreness for days payoff. Once you’reas prepped & ready, Installation Day.
Ummmm….well…it was an experience. Let me just say that I watched about 15-how-to-wallpaper videos and felt very confident going into this project. I even borrowed a proper wallpaper table from my neighbour and bought the right kind of adhesive paste (that cost me a kidney stone’s worth of money at one of my favourite paper stores.) The most difficult thing about wallpapering a bathroom is the space you have to work with.
You twist and turn and squat trying to fit into that corner and it feels like you and the roll of wallpaper are trying to fold a fitted sheet into a payphone booth. Mirror that for however many strips it takes to cover your bathroom 🙃🙃 Anyway, my first strip hung like a dream. Flawless!
Smooth as a baby’s bottom. Line up on that oh-so-carefully placed chalk line like it was painted on. I was a freaking DIY Goddess.
Had Chris Jenner (of Kardashian fame) delivered my wallpaper rolls through my door he would have been jealous of my hang game. Then strip number two. � backgroundsFUUUUCCCKKKK!!! Apparently every home built before the year 2000 (which mine was) has walls that don’t know the meaning of the word “straight.” What looked oh-so-level at waist height was a billion miles off at the ceiling.
Cue me pulling out a spirit level and glaring at my walls-umming & ah-ing curse words I may have sworn I forgot I know. However, when I stepped back at the end it was like night and day. What was once a sad beige box had been transformed into a cozy, little jewel of a bathroom.
The pattern added some needed visual interest without overwhelming the small space, and the softer colours brightened the room- and made it feel more luxurious than tile ever could. I immediately noticed people commenting on how nice the bathroom looked. You never get compliments on something like your bathroom unless it’s missed install DIY fail moment.
Oh and did I mention how easy they are to clean?! Because the vinyl coating allows me to wipe down the walls (*insert angels singing*) toothpaste spots (what is WITH toothpaste and bathrooms?! ), water spots, and even the occasional rogue strand of mascara wipe right off with a damp rag. I’ve since wallpapered 2 other small bathrooms since then- a friend’s rental flat bathroom and my mum’s half bath.
And both times I learned something new. Pale-coloured wallpaper always works better- they reflect whatever light is bouncing around in there and keep things from feeling like a cave. Textured paper is thicker and adds depth, but is harder to keep clean.
Finally, while that $500 designer paper might be worth the splurge every now and again- 9 times out of 10 mid-range papers will give you 90% of the look you’re chasing for a fraction of the price.
Oh and it wasn’t very expensive either. For my bathroom (about 6×4 feet) I used 3 rolls of wallpaper @ $35 a roll + the paste and tools needed and was still only looking at about $150.
Compare that to laying new tile (and possibly having to mess with plumbing if your toilet decides to retaliate against your wrongs like mine did) which would have been another $800-$1,000. Winner winner….well you know. One caveat.
If you have serious ventilation problems/damp problems in your bathroom, take care of that problem prior to wallpapering. Wallpaper can handle a little moisture- but it isn’t magical. Whatever you put in your bathroom needs to be able to handle the high humidity- even if that just means installing a new, efficient exhaust fan or opening the windows often.
Ok seriously now, if you’ve been sitting on the fence about wallpaper I hope I’ve convinced you give it a try! Not only is it a super inexpensive way to update your space, but it’s also a fun project you can easily do yourself in a day. And unlike other remodels/upgrades, if you get bored of it in a year or two there are plenty of tricks to remove it (or you can just slap more wallpaper over it!) Sometimes the best home fixes are the ones that don’t require remortgaging your home… or hiring a team of workers.