Okay. Lets just get it out there – i think i made one of the best decisions of my life (okay fine – at least for the past Three years) when i decided to renovate our guest bathroom. Now don’t get me wrong – i’m in LOVE with the farmhouse style.
I’ve looked at thousands of pictures of “the PERFECT farmhouse style” – y’know those bathrooms that LOOK LIKE they would have been SO easy to accomplish?? Yeah i discovered VERY quickly that installing shiplap is NOT easy. Lets just say it almost earned itself the nickname of “the wooden prison cell” courtesy of my girlfriend.
As you can see from our bathroom’s “befores”, we weren’t dealing with a very large room. The bathroom itself was built-into the flat when it was first constructed.
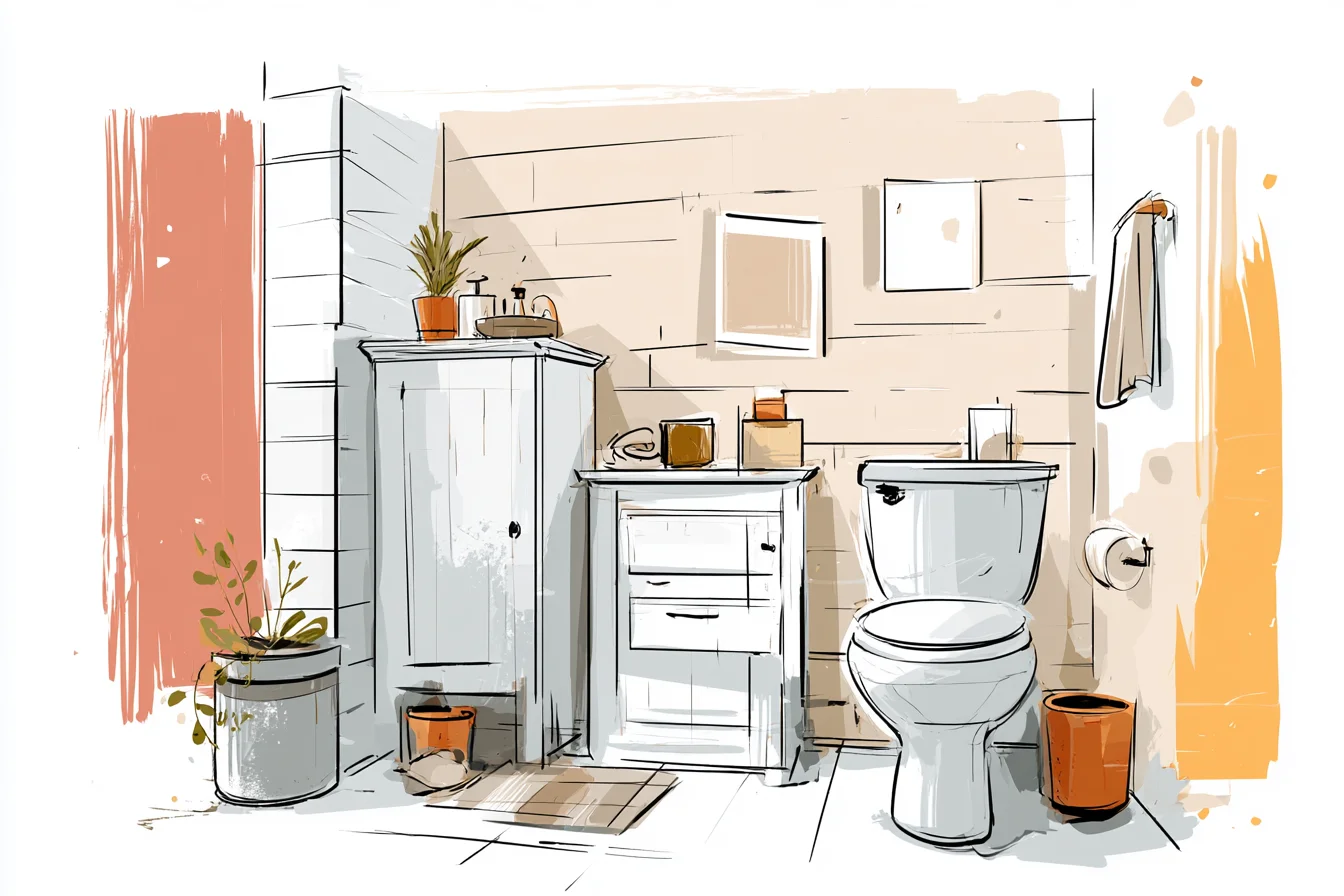
Approximately 5 x 6 feet with beige….as its personality.
Literally every piece of it was builder-basic and there was no hint of charm anywhere to be found. It definitely was not a room you wanted to hang-out in. As a student teacher spending my lunch breaks pinning bathroom makeovers on Pinterest, i saw one idea come up over and over again-shiplap!
How hard could it be? Insert explosion here. At first i did zero research – walked into B&Q on Saturday afternoon with ZERO knowledge and proceeded straight for the Dollar Tree looking Pine boards.
Then a nice gentleman whom i later found out would become my GOOD-SAM soldier throughout this whole process, stopped me and asked where i planned on installing these. Once i told him it was for the bathroom he shook his head and said “you’re going to use untreated wood in one of the most humid rooms of your house.. bad idea”. Clearly bathrooms and wood have had some major relationship issues in the past.
ME TOO WHO KNEW?! Not this guy it seems. If you want real wood you either need to invest in something like cedar that can stand up to humidity, or you need to be prepared to buy-gallons and gallons- of sealant.
Everything- front, back and ALL edges HAS to be coated. And that marine-grade sealant they recommended? Yeah it cost more than what i wanted to spend on the whole bathroom.
Luckily i discovered MDF shiplap boards that have moisture-resistant cores. To be honest, at first i felt like cheater. I was standing there in the aisle convincing myself that i SHOULD be buying real wood because that’s what everyone blogs about.
Not only were these about half the price of the real wood boards, but they don’t expand/contract every time your teenager takes a hot shower. Once painted you really can’t tell a difference. Sometimes its okay to be practical and not a total DIY snob. 😉 The HEIGHT of the shiplap drove me absolutely bananas.
Every blog & picture i followed showed full-wall, floor-to-ceiling shiplap. And rightfully so! Full sheeting honestly looks AMAZING on a huge wall.
Unfortunately that “may” give someone the slight illusion of being trapped in a sauna. So – I implemented something i learned from our living room project: the tape trick. This roll of painters tape honestly might be hung with my DIY hall of fame.
Tape-ing out where i planned to install each sheet of shiplap was one of the best decisions i made during this project. Full sheets looked overly busy in our tiny bathroom. Installing it “traditionally” like wainscotting made the room feel REALLY stiff..like we were trying WAY too hard to make our bathroom look like we were actually living in those old English manors (we live in a flat..people.
You Might Also Like

Flat conversions are where it’s at). So in the end i settled on installing our shiplap 4’ tall. This put each board perfectly along our window-ledge and left enough room above the panels to paint the remaining wall a colour to draw your eye upward, creating the illusion of a taller room.
Painting nearly ruined my whole project. I started out with intentions of doing what every millennial goes…white! Safe.
Simple.blah blah blah. Clearly you CAN go wrong with white paint. After priming the entire bathroom and letting it sit for about a week (life got busy) when we finally peeled off the drop cloths, our bathroom felt cold, sterile.
Our lighting in that bathroom IS HORRIBLE so it really took away from what we were trying to accomplish. Warm and INviting. Instead i switched to this warm grey – farrow & ball’s Mole’s breath.
Don’t worry it’s not what it sounds like..it actually looks really nice. WOW what a difference!! Not only did the room instantly feel cozy vs.
Clinical but the colour added depth to the shiplap so you could SEE all the details of the panels versus everything blending together from the overhead lighting. Installing shiplap also taught me a lot about myself. Lets just say that my attention span for tedious work is about 2 hours.
If you want it too look like it was done intentionally – each board has to be perfectly level, evenly spaced, and each joint needs to be lined up JUST right. It sucks, but its true. To make sure everything was lined up perfectly, i had to borrow a laser level from one of our neighbours upstairs.
Don’t judge me – my first attempts at using a basic level looked sooo wonky that even my untrained eye could spot it from 3 feet away. Here’s the thing about all these awesome tutorials/crafty blogs..nobody warns you that if you’re renovating YOUR ONLY bathroom you essentially are homeless for a weekend. Prime? smells like crap.
Paint? smells like crap. Sealing + letting everything cure before you can use it again? Yeah that sucks when you accidentally lock yourself out of your ONLY bathroom for a whole day like me.
OKAY FOR THE WALLS. I literally used a trim board that my father-in-law had cutting laying around.
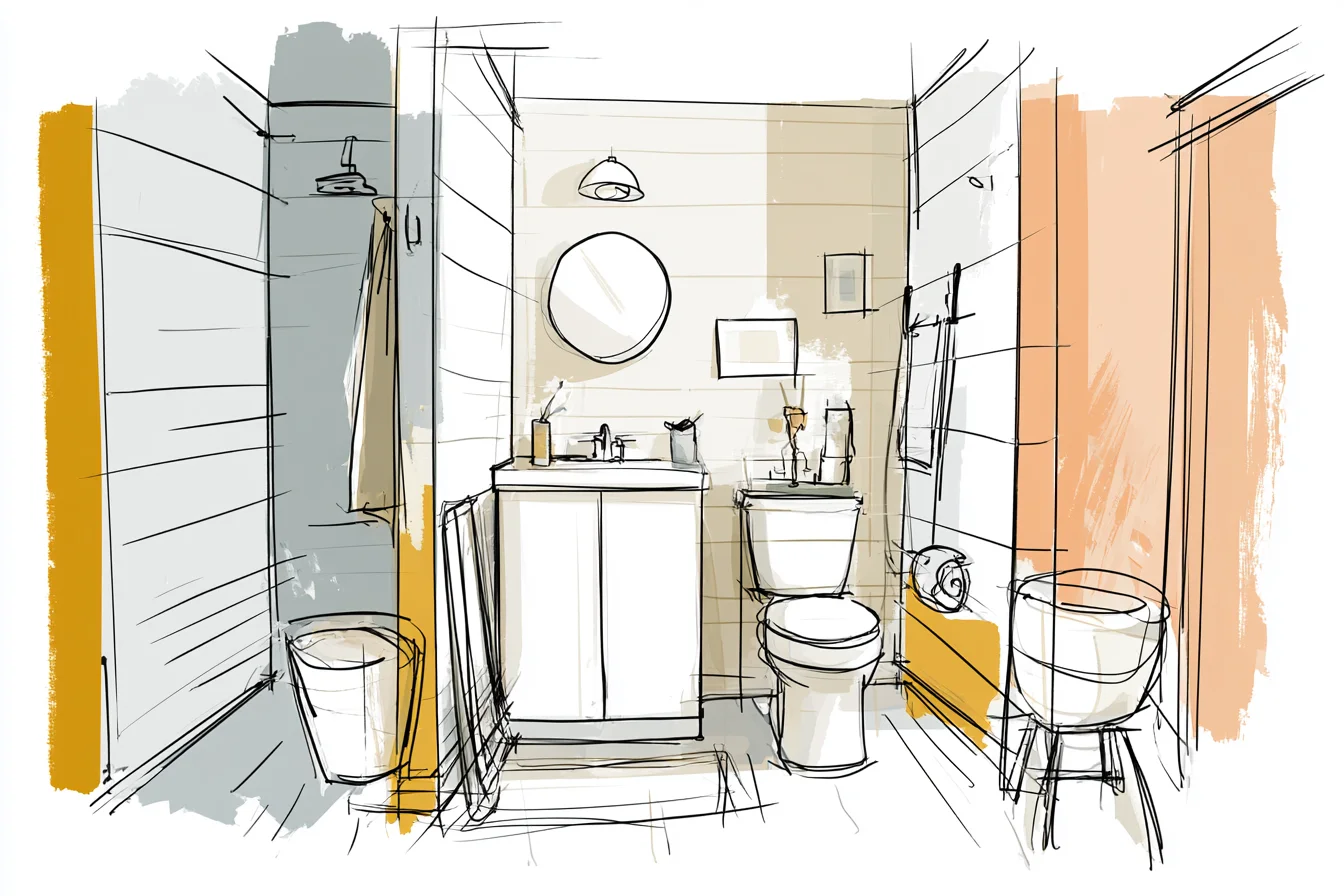
Nothing special here- just straight lumber with bull-nosed edges.
This not only hid any slight mistake i made when installing my boards (yes they were there trust me) but it finished the product off without having to come up with anything super crazy or out of our budget. Three years later and that little bathroom STILL puts a smile on my face every time i walk by it. It feels like us without trying to overly hard like we took an old cabin and dropped it into the middle of Southwark.
Its textured without being busy, and feels like a welcome retreat versus a “holding room” when you walk into our flat. The feedback we consistently get when people come over is that our flat finally “looked finished”. And that my friends is the exact feeling we were going for 🙂 The moral of my shiplap story..
Dont let shiplap TAKE over your space! When its done right, people wont automatically gravitate towards your walls and think “oh sweet – wood panels!” Instead they wont even think about it – but mention how much “ cozy” your room feels. You want your walls to complement your home, not scream LOOK AT ME! !
Maybe if i had listened to my husband and researched BEFORE jumping into this with both feet.. i would have saved myself some headaches. But alas- some of the best lessons are learned by jumping RIGHT in with no money and a teachers salary. 😉