It was Tuesday. About half six in the morning. I was brushing my teeth.
Standing in the bathroom. And then it happened. That “Hmmm” moment.
You know the one I’m talking about. I looked around my bathroom and something just felt off.
It wasn’t dirty.
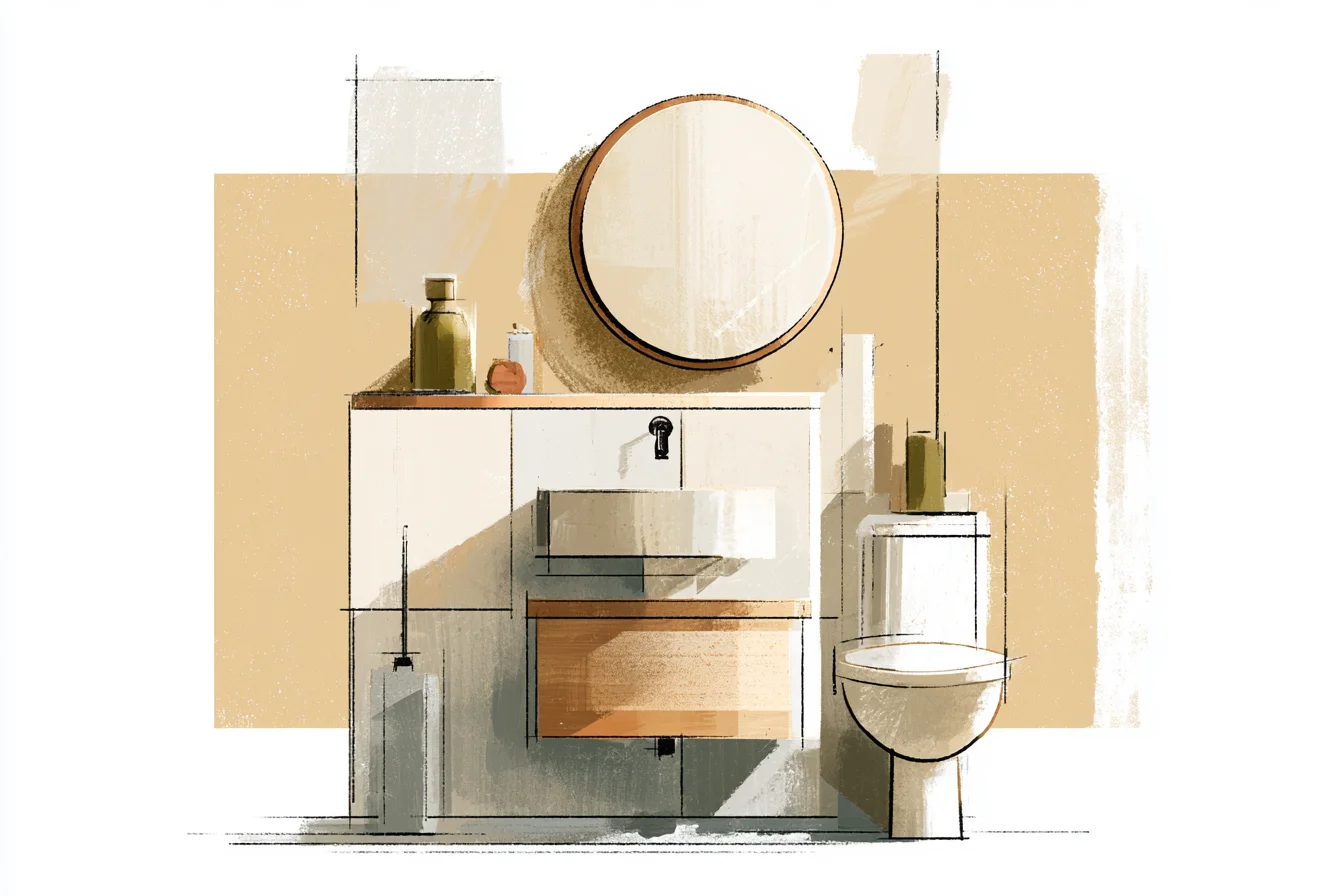
It was clean. It had just never felt finished. I had painted the walls that nice soft grey colour.
Found that awesome white oak vanity (love a second hand win) — but something was missing. It’s like getting dressed, thinking you look ok, but then realising you’re not wearing your watch. Yep.
That’s how my bathroom made me feel. What was missing was the trim. The total lack of trim.
For three years I had lived with crappy builder grade trim and never noticed. Bullshit skirting boards. Trim that looked like they had used left over spare bits just to finish the room.
Skimming boards that were thin. Plain. Invisible.
No coving. Half ass window casings. And a door frame that basically whispered “yeah I keep the door in place, but you can see through me so don’t expect me to add any personality to this room.” Let me tell you something about trim.
I know it’s not the sexiest thing to think about when renovating but hear me out. Trim is the frame around a masterpiece. When it’s good, you barely notice it.
Kind of like the stucco on your home. But when it’s bad or non-existent, your whole space looks cheap as fuck. Badass trim can make the most inexpensive items look like they belong there.
And like they cost more money. Cheap trim can make a space look like a money-no-one-cares rental house. So I started with skirting boards.
Because lets face it, I wasn’t about to take the entire bathroom apart because of trim. But god damn those shitty skirting boards could come down. I spent hours roaming around B&Q, Wickes and my local lumber yard studying all the different profiles of trim they had on display.
Photographing them. Literally taking pictures of trim on my phone like the DIY obsessed psychopath I was becoming. Eventually I settled on a simple profile.
Nothing crazy. About 5” tall. With a small curve to the top.
Nothing fancy. But enough “POP” to make a difference. Doing it myself was an experience.
Let’s just say the first angle I cut into that mitre saw made those skirting boards look like they had been attacked by a cheese grater. I got a little better with the second piece. But still not great.
Seriously I may have had to practise about 7 times on trim I would just throw outside before I could confidently make cuts that only needed a tiny bit of wood glue and some prayer. Buy a FUCKTON of trim. You will fuck up.
Many. Times. What installing that trim did for my psyche though was incredible.
Suddenly the floor looked like it was supposed to be touching that wall. Not just hanging out with that wall. The walls looked taller.
Suddenly my bathroom looked finished. Like it was styled by someone with taste rather than some dodgy builder who kicked the box side of a house together. Cost for that trim?
About $60. Hours? A weekend of intermittent bouts of rage at my mitre saw.
But holy crap did it transform the space. After that I knew I had to add crown moulding. Now crown moulding was something I was scared to do.
Because let’s face it, the places where the ceiling meets that interior corner? Mother nature FUCKING mocks you right there. rounded vs square corners and how to get over your fear of those inside corners. But you see, after installing skirting boards I realised something.
Great trim doesn’t have to be complicated. I loved the simple profile I installed as skirting boards so much that I knew I wanted something just as simple for the coving. Simple coving.
Maybe about 3” wide. Enough detail on the profile to add some nice shadows across the wall, but not too busy that it overpowered the room. I also knew proportion was everything.
Proportion is KEY. Too large and it would have overwhelmed my teeny weeny bathroom. Like wearing an oversized puffer coat in the peak of summer.
You Might Also Like

Too small and it wouldn’t make much of an impact at all. So keeping things simple and proportional to the room was everything. This install went SO much easier.
Mostly because I knew how to use the ever precious mitre saw correctly. But mostly because I actually spent money on a decent mitre block rather than guessing angles with my hacksaw…. (What was I thinking?) Each piece went up and before I knew it I had this beautiful minimalist cove up. Honestly, window casings are what really brought everything together though.
Before they literally just seemed like a hole in the wall. Covered by the skinniest piece of moulding imaginable. When I went to the slightly wider and more substantial casing to match my skirting boards the window went from hole in the wall to a legit feature.
Proportion again was key here. Made the window casing about an inch wider than what I was going to do on the door. But kept the profiles almost identical to still have them tie in with each other without matching exactly.
Bigger casing on the window gives the window more “mass” in the room. Makes sense since thats where all your natural light is coming from right? Did the same thing for the door casing.
Doors should look like they go inside the frame. Not like they were forced through a gap and held in place by whatever wood you could get for the cheapest. Thicker door casings give the WHOLE doorway weight.
Architecture. They frame out the doorway. Paint — This is where I see people really fuck up as well.
Your gorgeous new trim deserves better than that half a bucket of paint you’ve got lying around. Learn from my mistakes. I painted everything white immediately after installing it.
It blended right in with the walls. Looking like I wasted my fucking time putting trim up. Literally.
White trim is classic for a reason. Trim defines your clean lines. White trim makes your rooms look brighter.
And honestly goes with any colour wall you put it next to. Although white paint comes in a million different shades. Pick a white that fits the style of your room.
I stay away from that nasty bright white builder colour. Makes rooms look sterile. Hospitalish.
Semi gloss for the win when painting trim. Much easier to clean around moisture. Easy to wipe down when it gets dirty.
Gives enough sheen to make your trim POP from your wall finish. Will show every brush stroke if you aren’t careful. That’s why I use foam rollers and take my time.
Ok so aren’t you amazed at how much better everything else in your bathroom looks too? That mirror doesn’t look cheap. Those light fixtures look like you picked them out for a reason.
Hell even your towels look curated rather than just thrown on their hooks. Do NOT skip caulk. Caulk.
Caulk. Caulk. Holy shit does caulking make a difference.
Perfect caulking. Every gap between trim and wall. Trim and ceiling.
Trim and floor. Had to be caulked perfectly. It’s mind numbing work.
Had myself a little station next to my drop sheet with my caulk gun judging every seam I rolled out. Makes the difference between “I could have done that myself” and Home-Guru. Cost for the whole job?
Under $200. Took me about 3 weekends. Not because it was difficult.
More because I was slow. Too slow. OCD af about getting things perfect.
And I’d stop and admire my work literally every other cut.
Which you should do. Take pride in your work.
You just DIY’ed your own damn trim homie. I honestly cannot believe I lived with that cheap ass contractors trim for as long as I did. The bathroom feels finished.
Designed. High end. When people come over to my house they comment on how professionally it looks like it was done.
Who installed it? I smile. Because I know those weekend mornings spent cursing my stupid mitre saw.
Celebrating when I finally got the dang angle of the joint to fit together.