When I hear the swooshing sound of wet flip flops smacking against tile my eye twitch involuntarily. Last summer I saw muddy footprints streaking across my neighbour’s new white hardwood hallway. They tracked in puddles of chlorinated water mixed with grass clippings that resembled a grass-cutting wet animal.
She spent the next hour cleaning on her hands and knees yelling about how she should have been able to afford to put a rug in her hallway. It was then that I knew I needed to seriously upgrade my options. Create an actual transitional zone versus constantly yelling “ TAKE YOUR SHOES OFF! ” and “ PUT DOWN A TOWEL! ” Well after three years of trial and error (and too many invoices from cleaning supply companies) I finally came up with what really works when your desire a no muss bathroom that can handle the before photo of pool kids while still looking like the owner of the house showers here sometimes.
It’s not about choosing materials that can take a water beating; it’s selecting finishes that encourage soggy, sandy, chlorine smelling people to clean themselves before entering the house – without them even knowing it. Pick flooring wisely.

This sent me into nearly a mental breakdown.
I believe I gathered about 50 different tiles samples and spread them out across our patio like a crazy tile version of candy land. Porcelain was the clear winner. Not the cheap tile that chips when you look at it funny but nice high-end through body porcelain with just a touch of texture.
Non-slip please. Tile that is too smooth becomes a ice rink when wet. Don’t say I didn’t warn you. (P.s.
I know this from personal experience when my brother- in-law slipped into the towel closet in July.) I chose 12 x 24 inch planks in a warm grey that mimics stone but scoffs at puddles. The larger size of the tile means less grout lines. Fewer grout lines equals less grout lines to scrub later.
Trust me. Tiny little subway tile might be cute, and Instagram worthy but trust me, scrubbing out sand from hundreds of grout lines gets old fast. Speaking of grout….
Another thing to consider when tiling is grout choice. Epoxy versus cement- based grout. Yes it costs more initially and yes it is more difficult to install yourself.
But it won’t stain, harbor bacteria, or mildew. It actually repels water rather then absorbing it. I will never forget discovering black mold creeping up through our previous guest bathroom’s grout.
Nope not in mine. Walls needed to be easy to clean without being “ industrial ” looking. I used large format ceramic tiles on the walls all the way to the ceiling in the shower and then used a wipeable finish on top.
Tile is soft white subway style. Neutral enough that it won’t go out of style anytime soon but large enough that you can easily wipe down. The finish I used is called Benjamin Moore’s Advance and is a semi-gloss.
Looks mat but cleans like a dream and doesn’t bubble up when the humidity levels rise exponentially in there. This is where I got playful with the layout. Instead of a typical bathroom layout I created what I like to call the “ Decon Station ”.
The door from the pool area opens up to a small niche with a built- in bench and hooks at varying heights ( both child and adult) for wet towels, dirty clothes, pool gear, etc. Basically strip everything down and hang it here before coming inside any further. This bench includes lift – top storage for dry towels and a few other bathroom necessities.
I lined the underside of the bench with the same porcelain tile as the floor. Essentially creating a gigantic shower/bench that can handle ANYTHING. Speaking of shower….
The shower itself takes up about half of the bathroom. No door. No kerb.
You Might Also Like

Just a slight pitch in the floor that leads to a linear drain in the middle. I installed three showerheads. Yes you read that right.
One standard wall mount, one handheld mounted to a slide bar and one rain head from above. Seems excessive? Try rinsing off THREE kids covered head- to- toe in sand with one shower head.
You need coverage. The vanity needed to be able to hold up to traffic and potential damage. I found a 60 inch wide floating vanity with quartz top that OVER hangs the front just enough to make cleaning simple and creates a small lip.
The sinks are deep too. Again, since they will also be functioning as a “ rinse off your sandy feet and dirty hands station ”. Storage had to be plentiful, but moisture resistant.
I opted for tall cabinets with soft-close doors and adjustable shelves. You can tell a difference between the shelves on the inside versus regular bathroom cabinets. Everything stays dry on the inside, even if the outside gets soaked.
The medicine cabinet has interior lighting and a defogger. Because gross fogged mirrors aren’t helpful when trying to see if you remembered to wash all of the sunscreen off your children. Lighting was something I gave a lot of thought to.
I installed pot lighting with wet rating in the shower area and went with a large fixture above the vanity that casts ample light for tasks without creating shadows. Lastly I hung a small chandelier over the bench area. It looks luxurious, but I actually picked it up at a big box store for cheap AND it is rated for damp areas.
Plus it wipes down easily. Venting was something I did not scrimp on. I installed a heavy duty, whisper quiet exhaust fan – 110 CFM for a bathroom of this size – and added a small dehumidifier that kicks on whenever the humidity rises above 60%.
I tried to extract the moisture before it accumulated rather then cleaning mold and mildew later. Lastly…. The doors.
This was something I had to get creative with. The pool side entrance is a solid wood door with REAL weather stripping. Yes it matters.
Cheap cracking/weather separating weather stripping is useless. You need something that seals tight. The inside door that opens into my main house is pocket style so it doesn’t swing into either bathroom and can be left open for ventilation when needed.
PS!
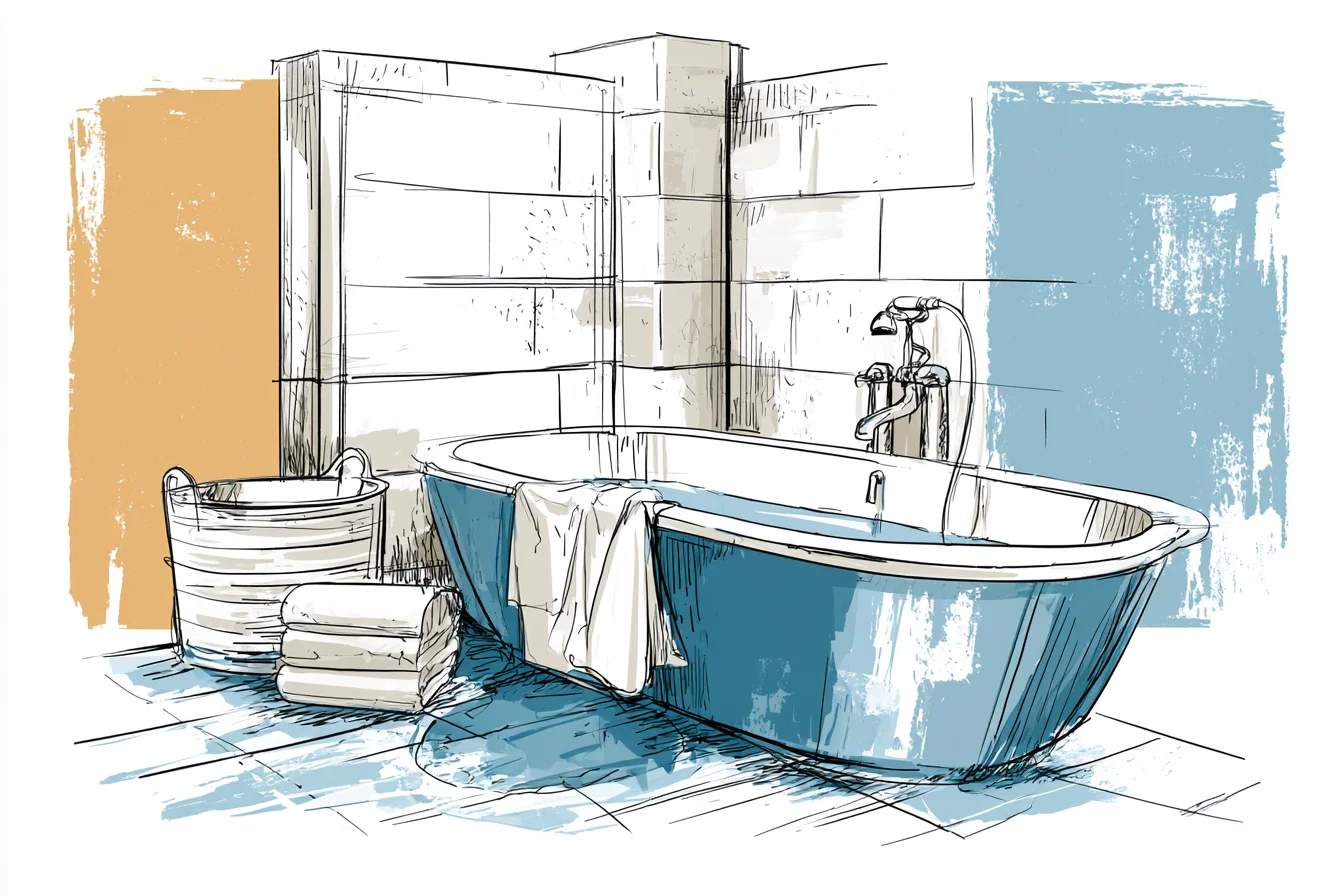
This little guy has been a GAME changer. I installed a small utility sink into the corner with both hot/ cold plumbing and a pull out tap.
Awesome for rinsing pool goggles, washing pool toys, or that inevitable ” someone needs to rinse THIS off RIGHT NOW!!! “ situation. All in all the entire bathroom remodel ended up costing me around $18,000. Including labour for plumbers and electricians.
And would 100% do it again. Hell I would sell my kids to redo this bathroom if I could spare more of myounter space. Because not only did I pick things that could handle pool-omite but I also trained my children.
Now when they run in from the pool they DROP their pool gear in the decon station, use towels/hand towels how their supposed to, and walk into my house clean enough not to bother mop my floors ! I regret ONE thing…. Heated floors.
I’m ADDING that to this years winter list.