“I bet most of you have encountered a situation where an individual in a wheelchair was frustrated by attempting to navigate through a standard bathroom.” Well I know I did when my aunt came to visit us after her hip replacement surgery. She looked into my lovely magazine-worthy powder room with pedestal sink and saw…the super narrow doorway. “Well,” she laughed, “I guess I’ll just have to wait for the next three hours.” That single moment changed the way I looked at bathrooms. Yes, mine was pretty.
I had subway tile and vintage brass accents. But what good was that if someone using a walker couldn’t use my bathroom? I started spending my days reading about universal design.
Really. I was blown away by how many features could make bathrooms more functional for every user.
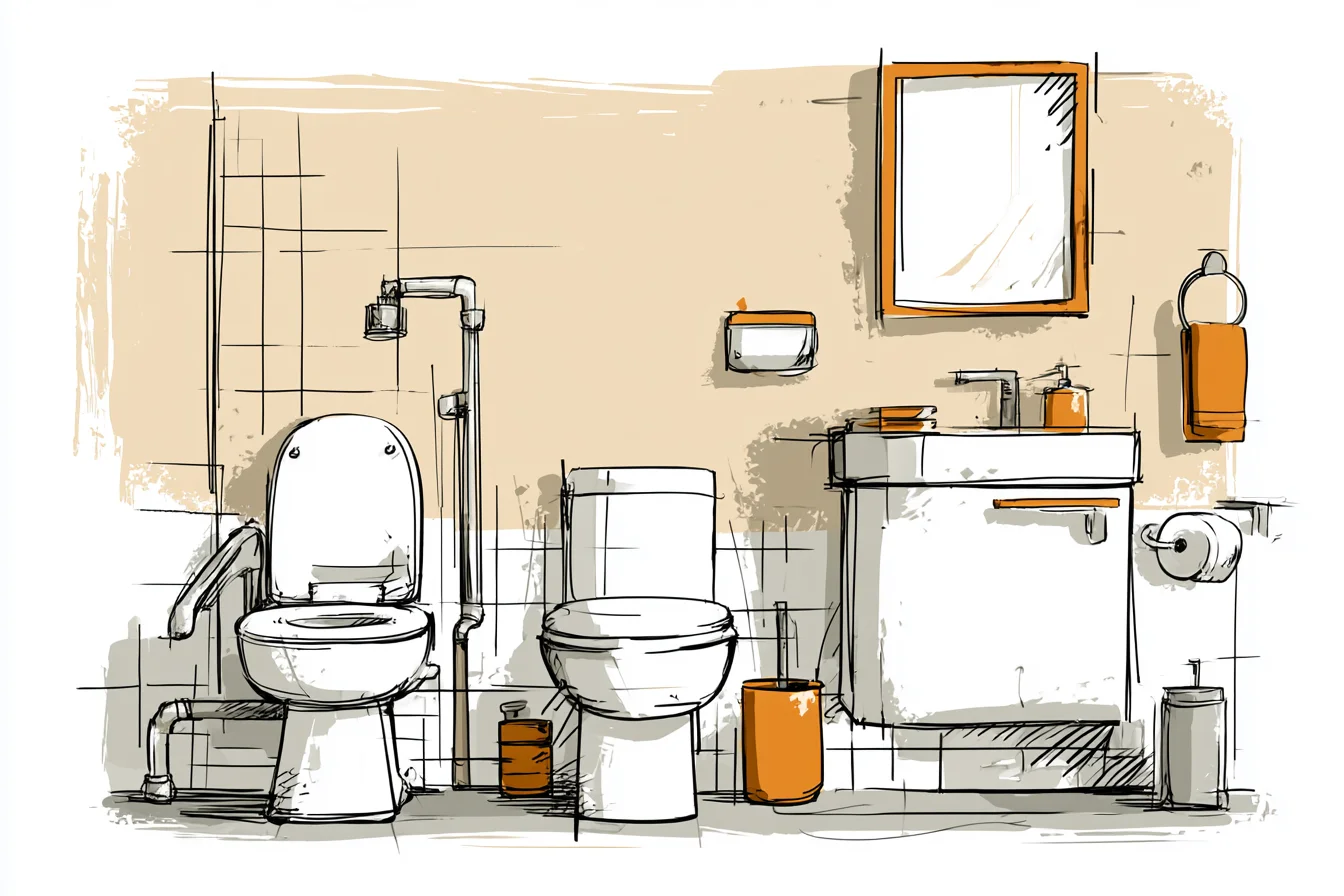
And I don’t mean just those with mobility disabilities.
First up, I addressed doorway width. Standard bathroom doors are about 24 inches wide. They accommodate most bodies…unless you’re sitting in a wheelchair.
I expanded mine to 32 inches (this included some drywall surgery and created a ridiculous amount of dust). But wow, what a difference it made. It even made carrying cleaning supplies or laundry baskets easier on everyday tasks!
I was nervous my contractor would balk at the additional £400 for structural changes, but I’m not sure why the thought of narrow doorways ever made sense. Grab bars were next. This is where I had to get over my own design prejudices.
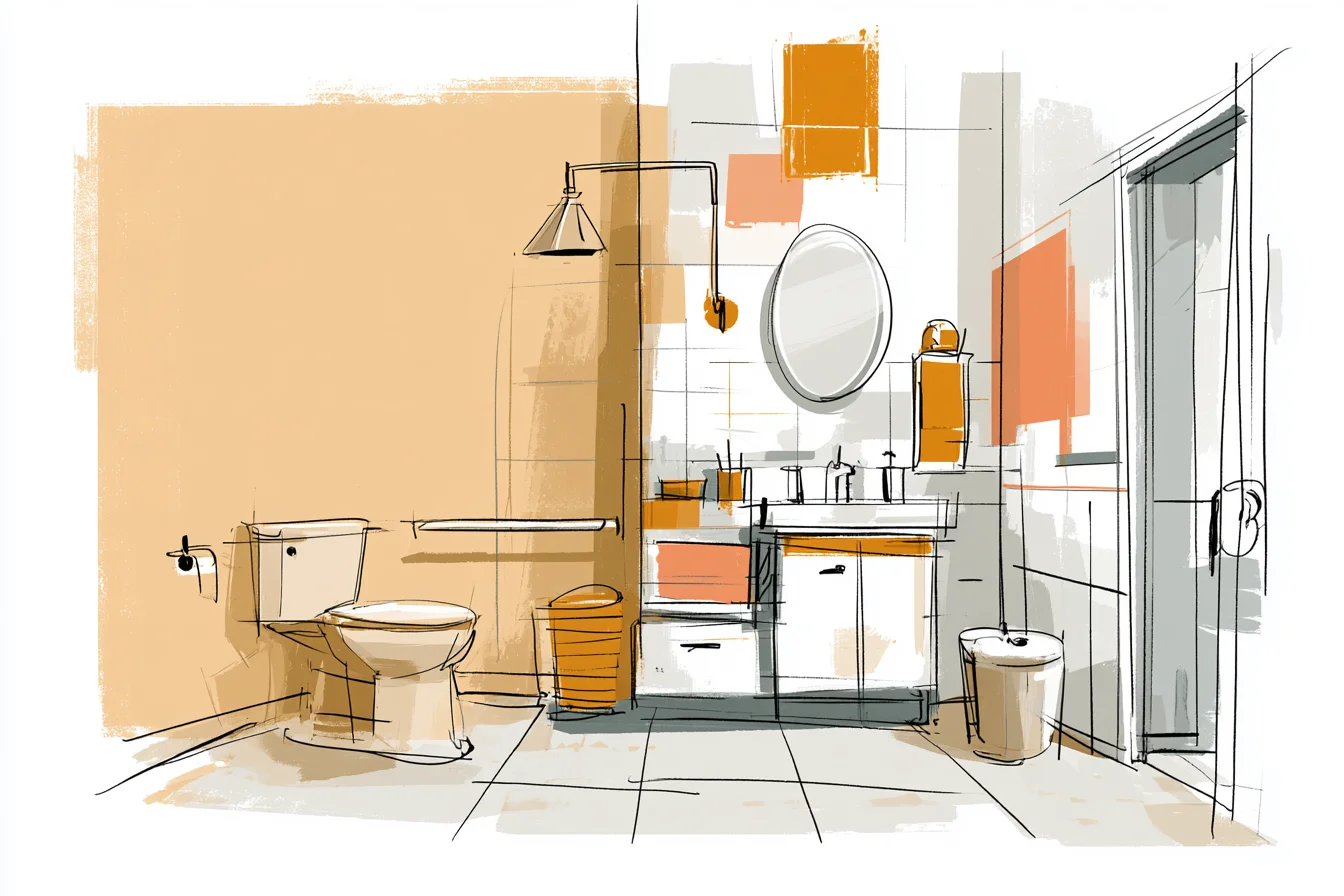
Grab bars always reminded me of cold, hospital-style bathrooms. Fortunately, designers have caught on and there are some really stylish options available. I went with matte- black bars that look very architectural and less medical.
Placement is key – they should be where they will be of best use, not where they look prettiest. I installed one near the toilet (this can be used for sitting down or standing up), two in the shower (one horizontal, one vertical to accommodate the type of support needed) and one by the entrance. Each bar was costly (£80 each plus the installer’s fee), but they’re installed into wall studs so they can really support weight.
One of the biggest changes I made was to the shower. I bid farewell to my lovely but very impractical raised shower stall with the 2 inch lip I somehow always ended up tripping over. Hello walk-in shower with an almost invisible threshold (maybe an inch or so to keep the water in?).
I chose a linear drain on one side of the shower rather than in the centre. This allows the floor to slope gently in one direction instead of two. Much easier for wheelchairs/walkers/etc.
And anyone who might have an off day with their balance! I worried that the new shower would feel less luxe than my original setup, but I love it. Having a continuous floor makes the space feel larger and more modern.
My non-slip tiles have a slight texture (they don’t feel bumpy to the touch) and they work well, plus the handheld shower head is mounted on a slide rail so everyone can adjust the height to their liking. My vertically-challenged nephew likes to lower the shower head whenever he takes a shower without having to ask me. Another big win was replacing the pedestal sink.
While they are beautiful, they aren’t practical if you need to sit down or roll closer to a sink in a wheelchair. I installed a wall-mounted sink with blank space underneath. Much more practical for any user.
You Might Also Like

Another bonus to a wall-mounted sink? You gain extra storage and can easily wipe down the floor underneath. I opted for a sink with deeper bowl to minimise splashing and the single handle tap is much easier to use than my old-school two separate taps for hot and cold.
I couldn’t believe I had overlooked the importance of lighting until my aunt mentioned how important it was to reduce shadows. I added LED strips under the medicine cabinet and around my mirror to eliminate any shadows. Turns out this helps EVERY user see better when applying makeup or shaving.
Not just those with vision impairment! The LED strips cost about £60 and took me an afternoon to install, but wow. Lastly, I installed a motion sensor light for those middle-of-the-night trips.
Anyone can use this without having to fumble for the light switch. Comfort height toilets are 17 to 19 inches tall. Standard toilets come in around 15 inches.
Comfort height toilets are just that…more comfortable to both sit down on and stand up from. When it was time to replace mine, I opted for the taller model. It cost about £50 more than standard but now I hear everyone saying how comfortable it is.
Storage was another element I needed to rethink. Cabinets on the ceiling are lovely but not if you can’t reach them! I moved all my everyday items to lower cabinets and drawers.
Pull out drawers inside the vanity are so much better than reaching into the back of stationary cabinets. I now use the higher cabinets to store things that don’t need to be accessed daily, such as extra rolls of towels and cleaning supplies. One of the first mistakes I made was choosing lovely-looking lever style door handles that were in fact, difficult to use.
The ones I picked had a tiny sharp edge that caught on clothes and were slippery when wet. I ended up replacing them with squircle style handles that were much easier to grasp and use. Sometimes form *can* follow function.
Colour choices mattered more than I realised as well. Using higher contrast with walls, fixtures and floors can help those with vision impairments navigate safely. I kept my white subway tiles but used a darker grout colour.
I also chose a darker coloured vanity that stood out from the pale walls.
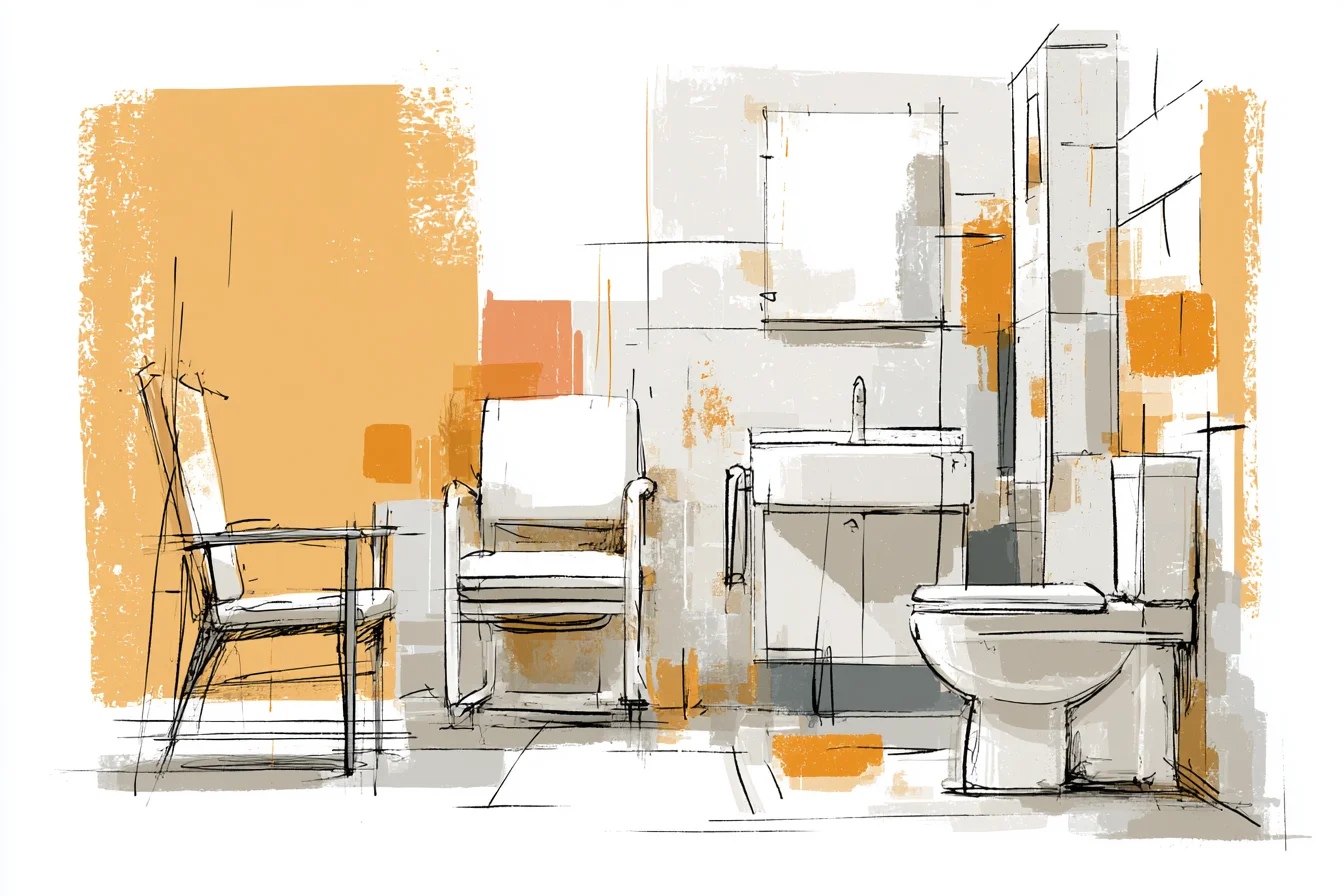
This actually looks more chic than my previous all white look. What I didn’t expect was how much these changes improved my bathroom for everyone.
Not just people with mobility challenges. The wider doorway, better lighting, higher toilet and accessibility of storage makes everyday tasks easier for my kids, guests and parents. It actually feels roomy and well thought out rather than cluttered and crowded.
All in all, the project was pricey – upwards of £3,500 including labour. But spread out over a few months it was very manageable. Most importantly, I know that as I age myself my parentsvisit I’ll my bathroom will work for me.
And that makes it worth every penny. That’s not just designing for lifestyle. That’s designing for life.