If you’ve ever woken up at 6.30am three-months pregnant with a toddler at your heel and stood in your bathroom hating everything about it, then this post is for you. Yep, despised my bathroom. I loathed the magnolia walls.
Okay, so the bathroom was magnolia throughout – walls and ceiling. But you paint cute murals on the walls of kids bathrooms, not yours. Well, mine didn’t have cute murals.
So imagine waking up every.single.morning and going into the ugliest room in your house to contemplate your life choices and look like a beached whale whilst you brush your teeth. Fun times.
That was me, daily.
Until about three months ago. Three whole months ago, I stripped those offending walls back down to the bare walls and hung some brand-new wallpaper up. Hang on a minute – wallpaper in the bathroom?
I hear you cry. Aren’t bathrooms too wet for wallpaper? Isn’t wallpaper just going to peel off when you’re bathing your precious mini human?
Well. Let me explain. We moved into our house nearly two years ago and had somehow lived with the ‘decorator’s choice’ of magnolia paint on every surface for two years.
Don’t get me wrong, the colour itself wasn’t the problem – it was EVERYTHING being painted magnolia. Our bathroom was pretty grim. Magnolia walls.
Magnolia ceiling. Magnolia extractor fan that sounded like a lawnmower roaring away every time it got wet. Bleugh.
It took me about three steps into that bathroom every morning before I was wanting to rip everything out and start again. The problem? We couldn’t afford to rip everything out and start again.
We’d toyed with getting the bathroom retiled – we had a quote back from a company who wanted nearly £3000 just to retile our main (small!) bathroom. THREE THOUSAND POUNDS! When you have a child attending nursery and you’re trying to save for baby no.2, three grand might as well be a million.
So there we were – stuck with boring old magnolia. Months passed and we did nothing. Then one day my sister- in-law casually mentioned that she’d wallpapered her downstairs loo herself over a weekend.
Spent £60 on the whole job and it looked FANTASTIC. Wallpaper in the bathroom? Say WHAT now?
I was already cringing at thoughts of steamy baths making the paper peel off the walls at every tug. Then there’s bath-time chaos unfolding around me – throwing soggy strips of wallpaper into the mix seemed like a one-way ticket to headache town. But Sarah wasn’t kidding when she said it looked good.
She sent me some pictures. Flippin’ talented woman. She’d chosen this gorgeous botanical William Morris type print and it made her teeny downstairs toilet look like a Victorian sanctuary.
She went on to explain there was special vinyl coated papers these days – so you weren’t risking your bathroom masterpiece peeling off in the same way as the vintage floral paper your mum had stuck in the 80’s would. Intrigued, I started looking online. Googling, pinning, procrastinating my way through evenings whilst Amara binged watched CBeebies (those Paw Patrol episodes are horrendous).
There was so much choice now for bathroom wallpaper. Entire ranges that were washable. Voguish papers with vinyl coatings that could tackle steam like no problem and then there was also paste-the-wall options which saved you from having to try and slide a sodden piece of paper onto the wall and somehow match up the pattern as your cat watches on, judging you.
Slowly, the fear of how humid bathrooms are was subsiding and my procrastinating had led me to purchasing wallpaper for our downstairs bathroom. I decided to roll the dice with our loo first as I knew if I ruined it then oh well, it’s the loo –we don’t really hang around in there! It was while searching that I stumbled across this gorgeously lush botanical print.
Deep greens and gold – taking me right back to those beautifulHotel bathrooms you see on Pinterest. It cost £43 to cover our tiny downstairs loo and THAT right there was my catalyst to crack on and DIY my own bathroom revamp instead of calling in the professionals. Once I’d ordered the paper online and patiently waited for it to arrive, Saturday came round.
Cue Amara at my mum’s for the morning whilst I tore our toilet apart… And hung some wallpaper. Let me tell you, it was SO much easier than I thought! Honestly, I wish I’d done mine years ago.
Paste-the-wall papers are LIFE changing. Simply brush the adhesive onto your wall and hang the dry paper. You don’t wrestle with a dripping wet piece of paper that sticks to everything including your fingers.
No, you just brush on the paste and hang your paper, smoothing out as you go. JOB DONE. It seriously took me around two hours from start to finish – cranked some tunes, guiltily watched Netflix whilst Amara was at nursery and before I knew it – it was finished!
But WOW. What a difference! We went from magnolia eyesore to botanical wonderland!
You Might Also Like

Not only did it instantly brighten the space up but made our downstairs toilet actually feel warm and inviting as opposed to clinical. People who used it asked where I’d bought it from and whether it was hard to put up. Our mate Dave stood and studied the Botanical print for at least ten minutes whilst waiting for his coffee.
Needless to say, we received many compliments on our downstairs toilet. You never expect compliments on your toilet do you? Stripped back the kitchen Wallpapering our bathroom gave me the confidence to crack on with our main bathroom.
This time I went bold and went for something totally contrasting to the zesty green we’d put downstairs. When picking your bathroom wallpaper, try to go for something that makes your space feel bigger. Look at the size of the repeat on your paper.
Find something with a larger repeat so it doesn’t become too busy when you’re sat having your morning coffee staring at your walls inches away from you. Avoiding anything with small intricate detailing as trust me, it will make your room look and feel smaller. Again I chose a wall hanging hack and simply hung the wallpaper on one accent wall.
Behind our sink unit. Creating a real feature wall that pulls your eye up and makes the room look more high-end than it actually is. Pro-tip here – Be sure to seal your walls first!
Buy a moisture-sealing primer (like you’d use in kitchens) and apply BEFORE you hang your wallpaper. You’ll also want to triple cheque that your extractor fan actually works! Ours did NOT when we first started – it was gagged with years of dust and didn’t extract a lot of water at all.
Which isn’t ideal when you’ve just spent a small fortune wallpapering your bathroom! Start with the most visual wall first. You’ll find your groove by the end and wallpapering goes quicker than you think!
Keep a damp sponge cloth nearby to wipe away pesky paste marks as they happen. Paste leaves clear marks on dark colours once it dries so make sure to clean it as you go! Measure twice.
Actually. THREE times. Cut your wallpaper.
Welcome to hell. Kidding. Kind of.
Our house is Victorian and as you’ll come to find with older homes, nothing is straight! You only really notice it when it comes to matching up wallpaper patterns at your corners. Give yourself enough time.
We both got up super early on a Saturday morning to complete our downstairs bathroom – allowing us to take it slow with minimal interruptions. Allow yourself enough time to do the job properly and don’t feel pressured to just ‘get it done’. Speaking from experience here but when you’re up against it your finish won’t be as good as it could be.
Shop around! There are SO many amazing wallpaper shops and options online. I spent hours trawling through different sites.
We ended up purchasing ours from Etsy – but that’s just me. Do your research! What I loved most about our wallpaper was that it was washable.
Literally! Once it was hung, I could wipe down any marks left by little muddy feet with a damp cloth. LIFE CHANGING when you have a toddler.
Oh and don’t forget to order some new brushes! Start again with fresh seals and a nice stiff brush to sketch out your lines with. It’s the small details!
Rolling seemed to be the hardest part for me. Get a friend to help you! Particularly with your first wall as the trickiest bit.
Get them to help you roll – starting at the top and working your way down in smooth motions. One weekend for each room and our whole bathroom was transformed. Instead of dreading getting ready each morning and feeling depressed about stepping into a magnolia box, I actually looked forward to getting ready in our new feature wall.
Disclaimer – have a second paper choice as backup!
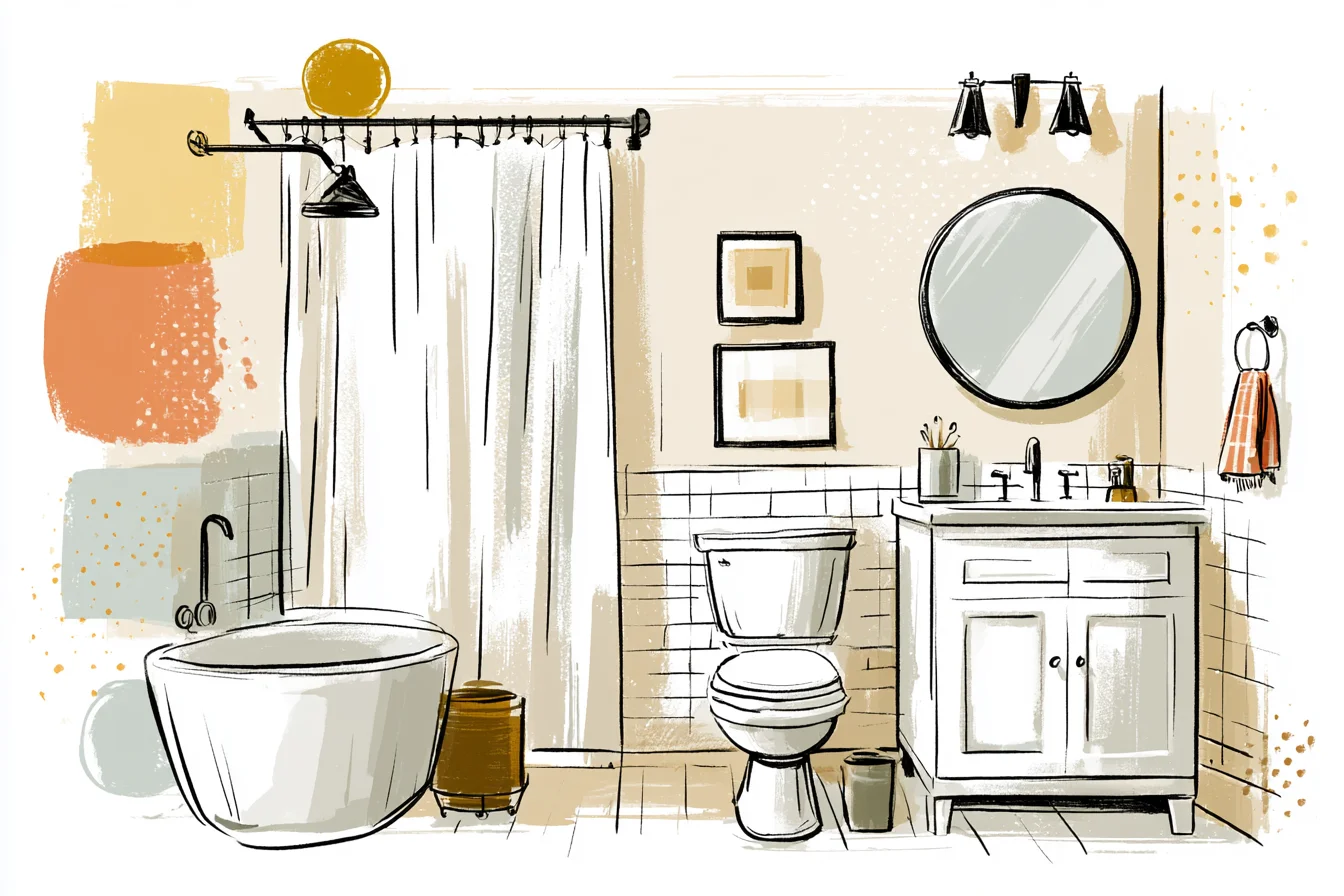
I got SUPER excited about our main bathroom wallpaper and ordered this beautifulButterfly Damask design in gold. Instantly fell in love BUT… once it came I realised how busy it was.
Hate to say it but it was FAR too much for a bathroom you’re sat inches away from every morning. Pattern was also smaller which wasn’t ideal as the smaller the repeat, the more ‘busier’ your wall will look. Doh.
Oh and if you’ve not guessed by now, YES I did end up loving our new bathroom wallpaper! Easy to access sites like Etsy have made it so easy for DIY-ers like myself to make big changes without the big price tag or disruption of contractors in your house for weeks on end. So if you’re sitting on the fence – F E E L The fear and just do it!
Pin for later Buy my Pin Maparkers Print here!! ! Are you thinking about wallpapering your bathroom? Tag me on Instagram @ohmyshaylissa, I’d LOVE to see your choices!