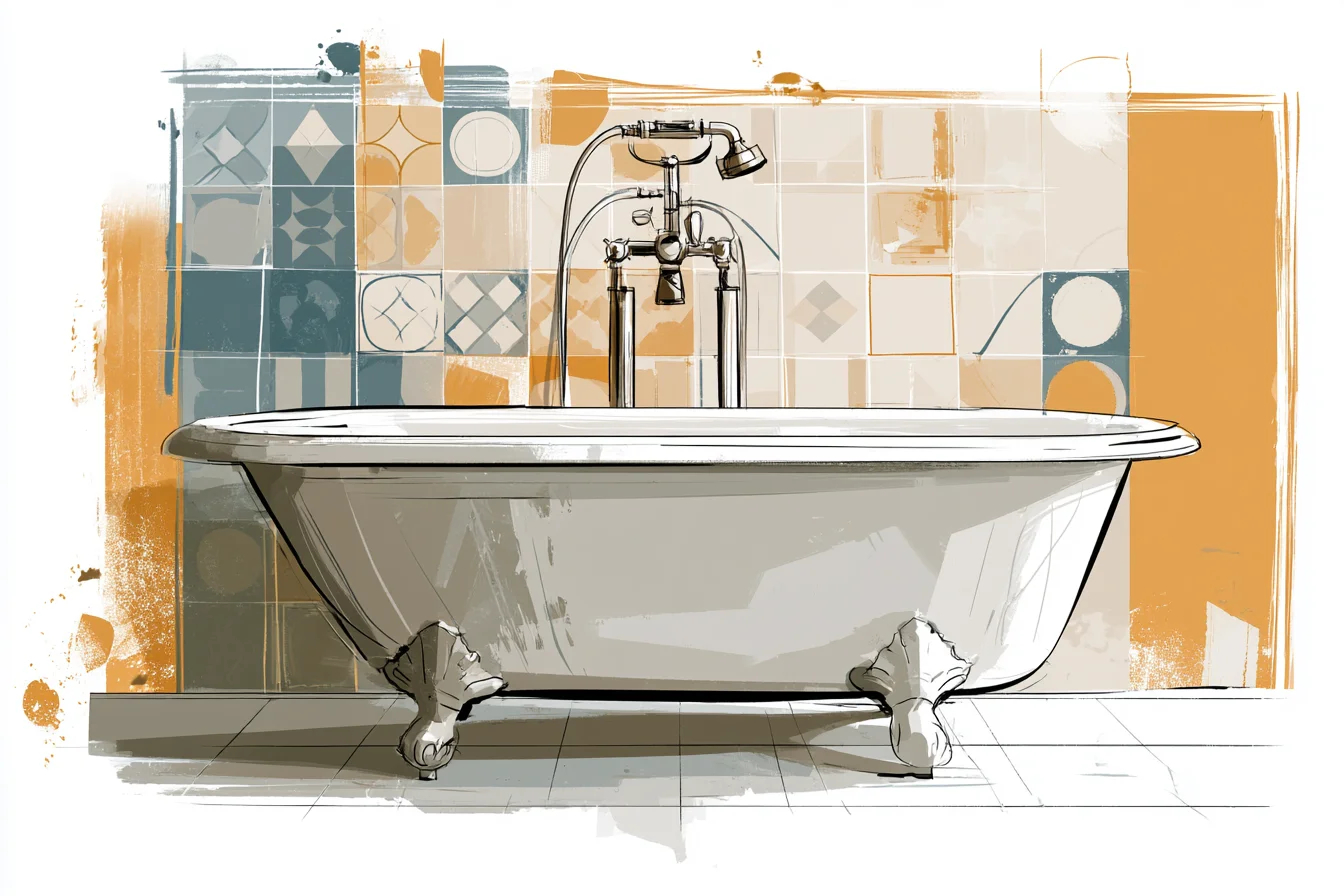
Let me ask you this…when you enter a bathroom and immediately think – “blah?” What’s the first thing you think of? Unless there is literally dirt or mold on the walls of urine on the floor – you’re probably thinking about your tub area. More specifically…the tiles.
Mine used to make me sad. Those boring white 4×4 subway tiles lined with low-quality grey grout made me CRAVE a bath when I should have been relaxing in one. Drying off quickly just to leave that sad little bathroom as soon as possible.
Ugh. Last year I needed a bath.
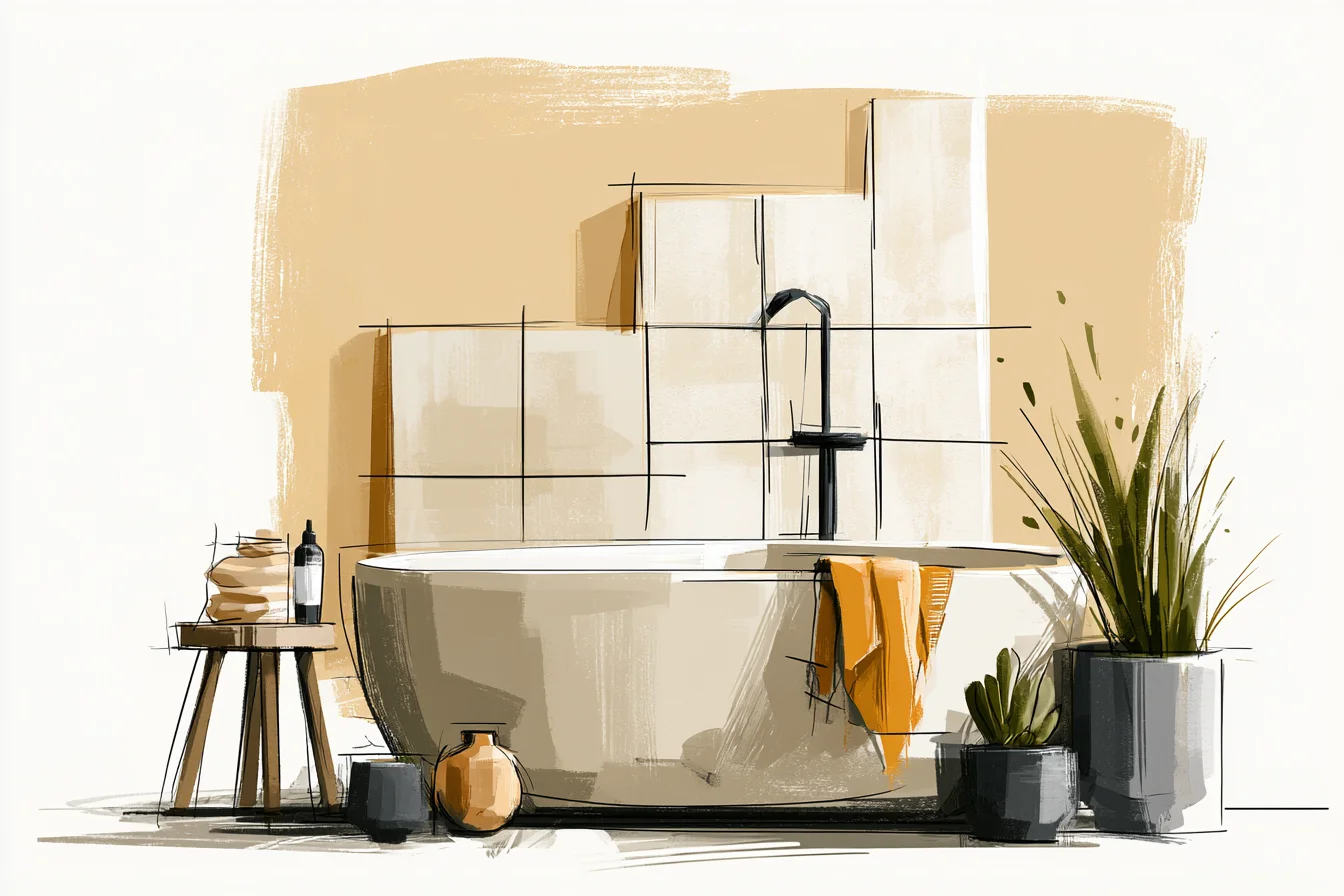
Like, I really needed a bath.
One with candles. Epsom salts. Peace.
Quihhhht. As I laid in the tub staring at my sad shower tiles it dawned on me… Why shouldn’t this area be the focal point of the bathroom? I’ve always done small bathroom remodels here and there but never really thought about the tub area as more than an afterthought.
Sure you tile around it, and call it a day. But why not take it to the next level? I decided to tackle my own master bathroom first.
We moved into our house with an okay bathtub alcove. It wasn’t special but it wasn’t bad either. So I jumped into Pinterest equipped with terms like; subway tiles stacked vs. offset, natural stone, mosaic shower tiles, paint vs. tile… And I panicked.
INSPO-RESEARCH-paralysis is real my friends. First things first. Determine how YOU use your bathtub.
Are you more of a “sit-in-the-tub-and-read-straight-ahead” kind of person? Or do you FaceTime and soak? When you’re sitting in the tub looking straight ahead.
That is your feature wall. The wall that you’re going to wow with! For me, that wall was calling out to be stacked natural stone but I didn’t want to break the bank.
So, I went big with my tile size but stayed grey and neutral. I chose 12×24 large-format matte tiles in a grey-green colour. It wasn’t trendy sage green but a toned-down cousin that would match with anything.
The bigger tiles = less grout lines = less maintenance (boo grout scrubbing noises) But I didn’t stop there. I continued the tile all the way to the ceiling instead of ending it at “builder’s height.” It was about a thirty percent increase in materials but worth every penny. It made the room feel taller and much more purposeful.
Here is where I failed the first time around. Stay away from too neutral. I love grey and green but took it too simple with white grout and brushed nickel fixtures.
It was boring and blah and my sister walked in and said “it’s nice, but it could be anyone’s bathroom.” She was NOT wrong. So, on to Project 2.! The guest bathroom of one of my clients was next.
You Might Also Like

We installed stacked natural stone on the feature wall behind the tub, keeping the other walls plain-jane subway tiles. Once you introduce a new material; don’t be afraid to paint the opposing walls a solid colour that matches well with your main feature wall. It grounds the space and isn’t overwhelming to the eye.
Less is more here. So many bathroom renovations I see attempt to do too much. Three different tile styles, two types of stone, accent lighting, and an entire feature wall of wallpaper.
Pick one thing that feels “extra” and stick to it. It doesn’t have to break the bank either. Two of my favourite tub surrounds were actually on a budget!
When I was refreshing a rental property I used WHITE subway tile but did a herringbone pattern instead of the traditional brick style. It took zero extra money for materials but about 20% more labour to think about all of those angles. Another budget hack; take your wall tile and use the same material on your floor!
If you are using grey marble subway tile around your tub; continue that gorgeous marble onto your bathroom floor (or same pattern/style of tile). It makes the space feel larger and cohesive. I learned this the hard way and expensive.
White grout in photos looks beautiful and crisp. In real life, it shows every imperfection. Dirt.
Water spots. Mold. Grey hair shampoo that slips down your legs when you don’t rinse right away.
Whatever it is. White grout will highlight it. Unless you plan on wiping down your shower walls after every use opt for a grout colour that’s one or two shades darker than your tile colour.
Don’t forget about lighting either! I added some subtle recessed lighting above the tub area in my current house and love how it illuminates the wall of subway tiles at night. It creates a soft glow as opposed to flat.
One thing most people don’t consider is the ceiling above the tub area. Fresh white paint up there can look unfinished once your eye moves up from that beautiful tile work. I’ve started taking my shower tile up about halfway onto the ceiling or using a paint colour on the ceiling that ties everything together.
We painted one ceiling to match the grout and it completed the space. Maintenance. Something to think about when selecting your perfect tub splash.
Gorgeous natural stone that needs resealing once a year?
NOT FOR ME! Ask your clients if they’re easy cleaning fools.
If they hand-wipe down the shower walls after EACH shower-THEN BY ALL MEANS! Go ahead and do that textured stone. If not-go with porcelain, ceramic, or something that can stand up to little neglect.
My new-ish bathroom tub area is by far my favourite thing about my house. Those beautiful tiles I selected reflect the morning light just right and make me want to take a bath every single day. I get comments on it all the time-which frankly never gets old.
Most importantly, I LOVE how it functions for me and my family. Don’t decorate (or renovate) how others will see you. Decorate how YOU will live!