I’ve always felt like our master bathroom was “off.” Ever since we moved in three years ago, I didn’t know what it was but something about the footprint just didn’t feel quite right. And every time I walked into the bathroom, I was reminded by the elephant in the room – the massive clawfoot bathtub that took up nearly the entire footprint of the bathroom. The tub had been driving me crazy for years.
Tripping over the lip every morning was par for the course, as was hitting the toilet paper holder that hung directly in the path of your elbow. The tub wasn’t even functional. The previous owners had painted the porcelain tub with some sort of stippled texture that scratched worse than sandpaper.
Taking a bath meant a serious risk of skin damage – I definitely never did any relaxing in there. One Tuesday morning, I was rushing to get ready for work and stepped over the tub edge to reach for my shampoo tucked away in its built-in soap dish.
Losing my footing, I stumbled into the shower, flinging the curtain, yanking the towel bar out of the wall, and bruising my ego.
I stood there sobbing in my bathrobe, trying to catch my breath while clutching on to the sink for support. It was in that moment I decided something had to change. If you have a small bathroom, you know that every inch of space is crucial.
And yet, many people waste the most valuable real estate in their bathroom at the foot of their bathtub. In our bathroom, the tub occupied about 30 square feet of space (yes, I actually measured it). Our bathroom is only 48 square feet.
Do you know what that means? Of our tiny bathroom’s footprint, almost two-thirds of it was dedicated to an antique method of bathing that I used twice a year! I immediately began pouring over tutorials and guides on how to convert a bathtub to a shower.
Little did I know at the time that a tub-to-shower conversion is only partially about plumbing. You also need to take into account drainage, slope, waterproofing, ventilation, and many other factors that can go drastically wrong if you don’t know what you’re doing. First, you need to pick your size.
Shower bases come in standard sizes of 32×32 inches, 36×36 inches, and the pricey upsized version at 48×32 inches. I decided to go with a 36×36 corner shower so that as many existing inches would remain as possible. While a shower that size does not sound very big when you compare it to the footprint of your bathtub, it’s actually a lot more space than you think!
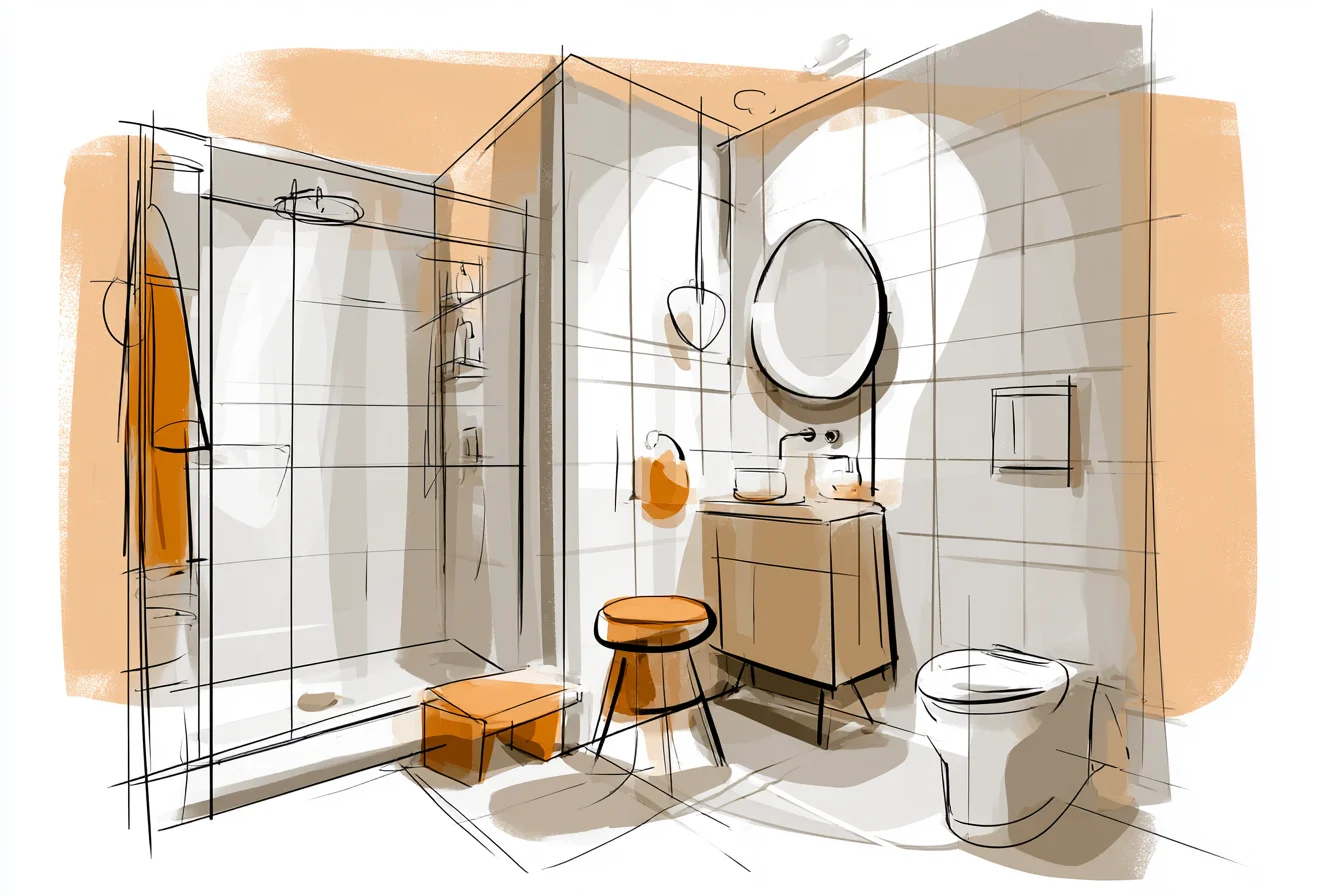
With a bathtub, you are confined to a small area between the wall and wall… But with a shower, you can actually move around, bend down (to pick things up off the floor, of course), and get clean without feeling claustrophobic. I decided I wanted glass doors. No one likes a shower curtain that always seems to fuse to your leg when you’re rinsing off.
But there’s one thing to know about shower glass that not many people talk about: the thickness. Most standard shower doors are only 1/4 inch thick. Don’t believe me?
Go look at yours. Now think back at how cheaply that door feels when you close it. Ours wiggled back and forth when we closed it, which always bothered me.
You Might Also Like

Instead, I upgraded to 3/8 inch tempered glass which feels ten times more substantial. The doors don’t wiggle when you close them and the weight of the glass makes your entire shower feel more high-end than it actually is. One problem we ran into was that we could not install a traditional shower door that hinged open because of how our bathroom was laid out.
If we did, the door would have constantly be hitting into the toilet every time someone showered. Instead, I opted for a sliding shower door system that works great, but needs to be measured to the millimeter. (Yes, I did measure it three different times too.) Now here’s the fun part. Removing that bulky tub really opened up the bathroom.
It actually felt like it doubled in size! The sightlines were completely opened up. Before, when you walked into the bathroom, your eye would go to this huge tub taking up most of the space.
Now your eye takes in the entire bathroom at once. The new shower also allowed me to move things around. For instance, we were finally able to move the toilet paper holder into a spot that actually made sense.
And I was able to add a small corner shelf unit where some of the old tub plumbing used to run. I picked up this super inexpensive white melamine shelf unit from IKEA for about $40. It’s nothing fancy but it holds towels, toiletries, and that bucket of shame we all keep hidden (yes, that’s mine).
Expect the project to take longer than you think. Ours took about a month to complete because our funky 1950s plumbing had to be rerouted. (Moving the drain took about a full day!) And trust me when I say you don’t want to wake up to a crew of construction workers jackhammering your bathroom floor at 8 AM on a Saturday. Watch them waterproofing your shower surround and you’ll worry about leaky pipe problems for weeks.
I seriously had a sleepless night worrying about how water would eventually find its way into these microscopic cracks and destroy my floor joists. But they used a liquid membrane system that is applied similar to paint and creates a seamless waterproof shield over your walls. It’s actually pretty darn cool.
Life after the tub couldn’t be better.
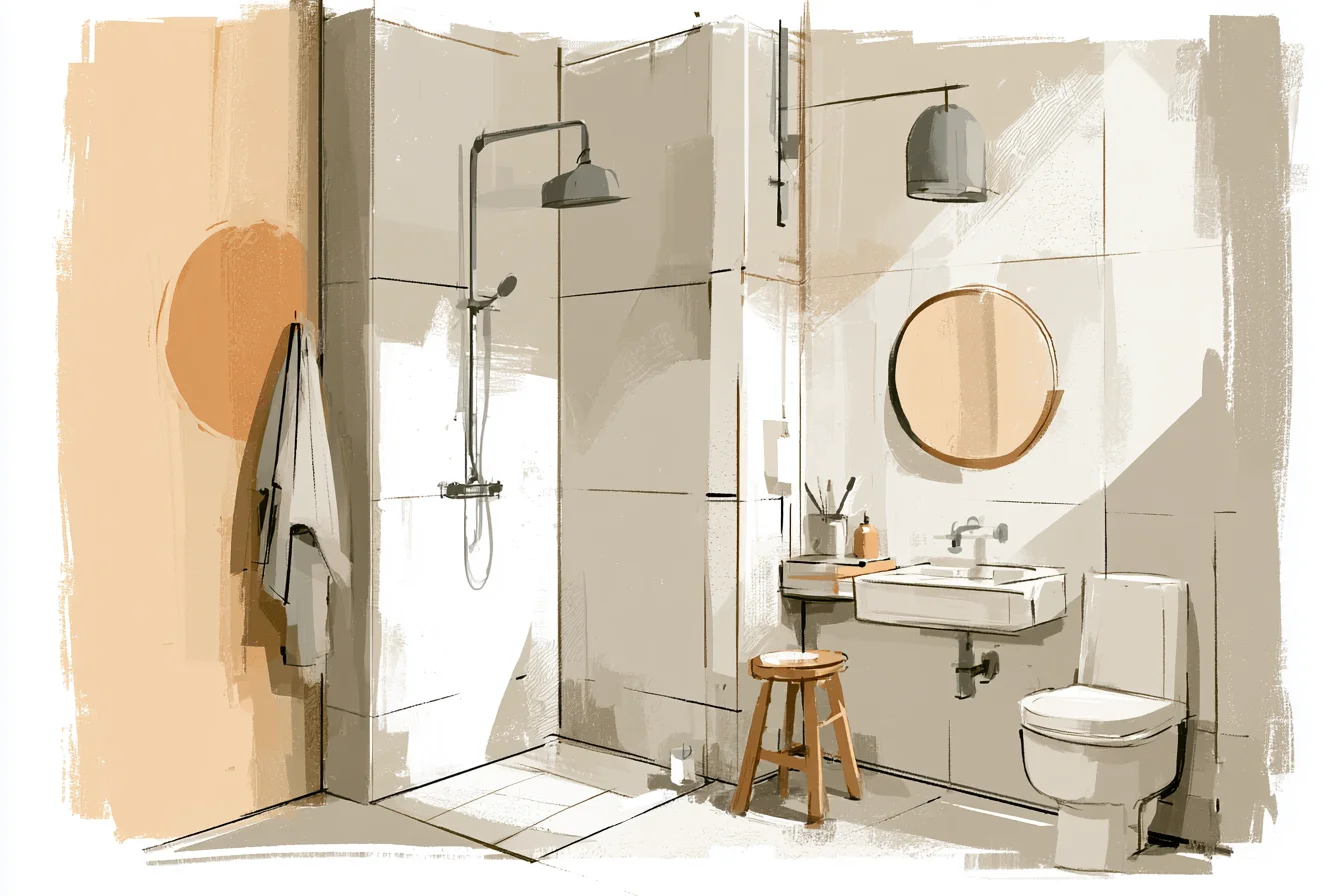
I went from a stressful shuffle-and-dodge technique to showering to a nice relaxing routine. I love stepping into my shower now and knowing that I have plenty of room to move around.
The water pressure is fantastic (we also installed a new showerhead too) and it heats up in seconds. I can actually relax when I’m washing my hair instead of sweating from the steam while doing yoga-teacher showers just to fit behind the tub. What I wasn’t expecting was how much the new shower opened up the space.
Our bathroom looks and feels so much bigger (and brighter) than it did when that tub took up half the room. Every single one of our friends who visits the house comments on how spacious it looks. It’s kind of funny because we didn’t technically change the square footage of our bathroom – we just learned how to use it better.
Our bathroom remodel ended up costing around $3,200 including materials and labour. It wasn’t cheap by any means, but considering we didn’t replace the tile or move any plumbing fixtures, it was pretty reasonable. Converting our bathtub to a shower fixed every issue we had with our tiny bathroom and has drastically improved how our bathroom functions every day.