Our shower had been slowly leaking onto the wall behind our bathroom sink for so long that Phil started referring to it as “the UK”. Seriously, if you tilted your head and covered up all the mold patches correctly, it did kind of resemble Britain. I had been ignoring it since we moved in months ago, partly because I didn’t know what to do about it and partly because let’s be honest, your brain is excellent at ignoring parts of your home that are kind of shameful.
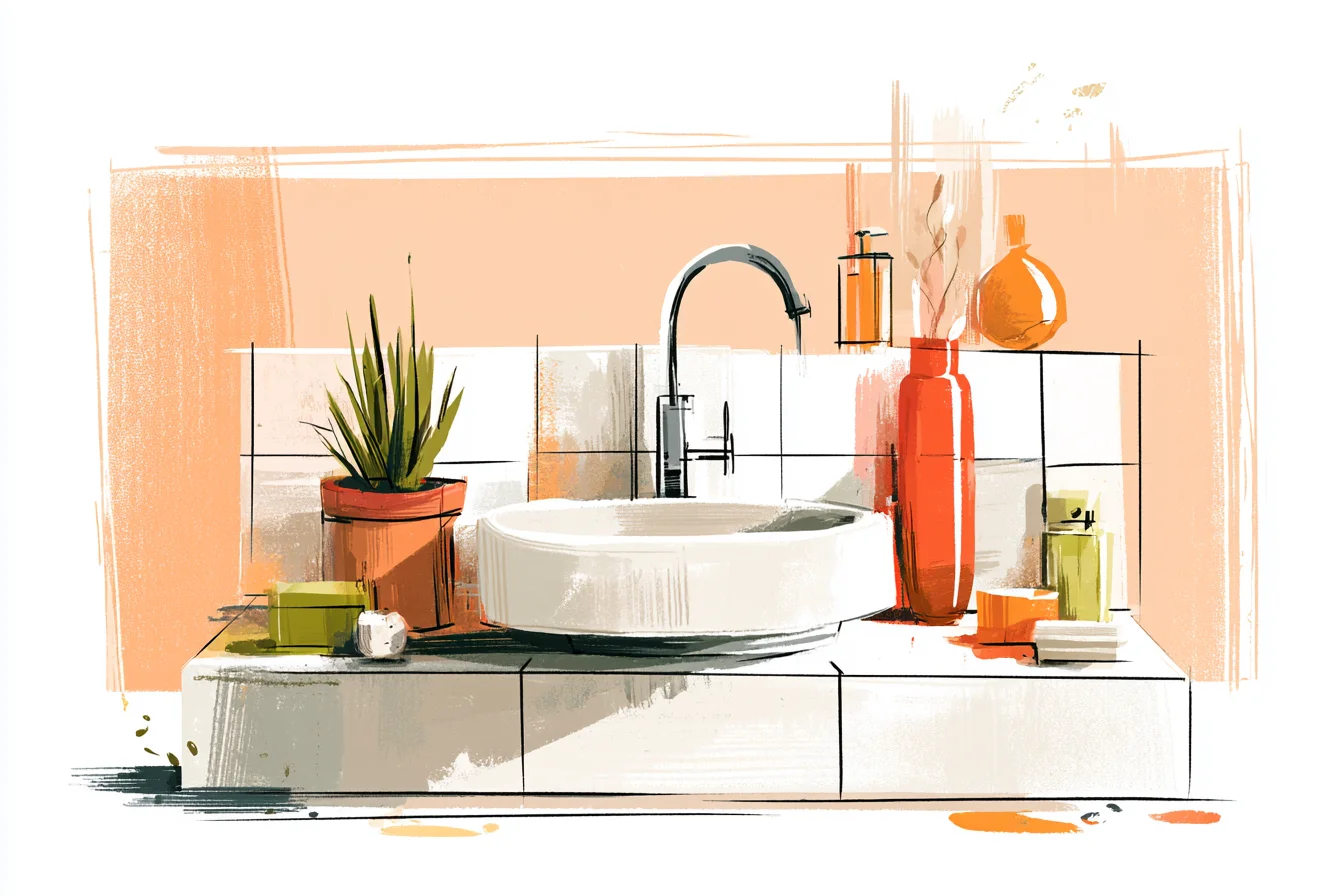
Until one day my youngest sister was over staying and asked if we’d “maybe thought about doing something about that wall thing?” Enter project bathroom backsplash. Turns out sinks are one big assault course for hurling water directly onto your walls. Growing up I always thought backsplashes were just for kitchens; you know, behind the hob where you’d splash a lot of cooking oil and water when frying.
Who would have thought brushing your teeth, morning and night would result in the same type of buildup, just slower and less glamorous? When we moved in our bathroom was basic as heck.
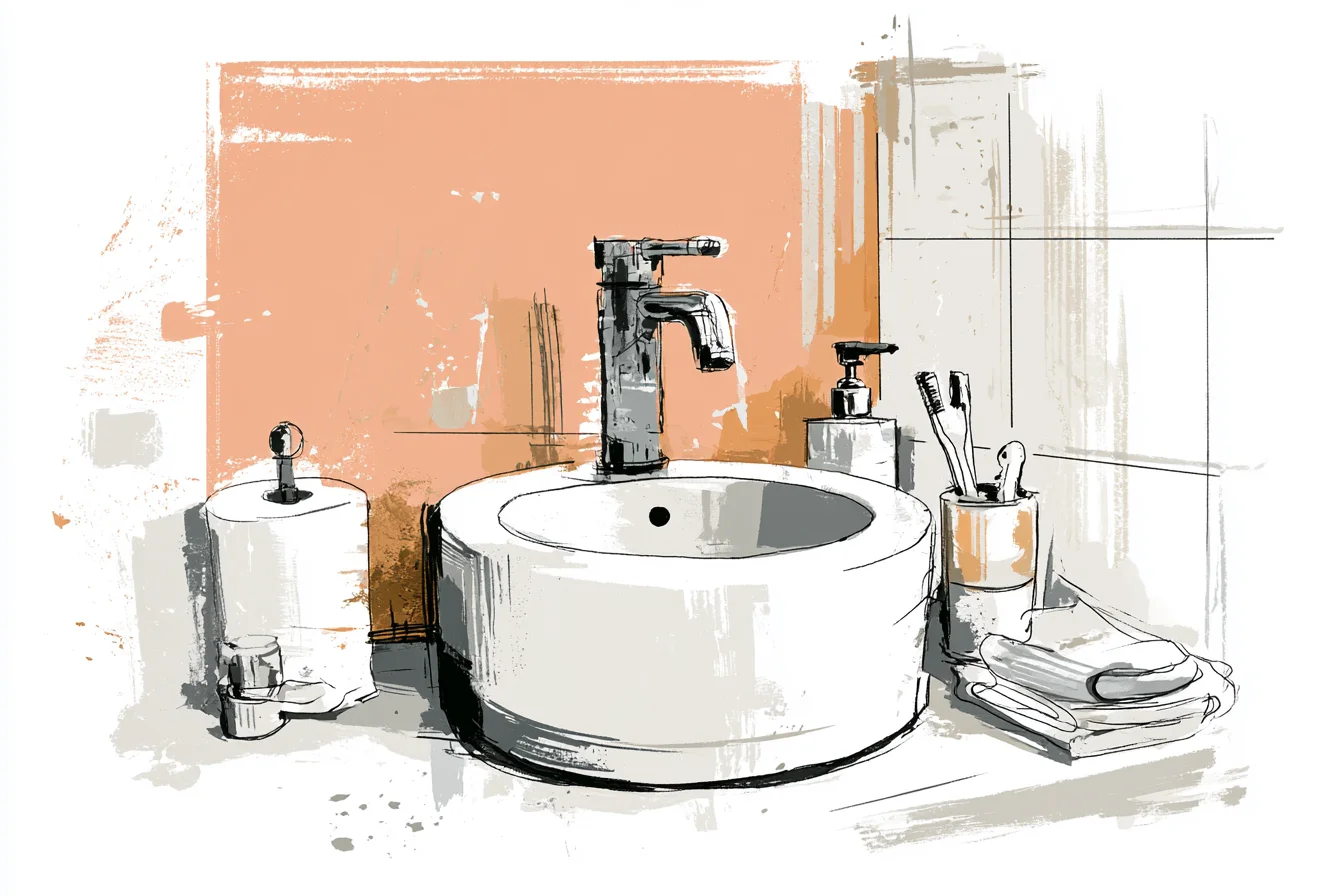
Pedestal sink, B&Q mirror, and bright magnolia walls.
Magnolia is landlord-safe paint colour because it’s supposedly neutral but let me tell you, when you splash water on your face every morning to wake up then brush your teeth, tiny droplets of water travel straight for that wall. Fast forward eighteen months and the magnolia paint was bubbling, cracking, and starting to smell a little funny – like emulsion mixed with mold. Eau de mildew wasn’t helping my relaxation during my twice daily skincare routine.
My very first attempt was embarrassingly simple. Bought a bucket of Dulux bathroom paint – the expensive kind that’s moisture resistant – and slapped it straight over the damage area. Looked fab until about a month later when the bubbling started to reappear, through the magic waterproof paint.
Guess what guys, even high-end paint isn’t actually meant to be soaked every day! Groundbreaking stuff I know. That’s when my research began into bathroom backsplashes.
I was surprised at how many options there were. You don’t need to gut your bathroom and employ professionals. A lot of the DIY options are inexpensive and take literally less time than a film to complete!
One of the first options I came across was peel-and-stick tiles. These white subway Wickes tiles appeared to be made of legit ceramic, with glue on the back. £35 for enough tiles to cover my sink area with extras. To install, took me around 2 hours start to finish.
Mainly because I was having a slight meltdown about whether my lines were straight enough? Probably not, but who’s checking? Instant transformation.
Obviously I loved how it looked (those fresh white tiles against a grimy wall = total game changer,) but I also noticed an actual difference in how the wall acted. Before you’ve got water collecting in the porous paint before it evaporates at its leisure. With tiles, water hits and beads straight off.
I can now literally wipe my wall down after brushing my teeth if I want! Mind blown. I will say, I learned about HEIGHT the hard way.
My first backsplash only came about halfway up the wall from the sink. Mistake. Water DOES NOT drip down from your sink like a glorious waterfall.
It flies everywhere. Off the tap, off your hands, onto the kerb we shall call Pluto. I eventually ended up going about 2 feet up from the bottom of the sink.
Similarly with WIDTH. I also originally only covered as far as the edges of my sink once I realised I needed to go taller, but water is ridiculous. Make sure to cover AT LEAST a couple inches on either side of your sink just for overflow.
You Might Also Like

Ok so now I’m obsessed with how different tile patterns can change the vibe of the SAME tiles! Take my subway tiles I mentioned above. Lay them in the traditional horizontal brick pattern and they’re safe, slightly boring.
Straighten them up and tilt them vertically and BAM. Modern fancy trousers bathroom vibe. Go full on herringbone with those bad boys and you’ve basically installed your own feature wall. 🍰 Disclaimer: Cutting the end pieces for herringbone will make you question humanity so either prepare yourself, or go horizontal.
I also experimented with options outside of tile. There’s this great textured wallpaper that’s meant to be used in bathrooms because it looks like grasscloth but is wipeable like vinyl. Installed some behind my sister’s sink when I helped her redo her bathroom and it’s been flawless for over a year now.
Love that the texture hides watermarks if you’re not obsessing over wiping down your walls after use. Natural stone is gorge but requires way more upkeep that I initially thought. Installed a thin sheet of marble behind our sink in our current bathroom.
It’s one of those flexible slabs you can buy precut. Looks insanely expensive and really elevates the whole room. But the marble is very porous and needs sealing more often than I expected.
Realised this when I left toothpaste on it and ended up with permanent marks. Still love it, but if you go this route know you’re signing up for maintenance. On the more affordable end of things, I’ve actually had a lot of luck with beadboard.
I mean like real moisture resistant MDF beadboard. Painted with that fancy bathroom paint. It can look super nice behind a bathroom sink.
Obviously not as easily wiped down as tile, but it handles moisture way better than a regular ol’ painted wall. Gives a bit of texture to an otherwise flat, depressing bathroom. Something I love is that functionally your best bet are things you can easily wipe down; ceramic, porcelain, sealed stone.
But because those are the best for keeping your walls safe, they also come in literally hundreds of designs. Buy tiles that look like wood. Buy tiles that look like concrete.
Buy faux fabric shower curtains, and yes, tiles that look like leather. Technology has got so advanced that you can truly achieve any look you want while still getting the functional benefits of a waterproofed area.
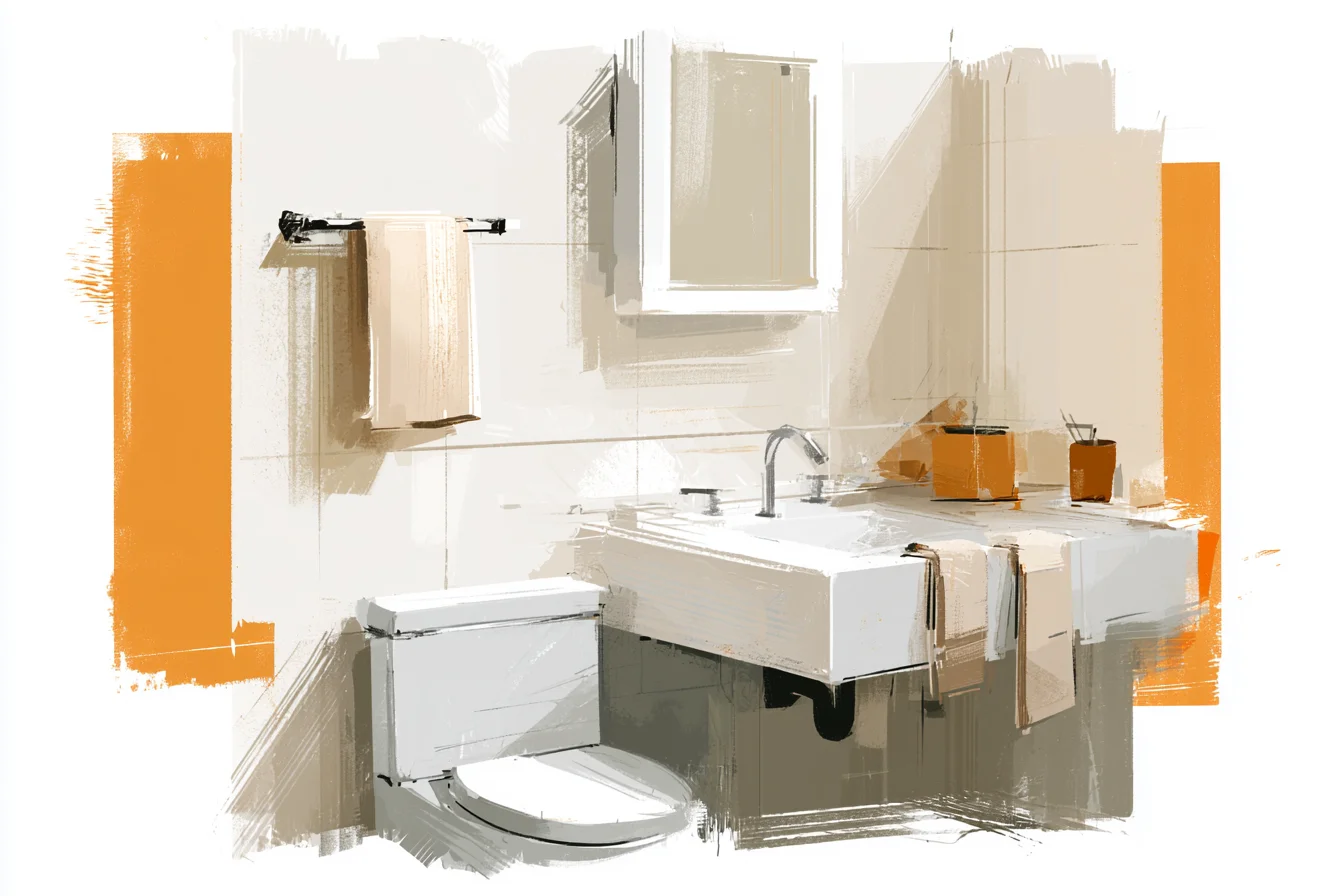
As far as INSTALLATION goes, nearly all of these options are actually doable by normal, NON-CRAFTY people.
Like I said, the peel-and-stick tiles are about as foolproof as it gets. If I did that, anyone can. Hell, even laying actual ceramic tiles isn’t that big of a deal for a small space like behind a bathroom sink.
You’re not trying to make fancy cuts around shower heads and such. Purchase a tile cutter from Screwfix, some tile spacers, and waterproof adhesive and you’re golden. Honestly, the ROI on this has been incredible.
And I don’t just mean monetarily (although come selling time this definitely increases your home value,) I mean quality of life every single day. No more scrubbing at who-knows-how-long water stains every weekend. No more worrying about mold growing behind my sink.
No more ugly paint staring back at me while I’m trying to mentally prepare to face the world every morning after brushing my teeth. Not household tasks glamorous, but little improvements like this really do make your home way more enjoyable to live in.