I woke up in the hallway bathroom the other morning at 6:30 AM. I was standing next to the sink waiting for my partner to finish brushing his teeth. As I was staring into space I came to a realization.
The area around the bathroom sink probably experiences more foot traffic than any other place in your house. After school the kids come in through the back door covered in dirt and they have to traipse through the house to the bathroom. Before heading out on dates teenagers linger by the sink checking themselves out in the mirror and getting ready to spend time with their friends.
The bathroom sink truly has to work harder than any other room in my house. My bathroom wasn’t always this functional.
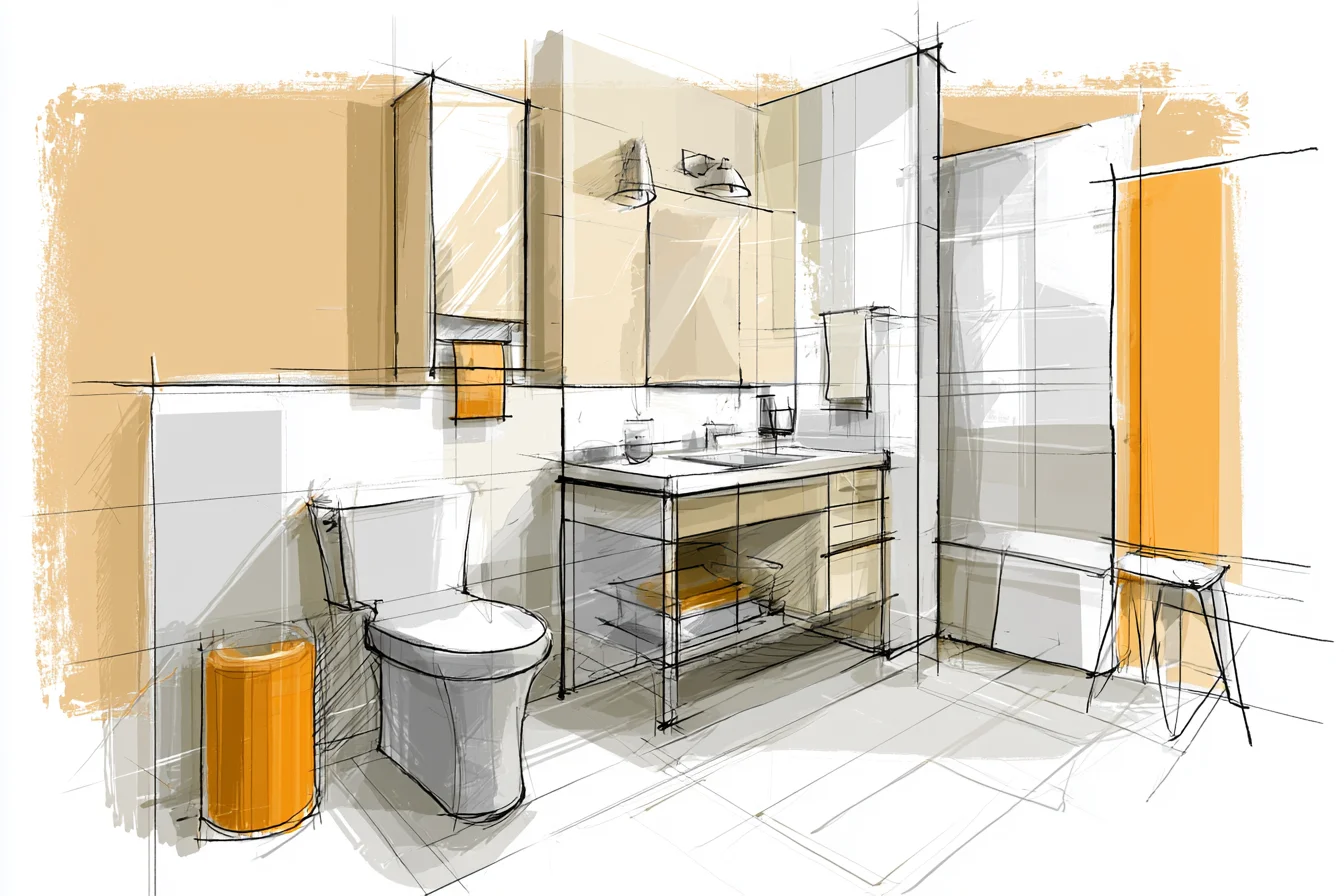
It used to be beige.
Beige…with…TEXTURE. Gross, aging beige. The medicine cabinet was half empty.
There wasn’t a towel rack, only a small hook mounted on the back of the door. Everything about the bathroom was coated with instant stain water spots. For the last three years I’ve been on a mission to turn this once neglected bathroom into a functioning space for my family of four.
And by “four” I mean four chaotic humans that all need to use this bathroom at the same time plus the dog, who feels it’is his job to ask for water the second someone is washing their hands at the sink. Below are some tips and tricks that I’ve learned along the way on how to make your hallway bathroom functional for multiple people without spending your entire budget or completely losing your mind. 1.
Change the floor. Oh my gosh, change the floor. Seriously.
Every bit of success I’ ve had with this bathroom started with changing the floor. I ripped up the horrid vinyl floor covering and replaced it with large format ceramic tile with a micro texture. Large format tile with a slight texture is great because it’s not porous enough for dirt to stick to but gives you enough grip that nobody will slip while exiting the shower.
In total, the flooring for this bathroom cost me around £400 but when finished it looks like we spent £800. Don’t buy white tile/grout. Ever.
Buy dark grey grout. You’ ll thank me later. 2.
Maximise storage Storage was my next biggest priority. Our original medicine cabinet was about 12 inches wide. That’s right….12 inches.
If you have kids you know that doesn’t cut it. I was able to find a larger recessed medicine cabinet on clearance at my local stone yard. It was marked down from £200 to £85 because the mirror had a tiny chip in it.
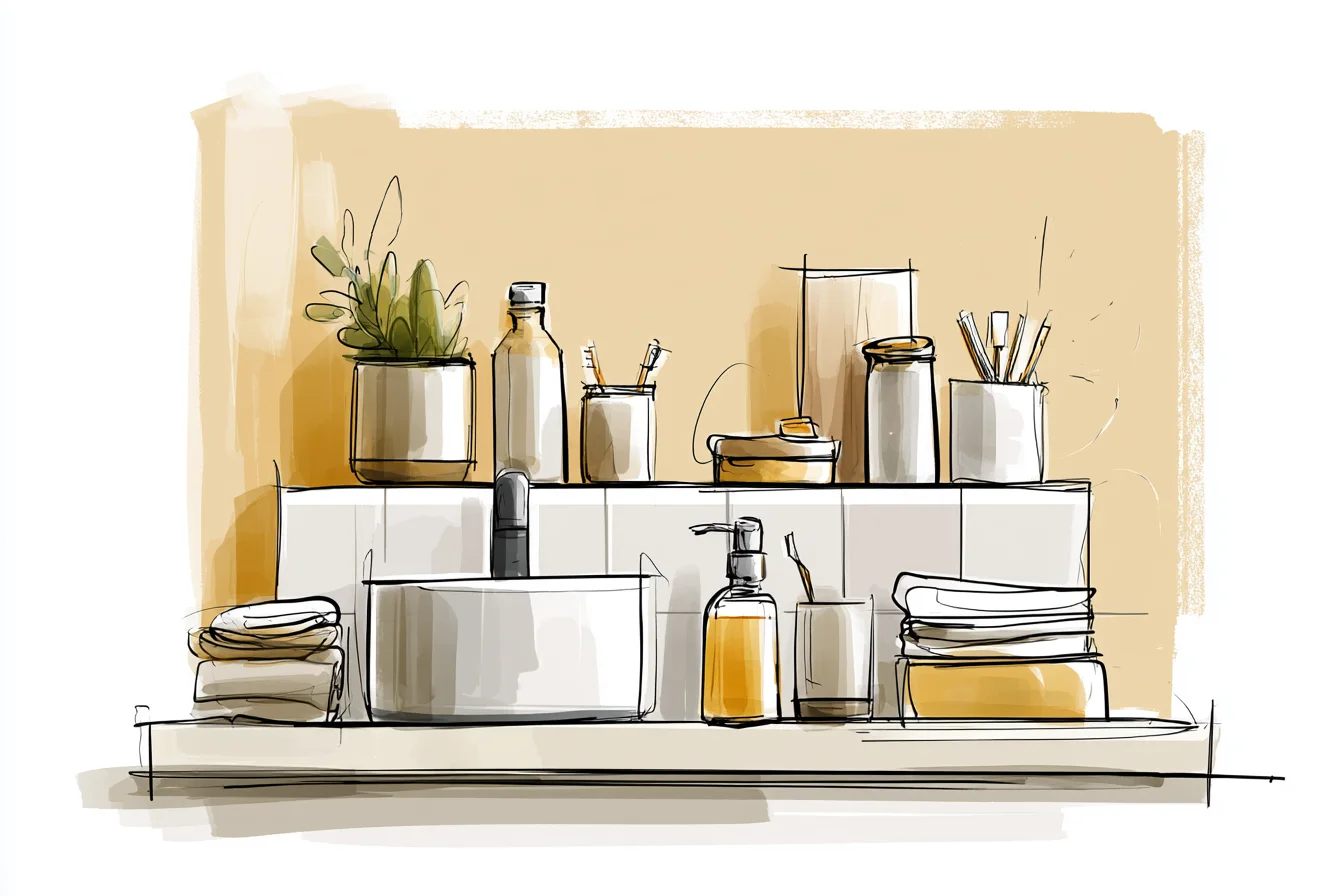
Nobody cares about the scratch but everyone does care that we now have places to put stuff. I also installed a narrow ledge shelf unit on the back of the door for extra toilet paper storage, cleanser storage and all those junky bathroom things that typically end up on the counter. The key with storage in a high traffic bathroom is everything needs its own zone.
Our medicine cabinet has three shelves. The top shelf contains adult related products like razors, prescription medication and nice face wash. The middle shelf is for common bathroom products that everyone shares.
The bottom shelf is reserved for kid products only. Now my almost 12-year-old son can reach his own contact lens solution and acne wash without my help or having to climb on the sink. 3.
You Might Also Like

Invest in a good mirror We replaced our mirror with one that has built in LED lights on each side. Sounds fancy and expensive right? No…it was £120 from a bathroom display room during an end of season sale.
The light is bright enough for detail work but does not appear harsh in the morning at 6AM. My kids can both see themselves full size without having to cram their feet up on the sink. I can see if I actually need more mascara.
4. Install lots of towel racks The single towel hook on the back of the door wasn’t cutting it. We installed a towel ladder…essentially a pretty wooden rack that leans against the wall.
Towel ladders aren’t super expensive. Mine was £45 and hangs 6 towels. Long story short..buying multiple towel racks and giving each child their own spot to hang their towel has eliminated the fight over towel ownership.
5. Paint the heck out of it. Paint colour was hard.
I wanted something fresh but didn’t want to worry about fingerprints. We ended up painting the walls a soft blue-grey colour called “Morning Mist.” Don’t laugh at my paint colour choices. They are literally the worst.
It’s airy enough that it doesn’t make the small bathroom feel closed in but has enough pigment that it feels intentional. And semi-gloss paint finishes are effortless to wipe down and that is essential when you have a bathroom that gets as much traffic as ours does. 6.
Shower essentials We decided to keep the existing tub- combo but installed a handheld shower head as well as the existing fixed shower head. The kids can now wash up without turning on the shower head that hooks to the ceiling thus saving them from having to shower when they just want to rinse the dog hair off. Our shower curtain is machine washable.
Yes…prior to replacing our shower curtain I learned this the hard way one day when I was trying to scrub mildew out of a fabric shower curtain liner. 7. Lighting levels are everything We added layers of lighting to this bathroom.
The old ceiling fixture cast shadow all over the place. We installed an LED light strip underneath the medicine cabinet to serve as task lighting and left the overhead fixture for ambient lighting. Now nobody is squinting to see what they look like in the mirror and nobody is crashing into the bathroom walls when they wake up at night to use the toilet.
8. Add kid-friendly features We added a few subtle details for the kids. Lowered towel hooks, a folding step stool that hooks to the wall and non-skid bath mats inside the tub.
The soap dispenser is mounted low enough that kids can reach it themselves without making a huge mess every time they wash their hands.
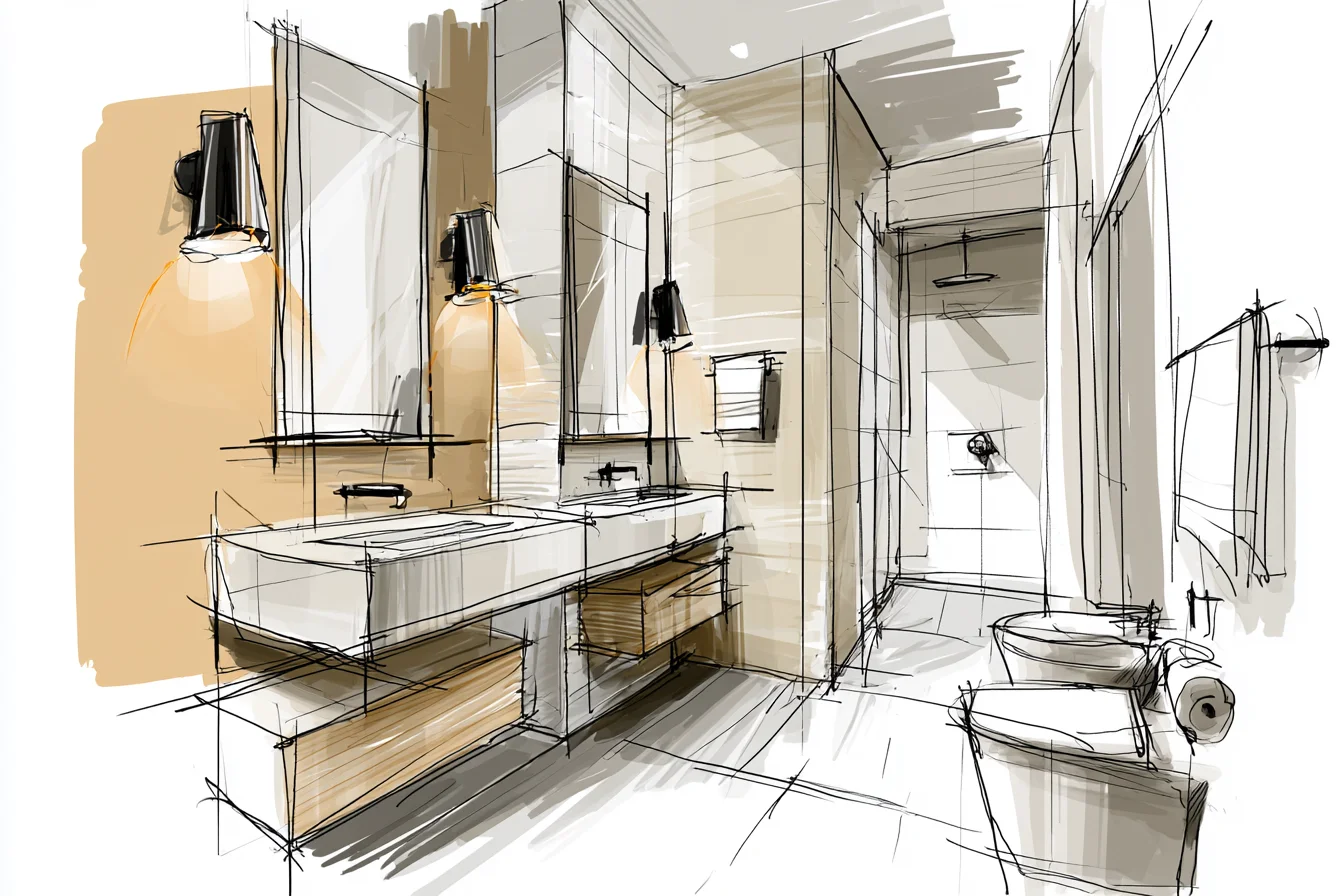
These small changes cost us about £50 but has eliminated so many day time arguments. 9.
Don’t get squeamish over the tap Speaking of the tap….do not get hung up on the tap. Of course you want a quality tap that looks great but don’t be like me and get something that is too fancy for its own good. I installed this ridiculously great looking tap that had a long sweeping spout that flung water everywhere and was impossible to clean.
It lasted six months before we switched it out with something much more practical. Lesson learned. Sometimes practical beats pretty and that just fine.
10. Update the ventilation I hate ventilation. Who wants to talk about ventilation?
Listen..if your bathroom doesn’t have proper ventilation eventually your walls will start buckling from the humidity. We installed a new quieter exhaust fan that moves more air and doesn’t sound like a helicopter landing on your roof whenever someone turns it on.