You know when you walk into a bathroom and it just feels….weird. Like everything about it is just slightly….off. I felt that way about my teeny bathroom at my current flat for months.
The walls were this depressing beige-ish colour and it felt like you were in the waiting room of a dentist’s office in 1987. Plus, it was tiny. If you’ ve ever remodeled a bathroom that is approximately the size of the phone booth from “Home Alone” (okay, maybe I’ m stretching the analogy here, but only slightly) you know that each and every design choice is magnified exponentially.
I had put off doing anything about it for months. Well, okAY – ripping out the tile and starting fresh was completely out of the question.
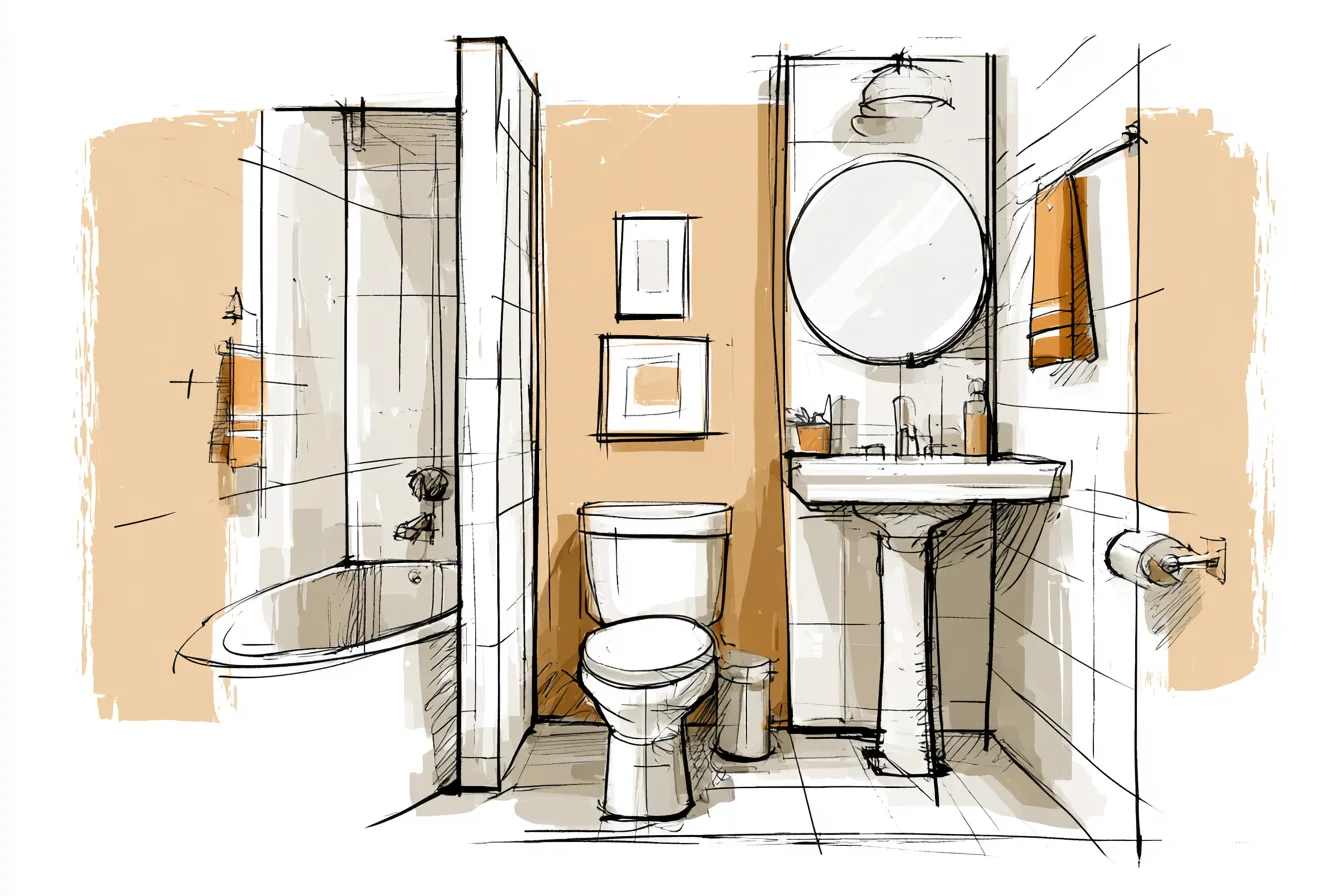
Even the thought of re-tiling made me shudder.
First of all, bathroom tile costs what?! It seems like every day. They’ re made of tiny diamonds.
And I would literally have to CHISEL the existing tile off the wall ( God help me if I tried to do that around the actual plumbing) and chances are my landlord would have some choice words for me. But my friend Sarah told me she had wallpapered her downstairs bathroom and I thought….wait….what? You can paper a bathroom? !
Oh, yes! You can, and it’ s pretty genius if you ask me. First off, you want to make sure you’ re buying a type of paper that can handle the moisture from a bathroom.
After I had fallen down the internet rabbit hole looking at pretty (but HARDEREPLETEMENTRESISTANT wallpapers), I learned that all wallpaper is not created equal when tackling something like a bathroom. You need to make sure you can find one that is moisture resistant to withstand the occasional splash from over-enthusiastic hand washing, or the humidity from a shower. Basically, you want to look for vinyl coated papers.
They are essentially wearing a rain jacket. Secondly, many wallpaper manufacturers now make bathroom-rated papers that are basically WATERPROOF. Side Note: Don’t be like me on your first attempt.
I fell in LOVE with this wallpaper ( swirly vines, little birds) but did not realise my mistake until it was too late. It was NOT moisture resistant. By week two, the bottom corner began to peel.
By week three I was standing there in my bathroom naked (yes, you read that right) picking at the curling pieces of wallpaper like it was patchouli. That shit is expensive lesson to learn. The second time around, I opted for a small-scale geometric.
Something not too busy- just small hexagons in a sage and cream colour. The scale of the pattern is crucial when wallpapering a small bathroom. You don’t want something that has huge characteristics because it will make the room feel even smaller- like you are in the tunnel of crazy kaleidoscope.
Small, repeated patterns trick your eye into thinking there is more square footage than there actually is. Same reason why diagonal stripes work so well in small hallways. Prepare.
Your. Walls. Seriously.
I mean it. Prepare. Like you would if you were going to get a professional painter to paint your house.
I didn’ t sand down every nook and cranny, but I wiped the walls down really well and filled any holes I wanted to fill. You want your walls to be as smooth as possible before you start. Wallpaper magnifies any bumps or rough areas on your walls.
You Might Also Like

Trust me. And bathrooms are the worst for this because of all of the moisture. Take the time.
Once I had sanded down every gap and crack with some fine sandpaper and filling, I was wiped out. I literally had sore shoulders for a week. But it was worth it.
Speaking of worth it….Wallpapering a bathroom IS worth it. But it was a labour of love. Installation Day was…..well….it was an experience.
Like I mentioned before, I watched like 17 YouTube tutorials on how to properly hang wallpaper, borrowed a proper wallpaper table from my neighbour across the street (thanks Eva! ), and bought the proper adhesive paste (that cost way too much money). The hardest part about hanging wallpaper in a bathroom is well…. the size of the bathroom. Every angle you try to reach at feels like you’ re trying to fold a fitted sheet into a phone booth.
But the first sheet went up SO smooth. It was flush to the wall, lined up perfectly with my chalk line, and I was feeling like some sort of Kardashian of DIY Projects. However, things started to go downhill with sheet number two.
Turns out, houses that have been built in the early 1900’s like mine have walls that are…..well….not exactly straight. What I thought was flush with the corner at eye level was actually very crooked at ceiling height. Cue me staring at my wall with a spirit level for twenty minutes cursing like a sailor my mum thought had been abandoned by Jesus.
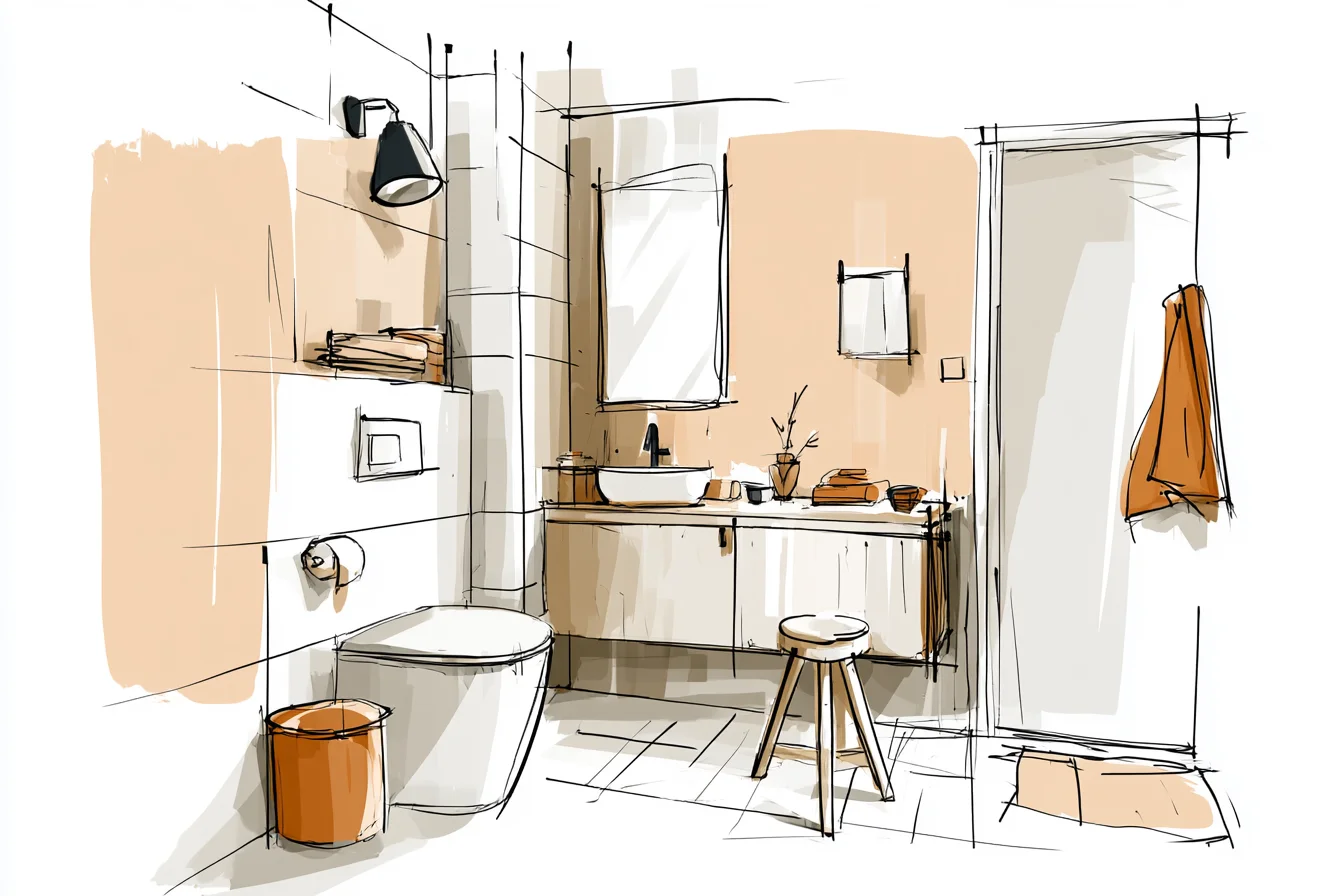
But once I had finished my bathroom looked like a completely different room. Where that beige box had been the week before now sat this cozy retreat. The pattern added some interest without overwhelming the small space, and the softer colours made the room feel brighter and more luxurious than the starkness of the original tile.
And I got compliments on it. Like REAL compliments on the bathroom. Newsflash….people never comment on your bathroom unless something has gone terribly wrong.
Oh, and cleaning it!? Texture sold me. While you shouldn’ t submerge your walls in water like you would with normal paint, the vinyl coating makes it so I can easily wipe down my walls (PLEASE send all pregnant lady toothpaste explosions to me from now on!) and any water spots, toothpaste spots (UHHH WHY do they always happen?!?) or random mascara catastrophe comes off with a damp cloth.
No streaks, markings or divots. I’ ve since wallpapered two other powder bathrooms since this initial bathroom. One, a friends rental flat and my mum’ s powder room.
Each time I learned a little something new. Lighter colours ALWAYS work better in small rooms; they reflect any light there is and give the illusion of an actual space that is NOT a cave. Textured papers can add depth and interest but are hard to keep clean.
And finally, yes, that $500 awesome wallpaper you found online may be worth every penny, but most of the time you can get a similar feel for about half the cost with a mid-range wallpaper.
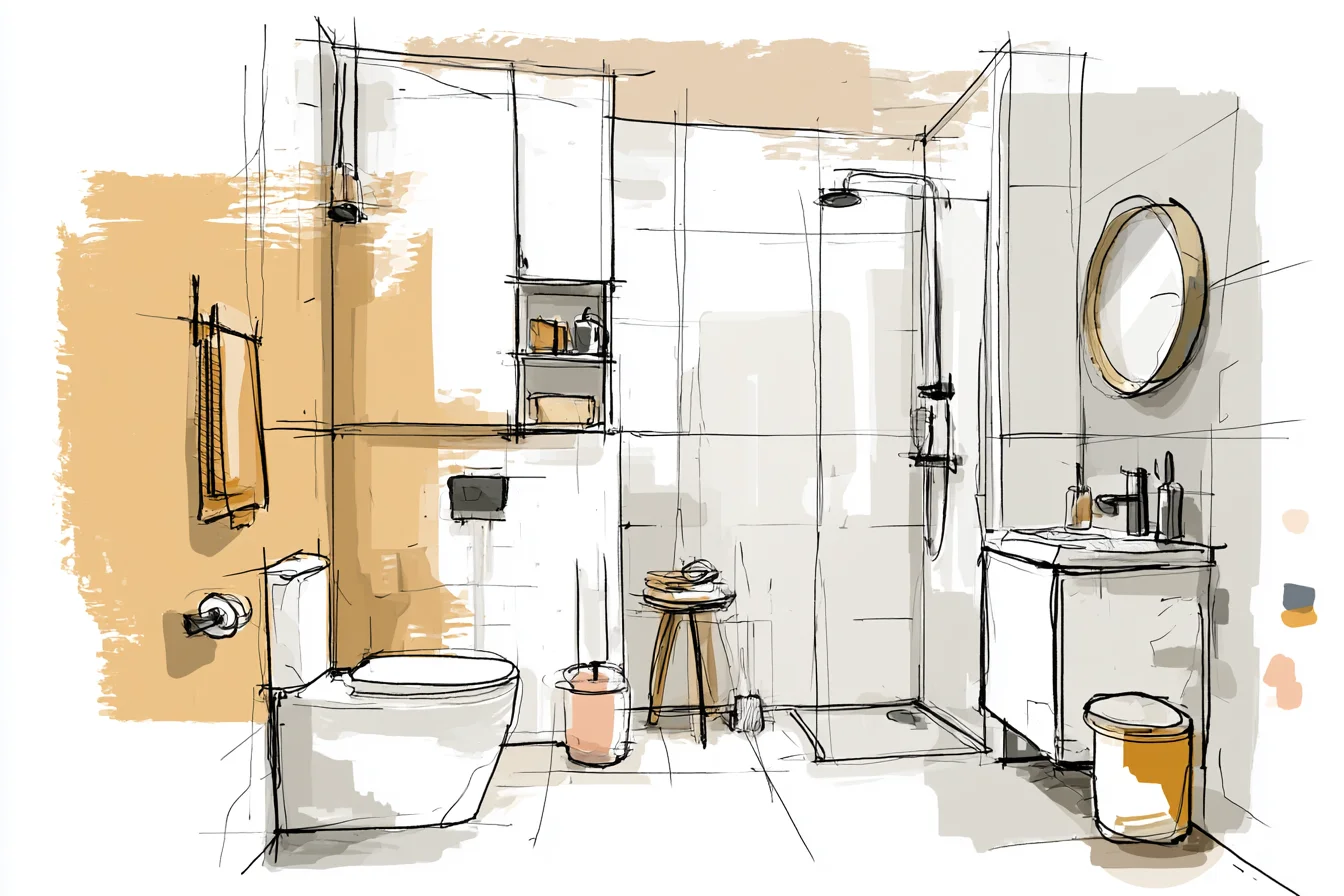
In total this project cost me around $150. For my bathroom (about 6×4) I used 3 rolls of wallpaper (@ $35/ roll) and then the adhesive and tools to hang it.
Compared to ripping out the tile ( another $800- $1000 on top of that) and potential plumbing headaches, this was a no brainer. FYI- if you’ re dealing with serious ventilation issues or chronic dampness, tackle that issue head on before putting any wallpaper down. Yes, they are moisture resistant but they’ re not magical.
Any bathroom needs to be able to ventilate properly, whether you choose to put in a good ventilating fan or open the windows when you shower. I’ ve learned my lesson. Next flat, I’ m going all out.
Bathrooms can handle so much more personality than we give them credit for. And the best part, unlike ripping out a bathroom and starting from scratch, if you get bored of your wallpaper, don’ t like how it turns out or just want a change after a year or two, you can simply wallpaper over it. Or rip it ALL off and start over.
Sometimes the best DIYs are ones that don’ t require remodeling loans or an entire crew of workers.