Remember that gratifying *click* when you set down a tile sample and it doesn’t chip? Yeah, that’s quality click. I didn’t know that until I spent a frustrating weekend chipping tile up from my first bathroom floor.
I had chosen a cheap ceramic tile that looked good enough in the store, but after six months of normal wear and tear, it became a cracked mess. I’d been living in my flat for just over a year when I decided that the ugly beige builder-grade tiles had to go. Besides being unsightly, they were downright depressing.
Stepping on that cold, dead tile every morning made me feel like I lost a battle with my kitchen floor the night before. So, I did what any sane person would do and went to the tile store with a budget of £200 and dreams in my eyes.
My tile store salesperson (cue angels singing) recommended porcelain. “It’s an investment,” she told me as she began showing me tile samples that were triple my budget.
I thanked her kindly and high-tailed it for the clearance section. Those porcelain tiles were practically singing my name – deep blue with a vein of gold running through it, 70% off! What could go wrong?
Well, let me tell you. Lots. Within months of installation, tiny cracks began showing.
The grout turned a dingy grey-brown no matter how much I scrubbed. And one time I accidentally dropped my hair straightener? Three tiles shattered as if they were glass.
Fast forward to my most recent bathroom renovation. I like to think I wasn’t quite as naive, but I was still learning. Sure, I had researched tile quality before purchasing for this bathroom because of what happened with the first one.
But that didn’t stop me from wreaking havoc on my bank account when it came time to install. Here’ what I know now about choosing quality tile that I wish someone had told me about before. Tile quality starts with the tile.
Yes, porcelain tile will cost you more initially. But it’s also fired at hotter temperatures making the tile harder and less porous. Instead of absorbing water, growing stains from dropped mascara tubes, and cracking when something is dropped on it, it laughs in the face of your kitchen mishaps.
To date, my bathroom floor has survived having a glass perfume bottle dropped on it ( shattered ), weekly sweep and mopping using whatever cleaning solution I found first in the laundry room, and me tossing around yoga positions on the floor while waiting for my hair mask to set. It looks perfect. What surprised me was how little information is out there about tile installation.
Meaning, the actual installation of the tile is just as important as the tile you select. I learned this the hard way by allowing my cousin’s friend who “works with his hands” to install my tile. He happened to get me the tile I wanted at a cheaper price too, right?
Wrong. While the tile itself was decent quality mid-range porcelain, he FAILED to waterproof behind the shower AND used the wrong adhesive on the floor. Six months later, I had loose tile and water damage.
I ended up tearing it all out to re-do it myself ( yes, after already paying someone to do it…). When I did choose a qualified installer, I spent more on the labour of installing the tile than I did on the actual tile. It was so worth it.
A good tile installer doesn’t just place tile on the floor. He properly prepares the surface, applies underlayment when necessary, lays down a waterproof membrane behind your shower, knows which adhesive to use based on what type of substrate is underlayment, and allows the floor to go through full cure time (48 hours for most floors) before grouting over it. My installer even refused to grout until 48 hours had past.
I thought he was crazy/time-consuming/trying to charge me more. The tiles still look like I could install them tomorrow… and I did three years ago. Tile on shower walls really deserves some special attention.
After all, this is where most DIY nightmares occur. I had originally planned on using subway tiles. Classic.
You Might Also Like

Inexpensive. How hard could it be? Hard.
As it turns out, installing tile on walls, keeping your lines straight while on your knees in a small space is extremely difficult. But even more important to consider is that your shower walls take on moisture like nothing else in the house. That cheap ceramic tile I previously swore off?
Yeah, that would have sucked here. While absorption may not be an issue on your floors, your shower walls will absorb all that steam creating that nasty fuzzy mold you can never seem to get rid of completely. Instead, I opted for large format porcelain tile with minimal grout lines.
The less grout, the less opportunity for moisture to penetrate and mold to grow. Not only did my installer finish much quicker ( less cutting= less tiles to lay ), but cleaning takes half the time. I can wipe down my entire shower with a squeegee and microfiber towel in two minutes flat.
Floor tile was another story. I wanted something that appeared textured but wouldn’t be slippery when wet. Because let’s be honest, no one wants to knock themselves unconscious while shaving in the shower.
Textured porcelain was my go-to until I realised that texture also allows room for dirt and soap scum to blend in. After hours of research ( okay, I geeked out over this ) I finally decided on smooth porcelain with a textured grip. Enough to give me traction and make me feel safe, but not enough that it would trap dirt.
Grout selection became an entire project of it’s own. Regular cement grout looks beautiful until you realise it needs to be sealed often and stains easily. Epoxy grout, on the other hand, is thicker (think peanut butter consistency) and completely waterproof and stain-proof.
Don’t let your installer talk you out of epoxy grout because it’s “too hard to work with.” My installer told me just that. More labour costs? Yes.
But watching him clean up the excess grout with water while regular grout needs to scraped at with a brush was all the convincing I needed. Colour selection was… arduous. I waffled between classics white, beige, warm grey, and that beautiful charcoal that looked so chic in the tiny sample.
I ended up going with a medium grey that still hides soap scum but is light enough that I can see water spots. Practical? YES.
Sexy? Eh… maybe not. But I don’t mind wiping down the shower now .
It’s been three years, and my bathroom still looks like it was renovated yesterday. I get compliments weekly from friends who think I just had it renovated. The tile hasn’t chipped, cracked, or stained.
The grout hasn’t discolored or sprouted any funky species.
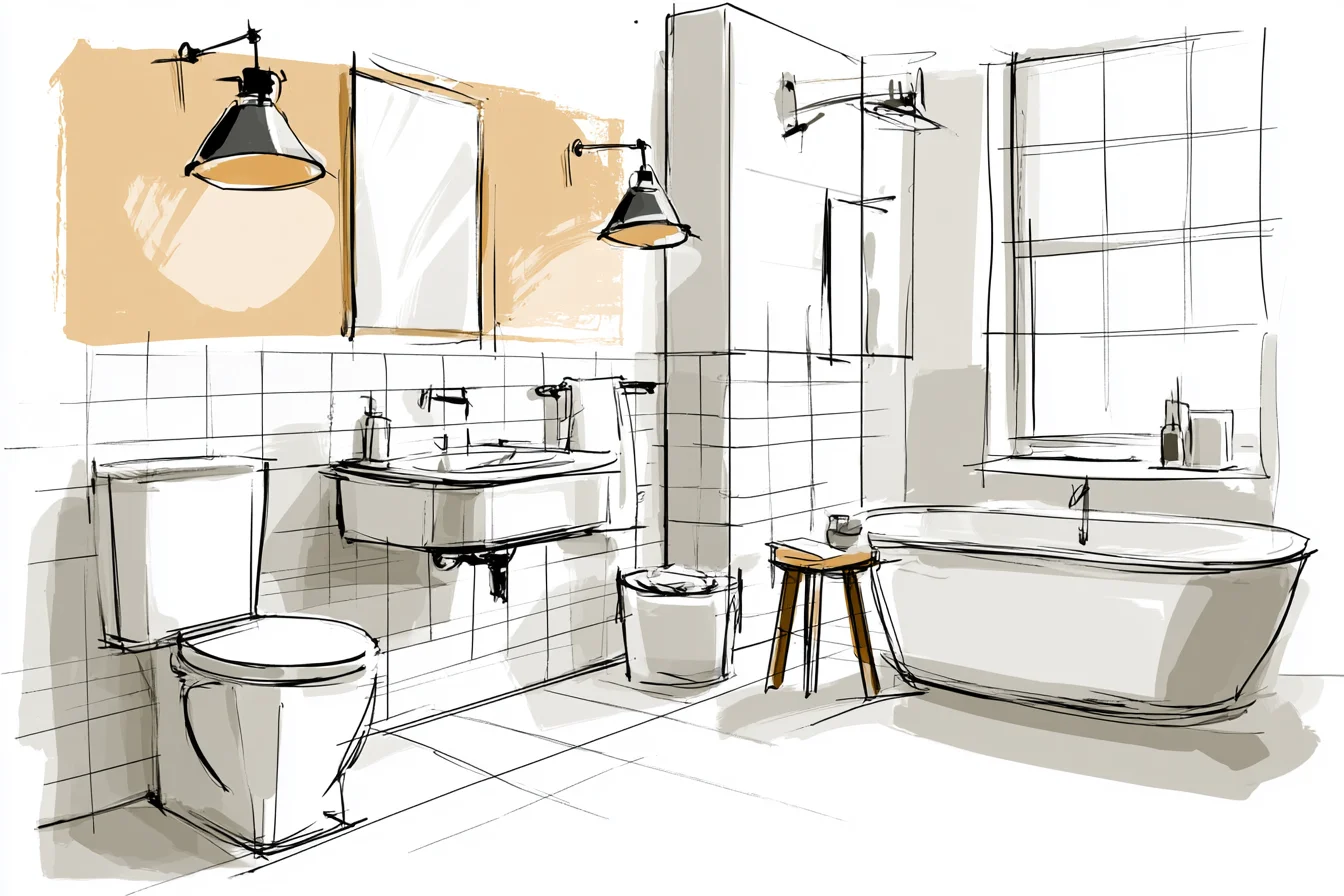
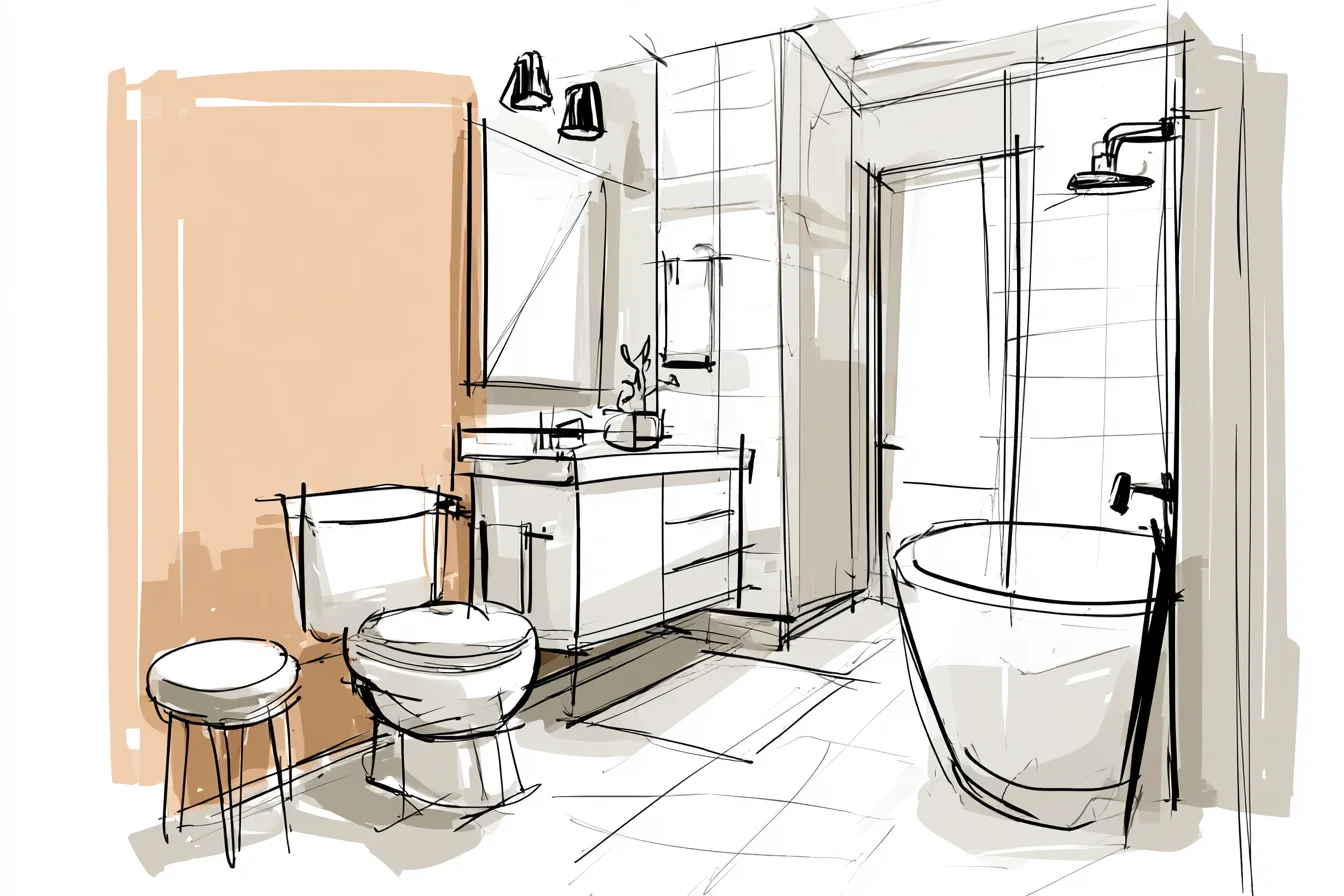
Even down by the toilet ( we all know shower-toilet tile fights are real ), everything wipes down easily and hasn’t yellowed from permanent stains. Did I end up spending way over my original budget?
Yes. Do I regret spending the extra money to have everything torn out and re-installed when the cheap stuff failed? Never.
Not to mention, I love starting my day walking into a space that I know is built to last, looks clean, and is well-designed. People ask me if I regretted spending so much money on tile. My response?
Think about how many times a day you use your bathroom. How long you plan on living in your home. And most importantly, do you want to maintain your bathroom or simply enjoy your space stress-free?
Tile quality isn’t just about what’s pretty, it’s about how it makes you feel.