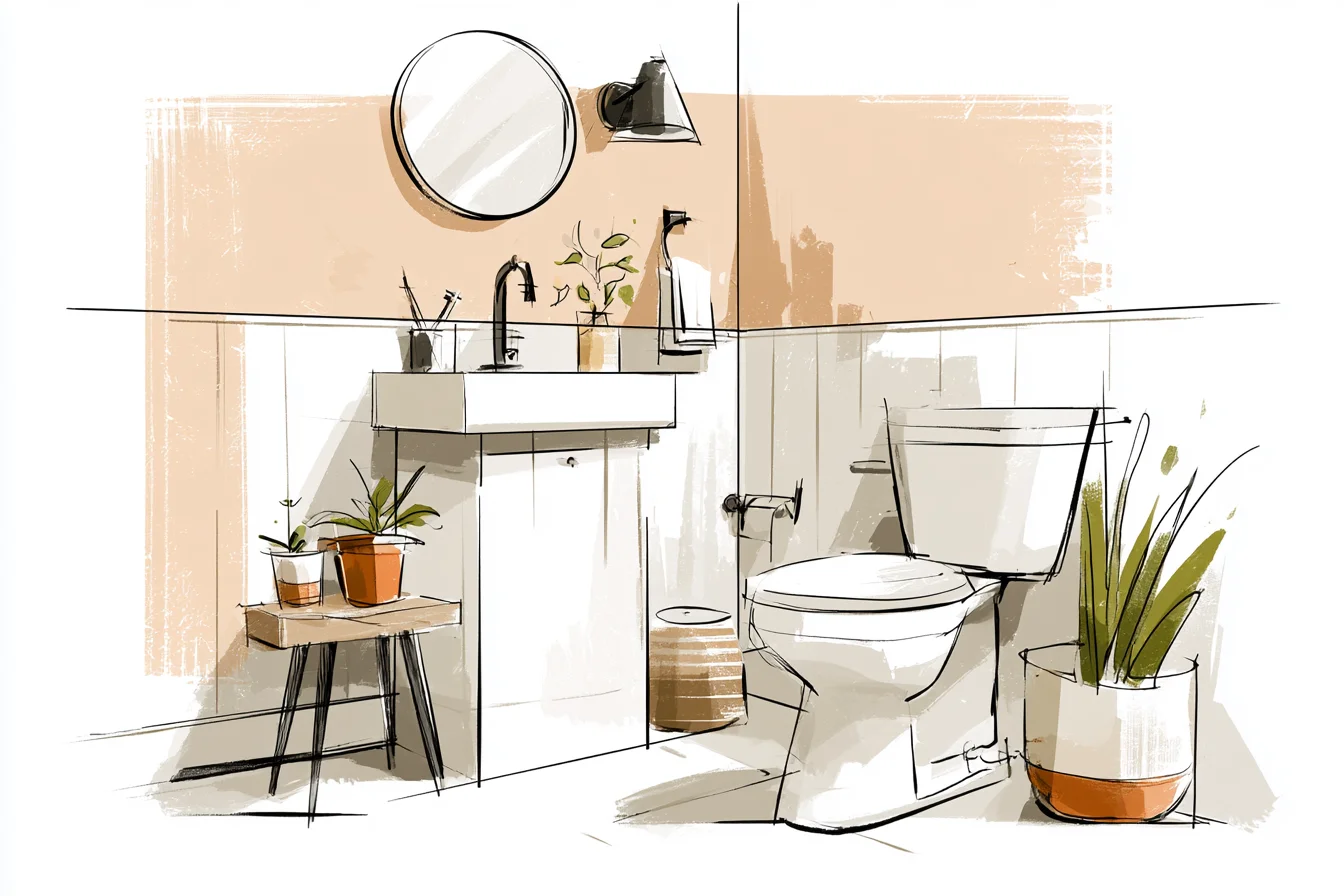
At 7 am with a coffee mug in one hand and glazed eyes staring down at the bottom half of my bathroom walls I thought to myself “Why are these walls so … bland?” The walls were painted a lovely soft grey and photographed well for instagram. But something was lacking. The room didn’t feel finished – like I had forgotten that last layer of *chef’s kiss* to make a space go from “this will do” to “I love this bathroom.” It dawned on me.
My grandma’s powder room. Tiny room, maybe 4 ft. x 6 ft., but the dark wood paneling taking up 3/4 of the walls made it feel larger. She called it wainscoting.
I remember thinking it was just something old people did to decorate but stood in my bathroom that morning and knew it was more than décor. It added visual weight and acted as a buffer.
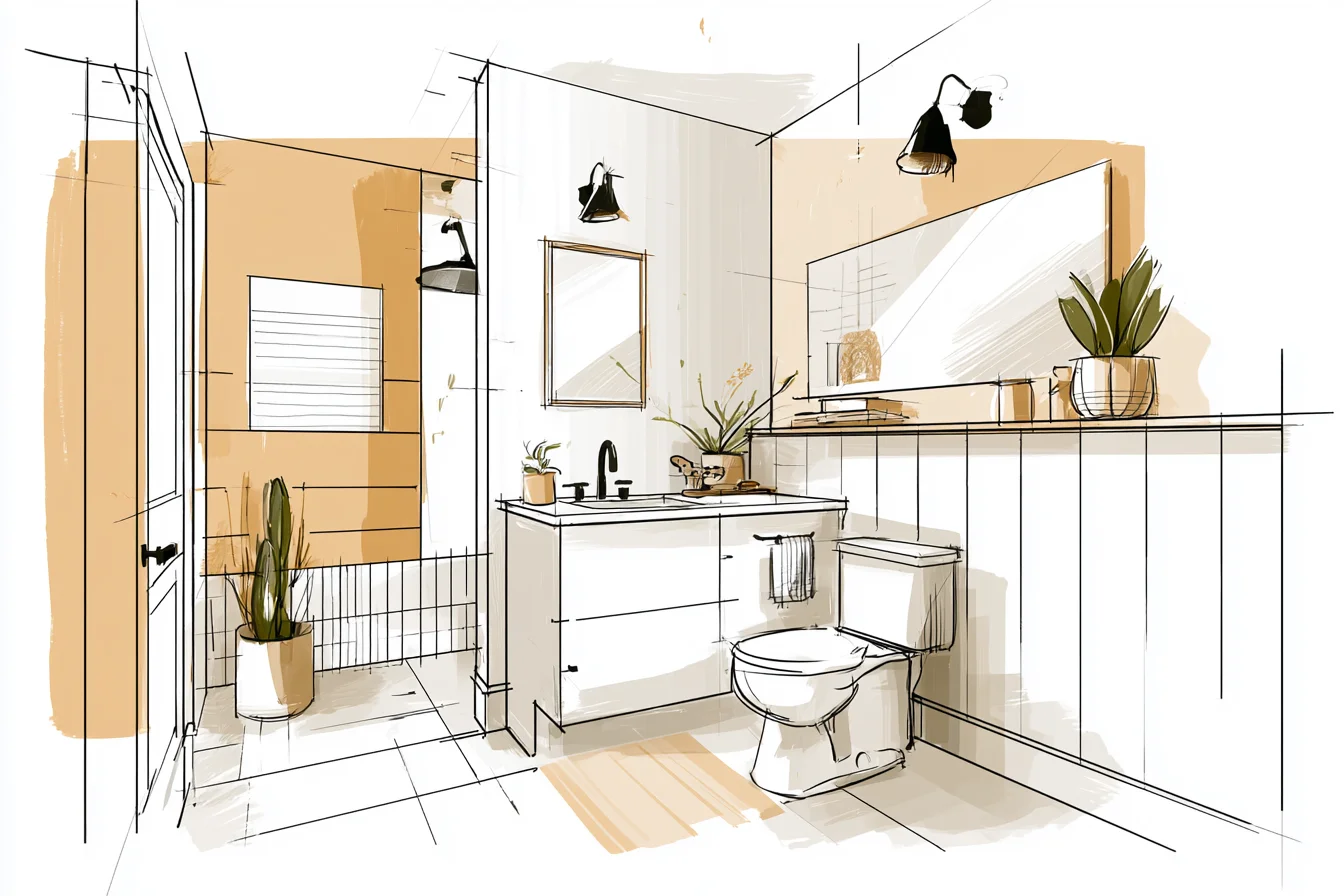
What people don’t tell you about bathroom walls is they take a beating.
Taps leak, steam builds and drips down the wall, towels are rubbing up against it, and chemicals from cleaning all splash onto the surface. The bottom 3 feet of your bathroom wall works much harder than the top 3 feet and deserves a little extra protection. Fast forward to that afternoon and I had fallen down the rabbit hole of home DIY.
You know the ones I’m talking about. You eventually have 17 browser windows open and a Pinterest board named “Shit that might work…” There were so many options! Bead Board, Board & Batten, Raised Panel, Flat Panels.
Standard height was 36-inches using chair rail, but I could also run it the full height of the wall. Material could be MDF, Solid Wood, or Vinyl (eeewwww).. I measured my bathroom about 12 times (I like to triple cheque I’m buying the correct size) and opted for plain ol’ beadboard style wainscoting using MDF.
It isn’t the fanciest option but it doesn’t warp in humid conditions and accepts paint very nicely. I ended up going with 42-inches as well. Higher than most chair rail height, but it looks fantastic with my 9 ft ceilings.
Any lower and my bathroom would have looked short and stubby. Construction took me about three weekends. Had my walls been level I would have knocked it out that first weekend.
Live and learn. They weren’t. Old house fail.
I ended up spending most of my second Saturday shaving down shims and making adjustments because vertically crooked boards next to a horizontally level board *LOOKS* crooked. Don’t be me. Originally I painted my wainscoting the same colour as the top walls.
Yup, that soft grey I was obsessed with. Big mistake. The room didn’t look finished.
So.. I painted the whole thing. Dark grey.
Like almost charcoal. Now the room had some personality. The horizontal seam of wainscotting brought interest to the room without being too much.
Also, painting the bottom section a darker colour helped hide water spots/stubbed toes going forward. It changed the whole look. Instantly my builder-grade bathroom looked custom.
You Might Also Like

Even friends that came over weren’t able to pinpoint what I had done. THAT is when you know you nailed it. Wainscoting doesn’t steal the spotlight.
It takes everything around it and makes it better. Wait..here is the part where I tell you WHY you should do it! A few months later my toddler nephew was visiting and decided to decorate the wall below where the chair rail would typically go with toothpaste.
Had I simply painted the wall, I would have had to either spot clean super carefully or touch up the paint. With the wainscoting, I just wiped it off! Little nibbles or imperfections got lost in the grooves of the beadboard and because the paint colour was darker it didn’t leave water marks like the original paint colour did.
Bonus: The vertical effect of wainscoting made the room feel taller, not shorter like I originally expected. When your eye travels horizontally (like the top rail of wainscoting) it tricks your mind into thinking the room has more square footage. Also, there is something to be said about having two distinct zones in a room.
A functional zone below and a decorative zone above. Kind of like your room just sucked in a double chin. I did learn a few tips throughout the process that I wish I would have known from the get-go.
First, don’t be afraid to use caulk – but don’t go overboard. A tiny line of caulk looks unfinished. Caulk the seam where the panels meet the wall, but that’s about it.
Second, if you plan to paint your wainscotting a different colour than the walls, paint the upper walls first. Trust me on that one. Lastly, unless you are going for a really specific look, that $100 router bit you spent to create your own custom profile?
Not necessary. Clean, crisp lines are much better for a bathroom. Speaking of spending money, it wasn’t cheap at around $200 for materials.
But guys…compare that to tiling or updating fixtures. It wasn’t expensive at all. Also, unlike other bigger renovation projects I have completed in this house.
I didn’t have to hire anyone to do it. I did it myself. Would I recommend it?
Hell yes.
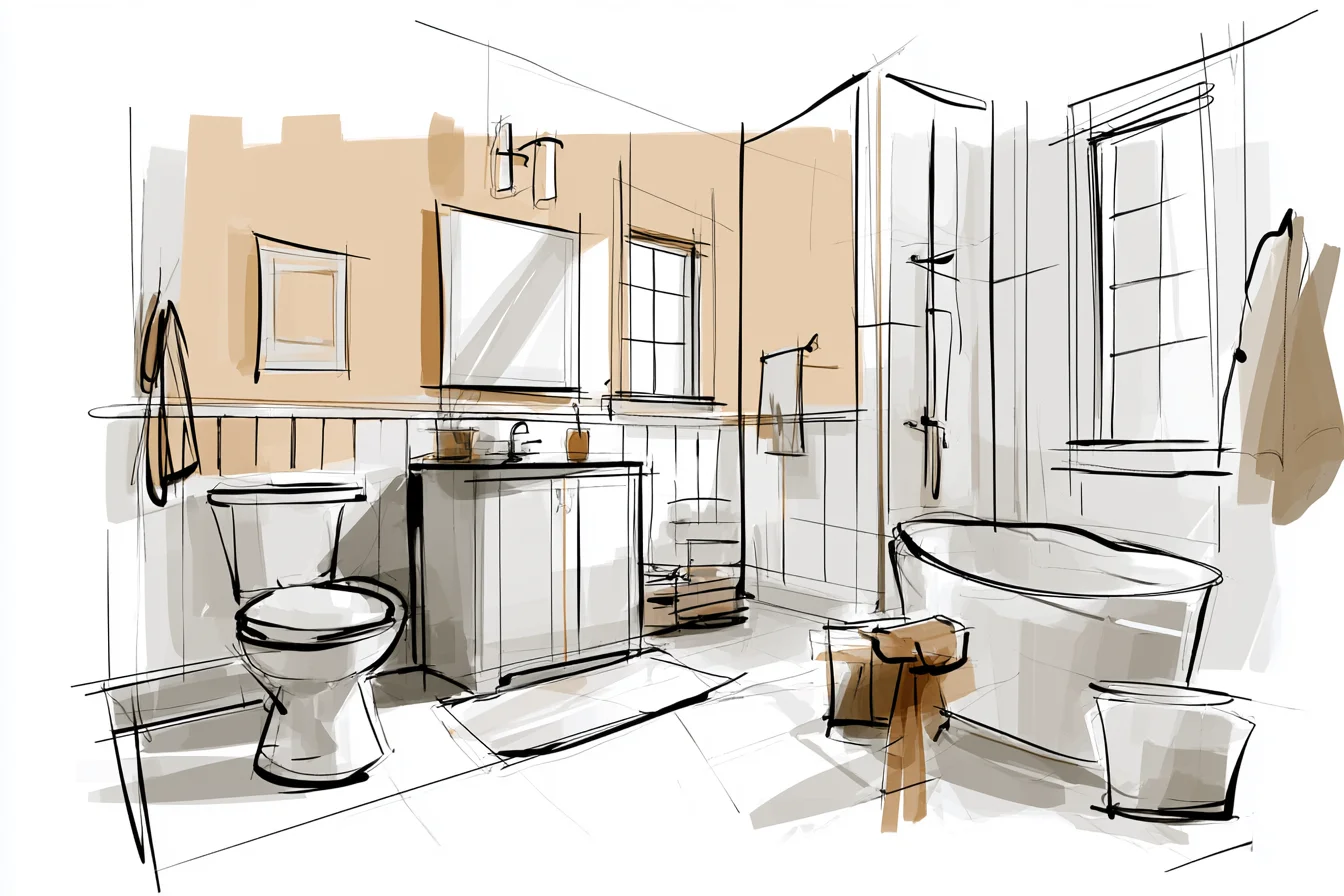
In fact, I’m already thinking about what colour I want to do on the downstairs powder room. Maybe the same height, maybe not.
You can change up the look of wainscoting to fit your style. Traditional? Go for it.
Modern farmhouse? Sure. I will even though mine is because I consider my home design to be…eclectic?
I now stand in my bathroom looking at the finished project with another coffee mug in hand. (Clearly some things will never change!) And it finally feels finished. Not because the wainscoting is in-your-face or expensive-looking but because it does its job without anyone knowing. It protected my walls, it adds visual interest, and it gave my bathroom that custom-installed-by-Someone-Who-Knows-What-They’re-Doing feeling.
The best design decisions can sometimes be the ones that are so obvious after you stare at them for months that you can’t imagine you didn’t think of them to begin with.