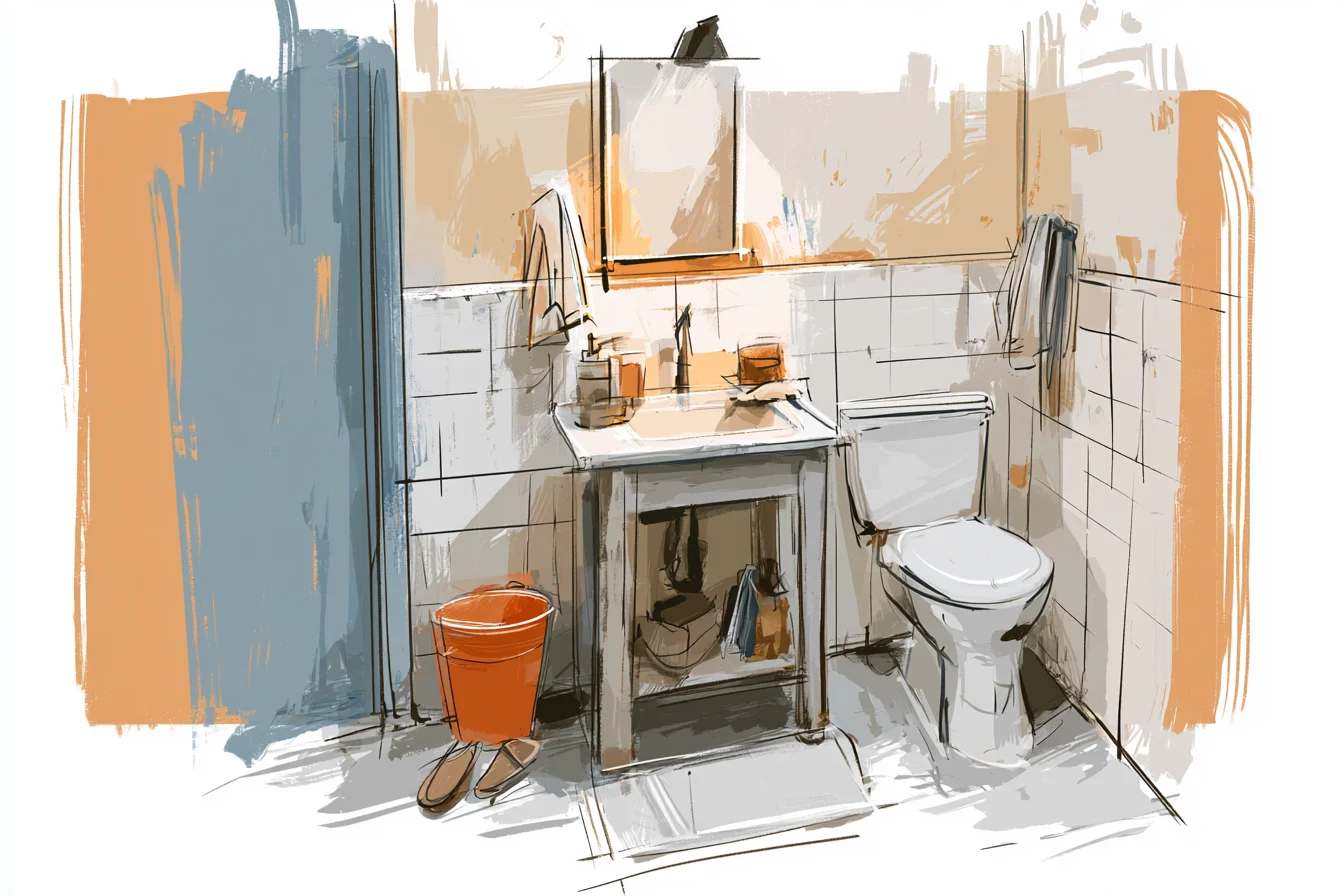
Ok. Before we get into some facts about rustic bathrooms I need to tell you the story of ours. Because honestly if someone had told me a few years ago my bathroom would be the project I’m most proud of in our house I would never have believed them.
About two years ago now I was still very much learning my way around this whole home design malarkey. And I came up with the BRILLIANT idea to do what I thought was going to be a “rustic bathroom.” Spoiler alert: attempt number one was catastrophic. Phil walked into my DIY workshop (formerly known as our spare bedroom) after three weekends and god knows how many hundreds of pounds wasted on Very and B&Q.
Glanced around the room and said “It looks like a garden centre exploded in here.” He was not wrong. I’d purchased every.single.item that described itself as “farmhouse” or “rustic.” Chunky wood signs that said things like “SOAK” and “RELAX” (Honestly who needs signs when people are clearly incapable of knowing when to sit down?! ), A distressed pine towel rail that had been hammered with sandpaper so it rustically wouldn’t slide down the wall correctly.
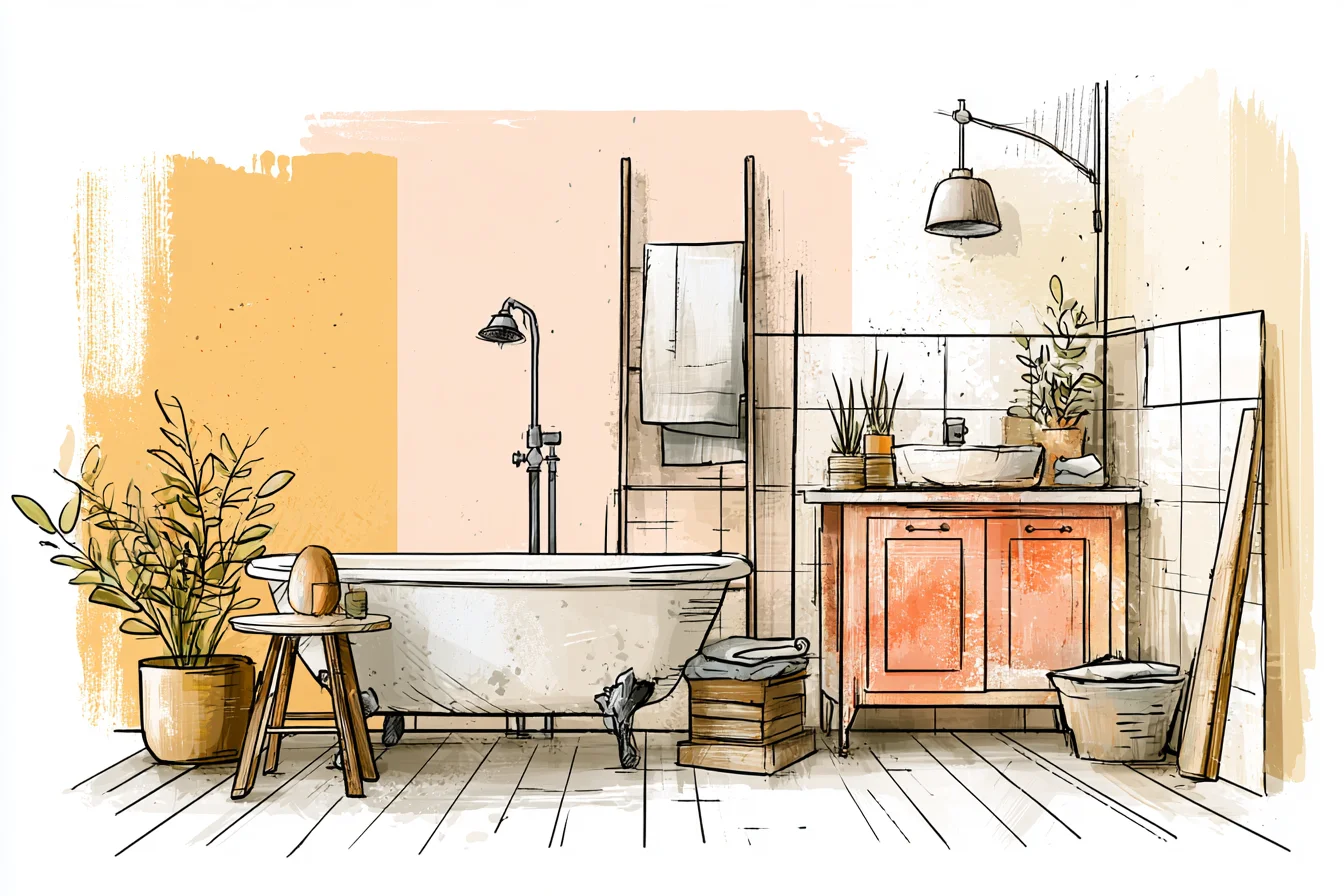
Honestly the list goes on…but the main feature that ruined the whole room was mason jar pendants!!!!
They were WORSE than the wood signs. I’ll never understand why people thought bathroom lights that looked like jam jars was a good idea. Fast forward one week and my mum came over for a cuppa.
Used the toilet. And upon returning to the kitchen said: “Well. It’s very… themed, isn’t it?” Coming from someone who still has woodchip wallpaper in her hallway that was her very nice way of telling me it looked disgusting.
She was right. I think my issue was I’d confused rustic charm for “buying things that look old.” When actually rustic style is more about using things that genuinely are old. Have been around the block.
Worn furniture that has naturally weathered with age instead of paint effects from Dulux. A few months later Phil was working on a job at this old farmstead down by Otley. Went over to talk to the owner about where he’d found this amazing kitchen table he’d brought in for clients to peruse and casually mentioned I was “into all that vintage decorating stuff.” Turns out they were busy renovating an old barn and chucking bags of reclaimed wood out because they were just grown up tree branches with bark on basically.
Fast forward two hours and instead of grabbing a handful of wood I’d spent my Saturday driving past barns and discussing with an old farmer named Tom why each and every tree had found itself at his barn in the first place. Some wood had come from old animal stalls, some was from an old hay loft. But one massive branch still had an old horseshoe nail so embedded in it we couldn’t prise it out.
Fast forward two years and those reclaimed barn shelves are without a doubt my favourite thing about our bathroom. Mainly because everyone who visits ask about them. Not because they’re perfect and painted white.
But because YOU CAN TELL THEY’VE BEEN AROUND FOR AGES! Now compare that to everything else Phil and I had festooned around the room.. It looked cheap!
That reclaimed wood highlighted how fake my towel rail was. HOW PAINTED my wooden signs were. Phil even said the new wood made the basket hanging on the wall look “a bit silly.” So I ripped it all out.
Took back what I could to Very (thank god they have amazing returns!) and donated the rest to charity. Yes. I’m fairly certain I drove the guy at Oxfam mad staring at all these “new” bathroom accessories trying to work out how on earth they were never used.
So lesson number one.. If you go down the rustic route proper reclaimed wood is going to speak volumes. So start looking… Next up I went full weird antique hippy on stones.
Now hear me out when I say stones aren’t just for fireplaces anymore. I literally spent months finding the perfect stone to use as a border in our shower area. Watching YouTube tutorials made it look so easy.
LAY STONES IN BATH! PAAAAAAARTY! Three times later and I still hadn’t got it right.
But eventually I did! So I chucked down some river rocks I’d found on our Saturday walks with Phil. And reclaimed slate offcuts from an old stone yard in Bradford.
EVERY. SINGLE. PIECE. of stone has so much character because no two pieces are the same colour.
Or smoothed down from years of erosion or rain damage. Onto taps. YES bath taps are just AS hard to find vintage-y ones for.
But instead of forking out a small fortune for reproduction basin taps that still look fake, go to salvage yards! As I mentioned before I found THIS Basin and tap set from an old school that got demolished in Huddersfield. Total cost? £80.
You Might Also Like

That’s how much the repro ones would have cost me at B&Q! I made one BIG mistake when doing our rustic bathroom. Don’t do what I did.
I decided to get super industrial with exposed copper pipes. LOOK great on Instagram. A complete NIGHTMARE to live with.
Whenever anyone upstairs went to the bathroom it sounded like Starbucks because the copper pipes would expand and contract and make clicking and gurgling noises ALL night long. Phil couldn’t handle it for more than three weeks. I ended up having to cover over most of them so you could still see them but they wouldn’t make that horrifying coffee shop noise.
The lighting swap alone made me SO happy with how our bathroom looked. Gone were the clinical overly bright bathroom spotlights and in came these glorious Edison bulb pendants hanging from iron pipe fittings I got from a market in Leeds. Throws some amazing light on everything.
And don’t forget DIMMER SWITCHES. Sometimes you want full on light when doing your beauty routine. Other times you just want that warm glow when chilling in the bath.
Fake wood effect vinyl flooring? Yeah that was my original plan because water proof AND washable. But say it with me now… FAKE RUSTIC IS NEVER AS GOOD AS THE REAL THING.
Invest in some proper reclaimed pine floorboards instead. They may take more sealing to ensure they’re moisture proof. And yes they’ll get marks and scratches over time.
But thats the fun part. It makes it unique to YOU and your family. My youngest put a bottle of bubble bath down hard last month and put a nice big dent in our floor.
You know what? I LOVE that dent. It happened!
It’s part of our families lives now… The mirror above our basin nearly killed me. And also turned out to be a right old DIY disaster…but hey. It looks AWESOME.
SO. Go to your local beach and FIND yourself a chunk of driftwood. Driftwood that isn’t PERFECT.
With wonky edges and bits missing. Take it home. Sand it down.
Have a few drinks. Then randomly decide DIY your own mirror isn’t the worst idea ever… Storage was where I really struggled. Because not only do you need to store your towels and bathroom stuff.
You’ve also got to factor in bath toys aka kids. We went for half closed storage disguised as an old reclaimed wood cabinet with open shelving strategically placed for things that need air flow. And.. waterproof containers that don’t look like they’re made of actual plastic.
Paint colour took me AGES to decide on. Typical chic white everyone does? Too….WHITE.
I went for this colour called “Natural Hessian” by Dulux.
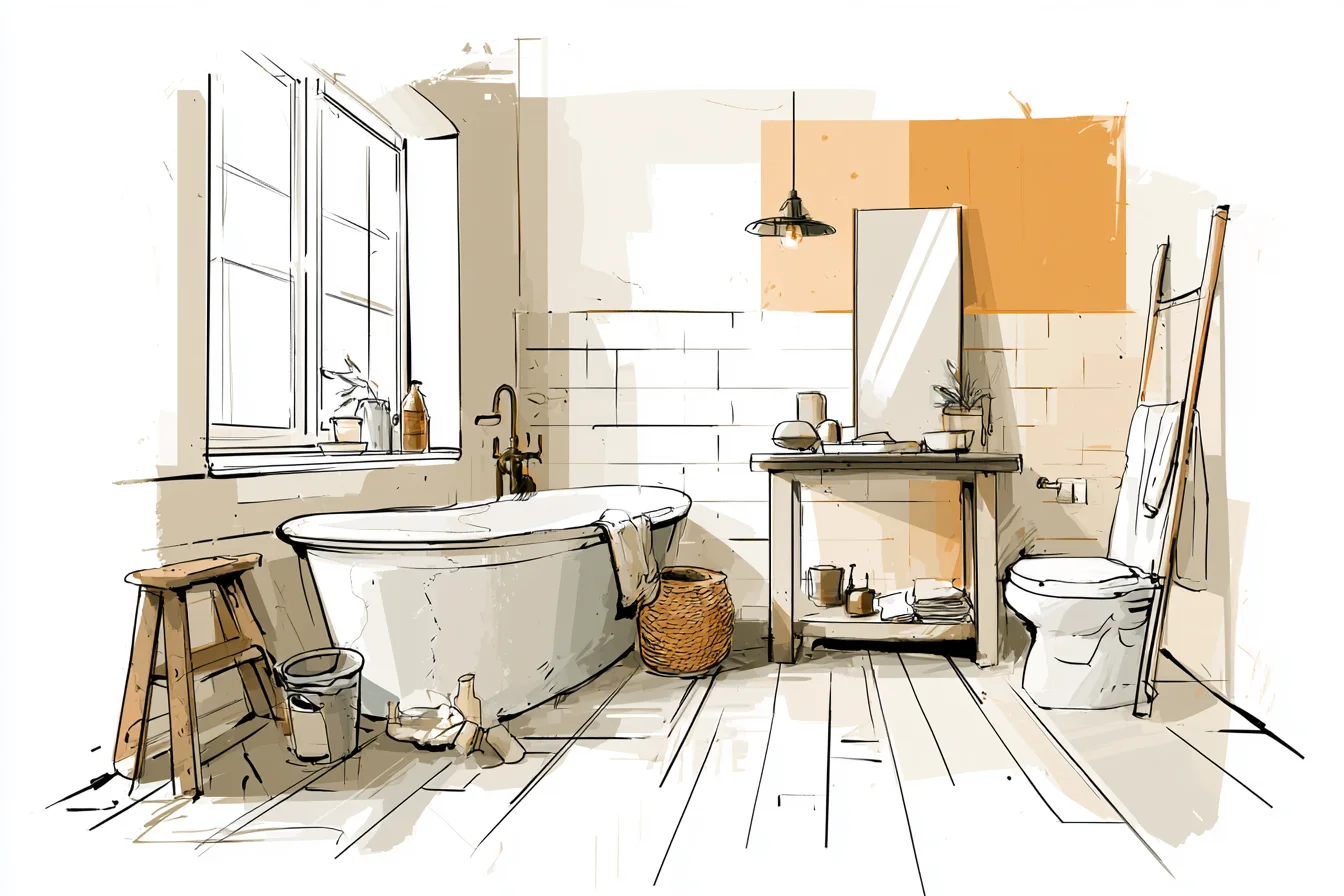
And it honestly changes colour throughout the day as the light hits it differently. Not too dark that it makes your bathroom feel small.
But dark enough that it wont show every stain and mark. So that’s our rustic bathroom! Now go you rustic champions go forth and source some REAL reclaimed bits and bobs to use around your own homes!
PS. The learning curve with reclaimed stuff isn’t instant. It takes time.
Which actually means it costs you less as you’ve not scoured the ends of the earth for the ‘one’ piece that will complete your room. Time. It takes time.
And I promise you, it’s worth EVERY minute.