Starting your day looking at a dingy white fiberglass tub isn’t the most relaxing wake-up call. I know you know the type of tub I’m talking about – the generic rectangle shape that looks more like something you’d find in a hospital than your own home oasis. I lived with one of those dread-inducing tubs for three years before I snapped.
It was one Tuesday night after daydreaming about filling my tub with soothing bubbles and luxury bath salts (the kind of salts that cost more by the ounce than my coffee) when I stepped into my own “spa” – a thin, glorified laundry tub that clang when water hit the sides. Not only were the sides too harsh to lean against, but the room acoustics amplified the sound of water droplets hitting the tub. To top it off, the tub made my small bathroom feel even smaller – like a rectangular white hole where no personality could enter.
I began digging into bathtub renovations that night and I have to admit it’s become one of my favourite bathroom projects. Why?
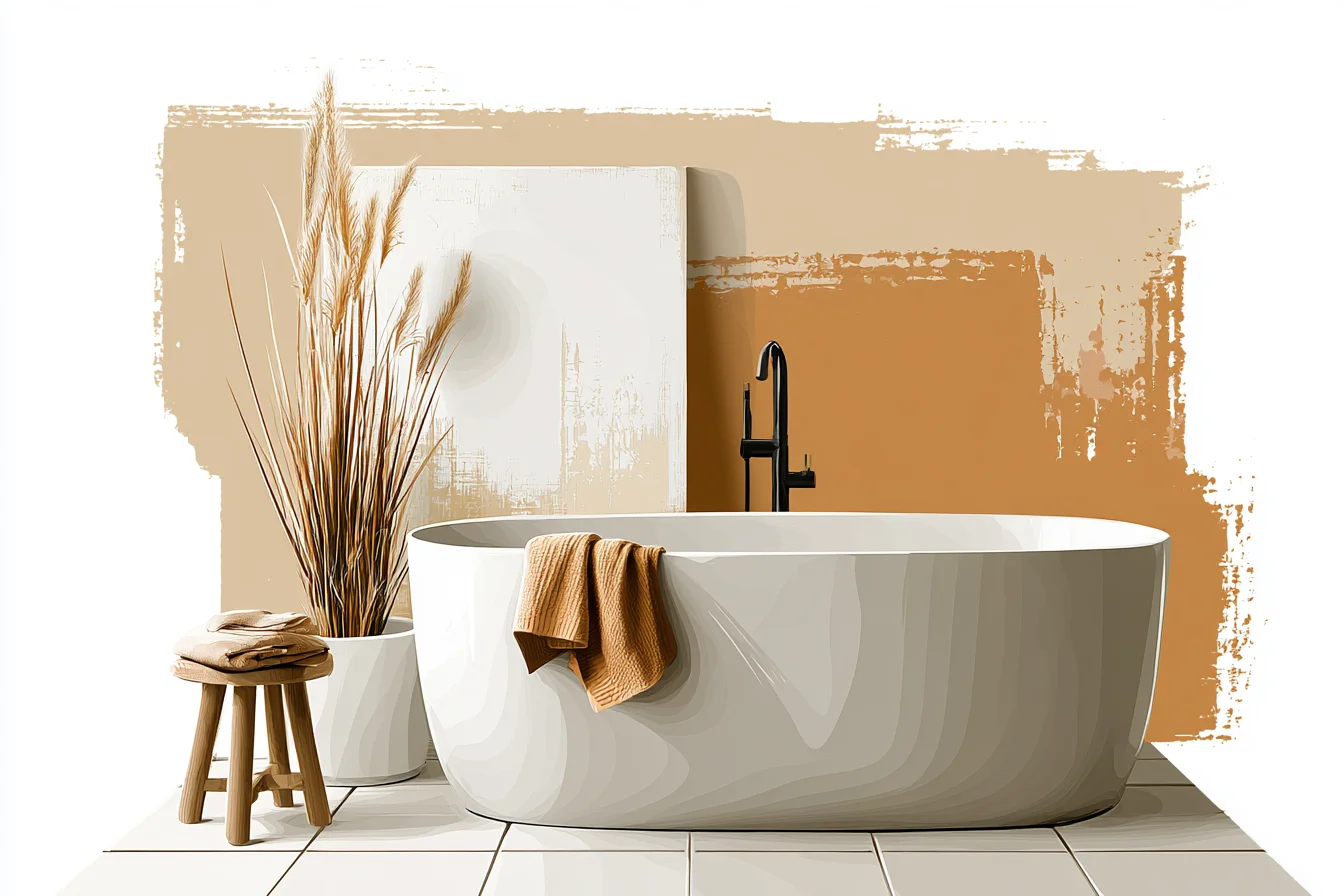
Because I’ve realised that you don’t always need to replace your tub to make a beautiful statement.
Sure there will be times when your tub needs to be completely demolished to make way for something gorgeous, but many times you can create magic by developing a stylish space around your existing tub. Let me introduce you to my neighbour, Sarah. Sarah had the same builder-basic tub as me, but decided to add a tile surround to give the illusion of a custom installation.
She used subway tiles in a muted sage green (we’re talking about a huge deviation from plain white friends) with dark grout to disguise water rings. Sarah spent two weekends and less than $800 on materials to create this beauty. Yes, it took her a few messy weekends, but the final product gives you major hotel vibes.
When creating a tile surround, proportions are everything. By extending the tile all the way to her ceiling, Sarah made it look like it was always meant to be there rather than an add-on. Sarah also designed a built-in niche to house bottles and candles.
When you invest in a nice tile surround, there is nothing that ruins thespa-like atmosphere more than plastic shower bottle tucked into your beautiful tiles. I, on the other hand, decided to take a very different route. I took out the built-in concept altogether and went with a freestanding tub.
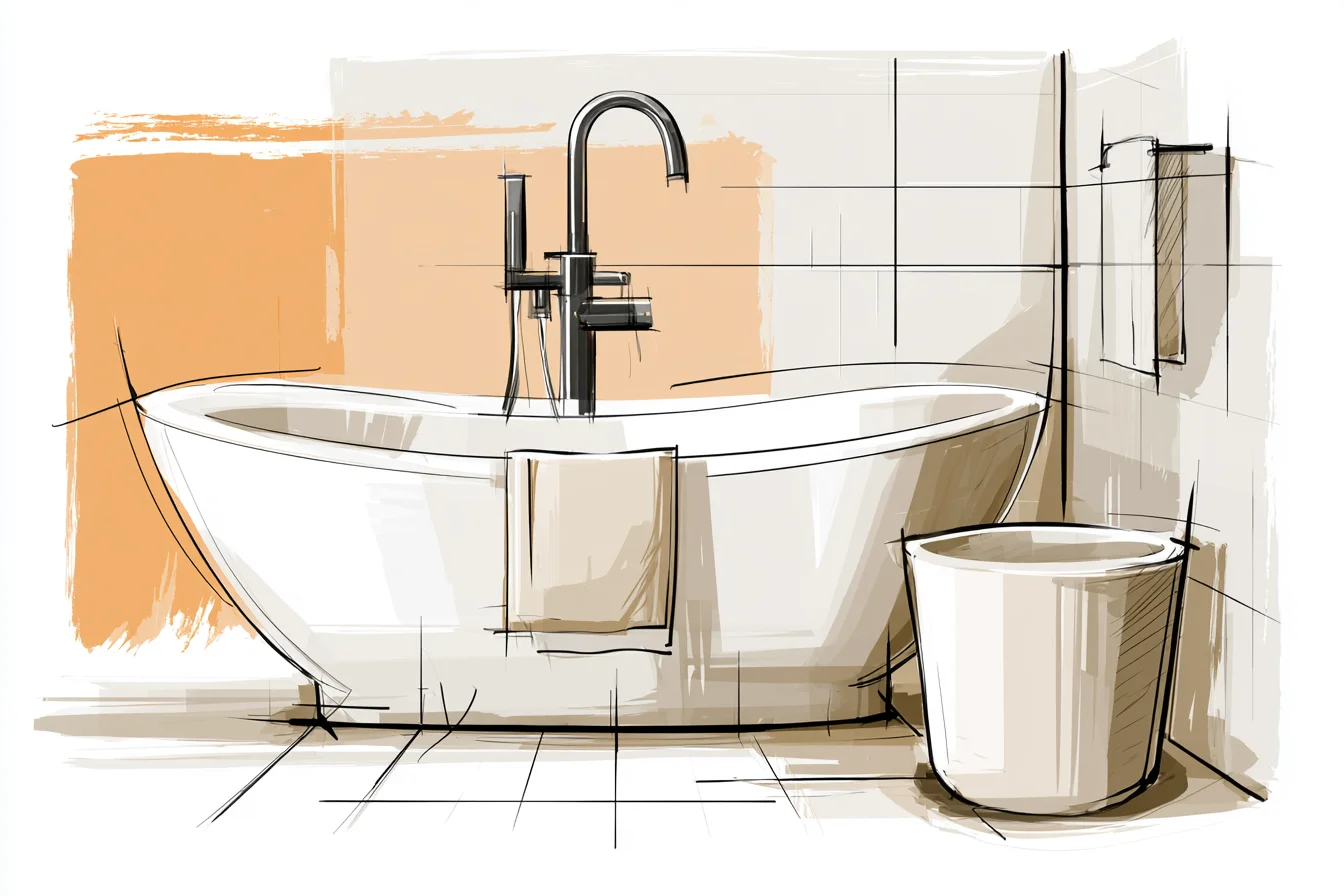
I know, I thought it would be too much of a project too. But hear me out – after scrolling through endless blogs and Instagram posts I found my love browsing the showroom at my local plumbing store. It was a vintage cast iron tub that had been refinished in a creamy white colour.
I chose a refinished tub over a new tub because I wanted to avoid the sterile bright white finish. Bright white looks like it can easily spot every water drop, but a creamy colour gives your bathroom a warm, cozy feel. Installing the tub was…let’s just say an experience.
My contractor (who I bless every time I turn on my tap) needed to move the plumbing which required him to cut into walls. Then he found shoddy electrical work from the previous owners hidden in the walls. I thought we were doing a simple install over a weekend, but quickly came to the reality that this would be a two-week project filled with dust and Seamless deliveries.
Speaking of delivery, the total cost for this project was around $3200, tub and all. This includes plumbing installation and having our hardwood floors refinished after the fact. Honestly, it was everything I hoped it would be and more.
Yes, it was pricey, but I loved the process (once we got into the thick of it) and the difference it made to my bathroom was worth every penny. Not only does it look like a focal point that you actually want to look at when you walk into your bathroom, it’s changed how I use my space. The enveloping walls and curved back allows for a comfortable lounge and longer soaks.
You Might Also Like

Not to mention, being able to wrap your arms around the entire tub makes your space feel larger because you are no longer boxed in. What I wish someone told me before I started this process is to really pay attention to your plumbing before getting attached to a specific tub. A freestanding tub means that you either need floor mounted or wall mounted taps.
If your plumbing isn’t already where you need it to be you are in for some additional costs. I ended up going with a floor mounted tap that was more sculptural than your traditional taps. The bad news is, we had to run new water lines from my basement to install this bad boy.
As for my tap style, I have recently been obsessed with matte black finishes. I used to think that ANY matte finish would show water rings, but today’s matte finishes are high quality. I love that my floor mounted filler adds an industrial look that compliments the cream tub and wood vanity.
The other bonus? Matte finishes are lovely to run your fingers along when searching for that perfect water temperature. Speaking of water temperature, adding some dimmable lighting has also been a game changer.
I installed dimmer-able recess lighting directly above my tub because overhead lighting can be extremely harsh and unsatisfying. But where I really surprised myself was with these battery operated LED lights that I stuck underneath my tub. You can hardly see the LED strip shining upwards, but it adds such a warm glow when soaking at night.
Tip: If you go the LED route, make sure you buy stickers to cover the wiring mesh. They aren’t readily visible when you peel the backing off, but they start to peal off after a few months if you don’t use these tiny stickers! Storage was one thing I didn’t properly plan for.
When I was obsessing over how simple my new bathroom would look with the freestanding tub, I didn’t account for storage. Where will you put your book, wine glass, phone? (Yes I read in the bath. No judgement.) I ended up grabbing a small floating shelf that I mounted on the wall next to the tub and a vintage brass caddy I found at Target that sits across the length of the tub.
Darn wish I planned for these in the beginning!
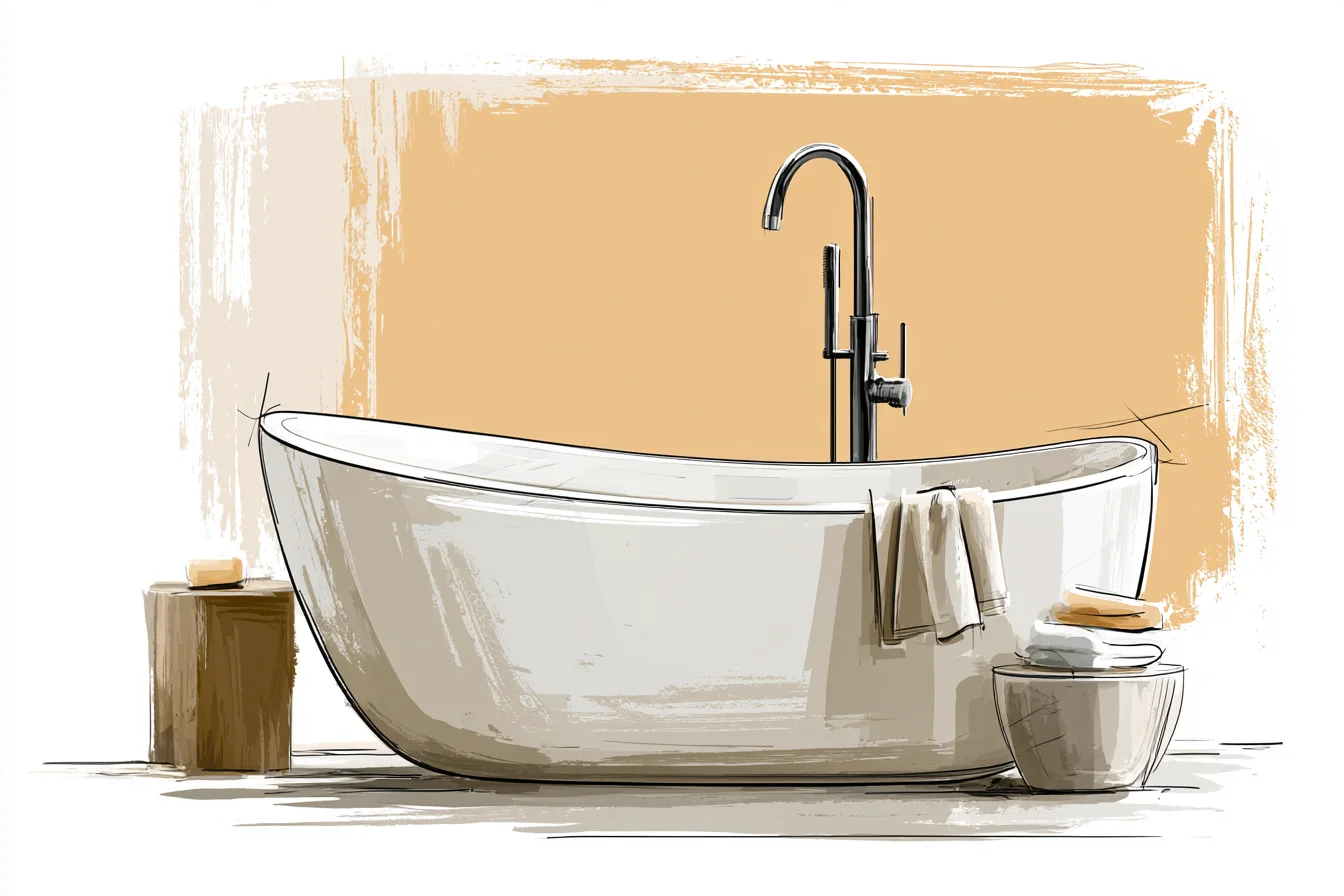
If tearing out your current tub and starting from scratch sounds like an expensive project (and let’s be real, it kind of is) there are some fun ways to compromise. My buddy Mike opted to keep his existing alcove tub but spruced up the details.
He installed wood paneling on the front left and right of his tub, added a rain shower head with handheld shower and built his own built-in storage cubbies. He was able to complete his entire project for less than $1500 and went from boring builder basic to tailor-made! Another budget-friendly way to transform your space is paint.
I’ve seen boring white tubs get a spray paint treatment to really make a statement. Think: deep ocean blue, rich green, charcoal. Hear me out, I know it sounds crazy, but if you prep your tub properly and use the right paint, it can add some serious personality.
Bottom line: Your tub should make you want to relax. If you find yourself rushing your showers because your tub doesn’t invite you in, it’s time for a change. Whether that means starting from scratch, upgrading your current tub surround, or using creative styling tips there are tons of ways to invest in your beautiful bathroom space.
Mine makes me want to sink in for hours, not just bathe to get clean.