If privacy isn’t something you consider when picking out your bathroom window treatment, you should. Unless you plan on living in your bathroom naked, your neighbours will probably be able to see inside. At least that was true in my case.
I moved into a Victorian terrace home and after about 90 days of living there I was drying off in my towel when I spotted my neighbour Mr. Henderson out in his garden doing morning stretches. He spotted me and we shared a few awkward stares before I dashed and hid behind the garden fence.
After this embarrassing experience I set out to find the best bathroom window treatment. I wanted something that would give me privacy but still allow natural light into the room.
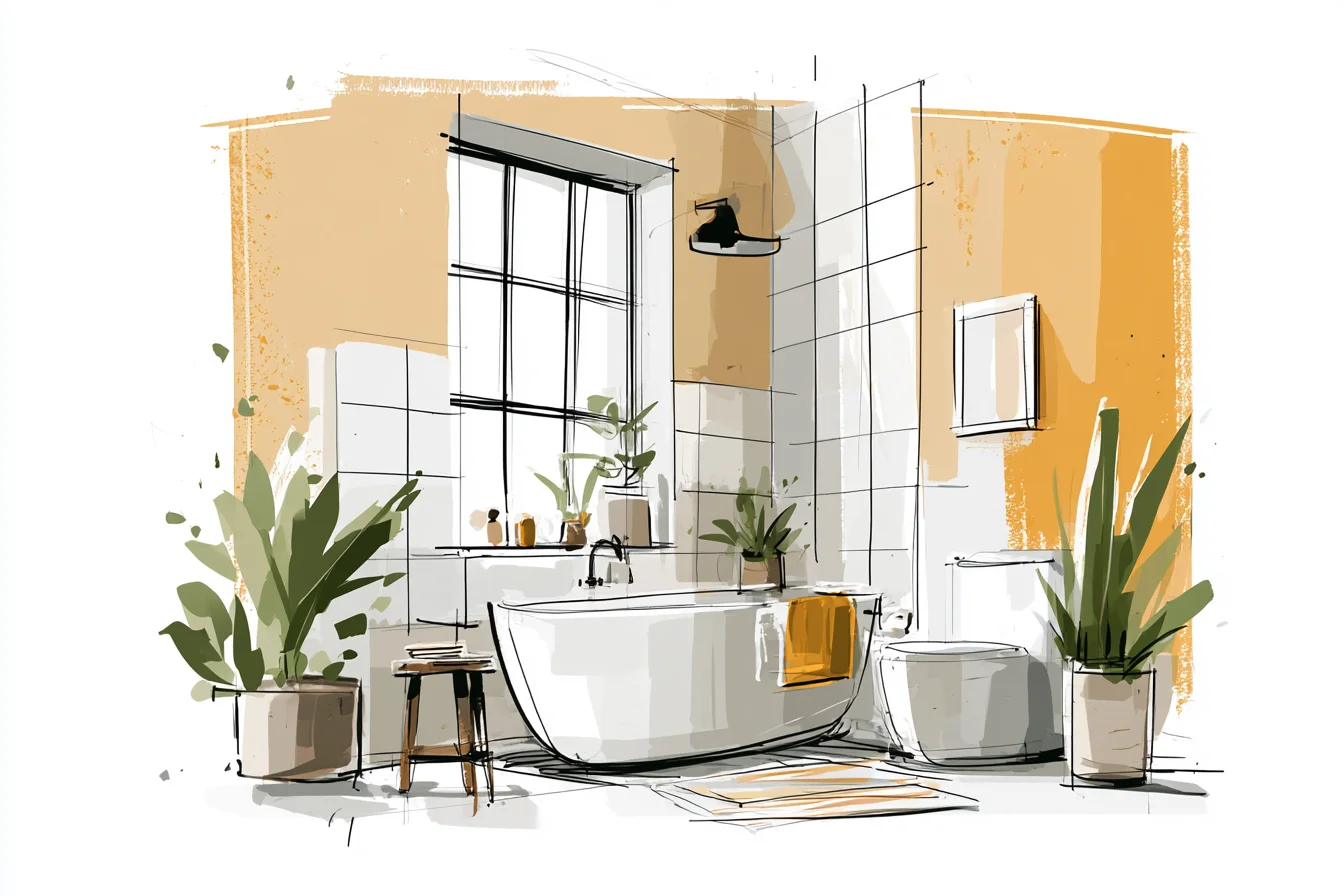
Having natural light in bathrooms is essential.
Sure you can see what you’re doing when you’r applying make-up, but who looks good in bright lighting anyway? My first solution was the most obvious. I bought some frosted window film to apply directly to my window.
These films were pretty inexpensive ($25 for a pack) and extremely easy to apply. The only problem was the instructions didn’t say anything about getting the air bubbles out. My first attempt looked like I had put some cling wrap on my window and my toddler had decided to play with it.
Bubble city. I peeled the film off and tried again. Repeat process.
I ended up watching YouTube videos for a few weeks until I stumbled upon the solution. Before you apply the film you have to cut a mixture of dish soap and water in a spray bottle. Spray both sides of the film then use a squeegee to work the bubbles out.
By my third attempt at this it worked like a charm. Inside the bathroom the film looked decent. Outside…it looked like I put contact lenses on my windows.
Eh I’ll take functionality over form any day. This would end up working fine for about 8 months. I eventually got tired of looking at something that only functioned and not pleased aesthetically.
To top it off the edges of the film started to peel away from the window because of the heat from my hot showers. Plan B! I moved on to window blinds.
I spent days reading about the different types of blinds. Wood blinds, faux wood blinds, aluminium blinds, even fabric blinds. The salesgirl at the blind store was super nice, but honestly didn’t understand my worries about moisture and the blinds warping. “Trust me, they will be fine,” she said.
Yeah right. My first order was wood blinds. They were the most expensive option ($350 for four windows).
I liked that they gave the bathroom an expensive feel. But after 6 months the blinds warped. Ok, they didn’t warp too badly.
But badly enough that they wouldn’t close completely and had a slight bow to them that I noticed every morning when I woke up. Basically I flushed $350 down the toilet. For attempt number two I ordered aluminium blinds.
I went with these mostly because they were cheap. To this day, these blinds are holding up after two years without warping. The only problem is they make noise.
You Might Also Like

Every time you pull the slats up to block out the sun they rattle loudly. Sure this isn’t a problem during the day, but at night when you want to crack open a window to let in a breeze without waking up your husband….It sucks. I tried other things in conjunction with my aluminium blinds.
When searching for ideas on Instagram for beautiful bathrooms I kept seeing these fancy shutters. They are actually hinged shutters that fold up against the wall when opened. I thought for sure these would be my solution.
I would have privacy when they were closed, and unobstructed access to my window when they were opened. They would also make my bathroom look super upscale. I went to get a quote to have shutters installed for one window and nearly passed out.
The man quoted me $900. Yeah, $900. For shutter blinds.
I know, they were gorgeous. Real wood, custom made for the window, professionally installed. But thats how much I pay for the mortgage each month for window blinds?? !
Long story short I found a local salvage yard that sold old shutters that had been taken out of homes during renovations. They were $130 for the set of two. These guys were beat up though.
They needed sanding down, new hinges, painting… But the wood was solid. I spend that weekend breaking out paint remover and wood stain and I have to say I was pretty proud of how they turned out. The shutters worked perfectly for about a year.
They looked amazing, gave great control for privacy, and when they were folded up against the wall you forgot they were even there. Then one day I noticed the lower hinge on the left hand side of the shutter was loose. I don’t care how many times I screwed that hinge back into place it would eventually work itself loose again.
Later I discovered the wood surrounding the original screw holes had broken down and the screws couldn’t grip anymore. Fast forward a couple more months and I learned window film had come a long way since my first mishap. No longer did you have to use that ugly frost film.
There are films that look like etched glass, funky geometric patterns, and even stained glass. Low and behold I found an art deco pattern that would match my homes era-specific details. Trying to install window film was a thing of the past.
Thanks to my previous trials and errors I knew exactly how to do this. First attempt and it was on perfectly.
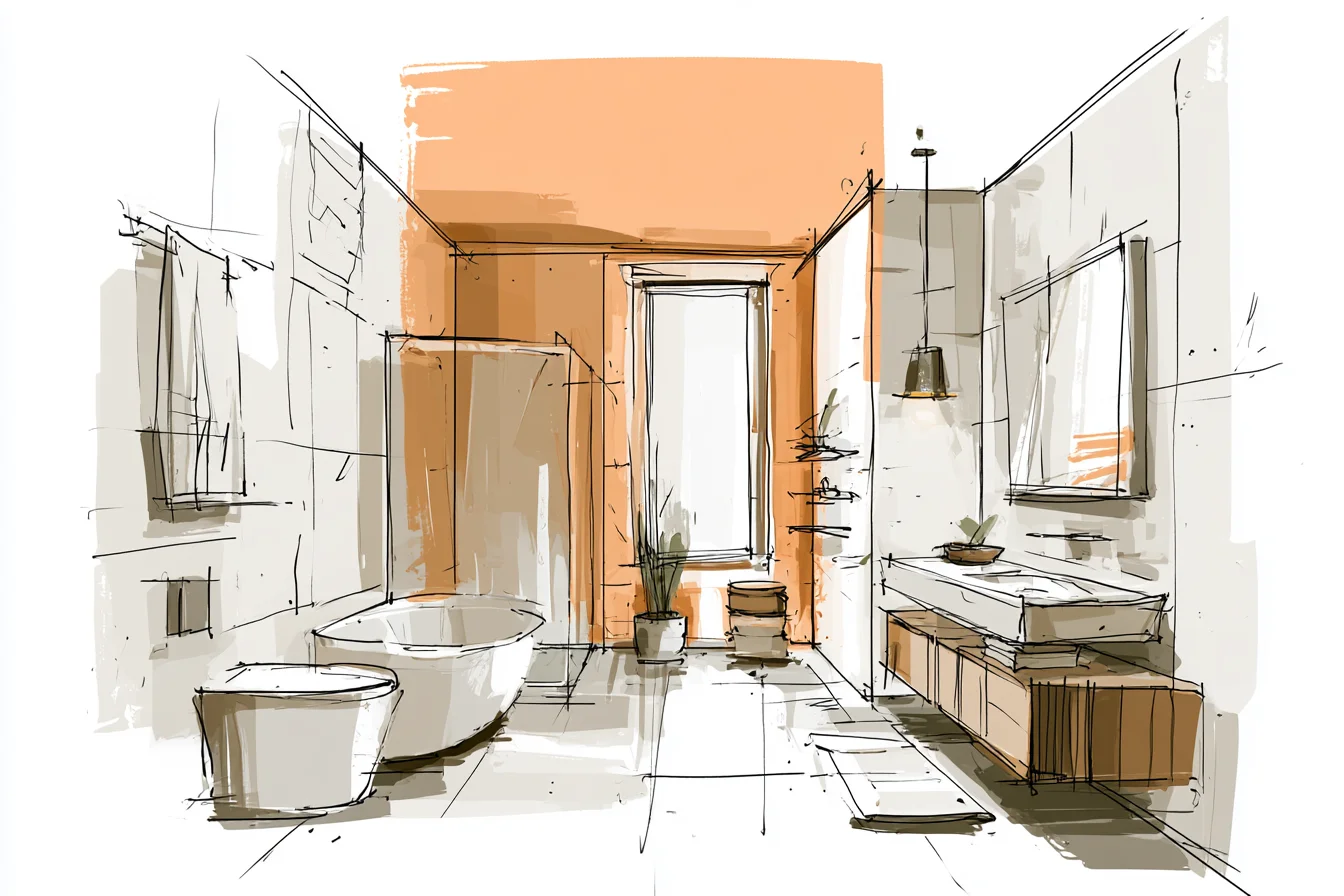
No bubbles, no wrinkles, edges sealed.
The film was only about $50 plus the cost of the application tools. What I wish I knew before this whole rollercoaster is you don’t have to cover the entire window. I only covered the bottom two thirds of the window.
You can allow maximum light into the room by keeping the top section uncovered. BRILLIANT if you ask me. It wasn’t until I started mixing and matching solutions instead of solving my problem with an one-option solution that things really clicked.
Combining the decorative film on the bottom two thirds of my window with a plain white roller shade that I only pull down when I need total darkness in the bathroom – ie. Taking a long bath and don’t want any shadows showing from the outside – has worked perfectly for the last 18 months. I picked up the roller shade for $37 at a discount store.
Because the decorative film allows for enough natural daylight and visual obstruction during regular use. I was able to pick a lightweight and translucent fabric on the roller shade that still allows plenty of natural light into my bathroom.