Picture this. Our master bath at 6:30 am. Me drinking coffee and squinting at the single overhead light fixture creating some sort of grotesque shadow across the room.
I realised I couldn’t live like that anymore. OK. Our bathroom wasn’t glamorous or even aesthetically pleasing, it barely looked like a bathroom.
It felt like you were getting ready in a closet. When you walk into the bathroom in a hotel you immediately feel glamorized and luxurious.
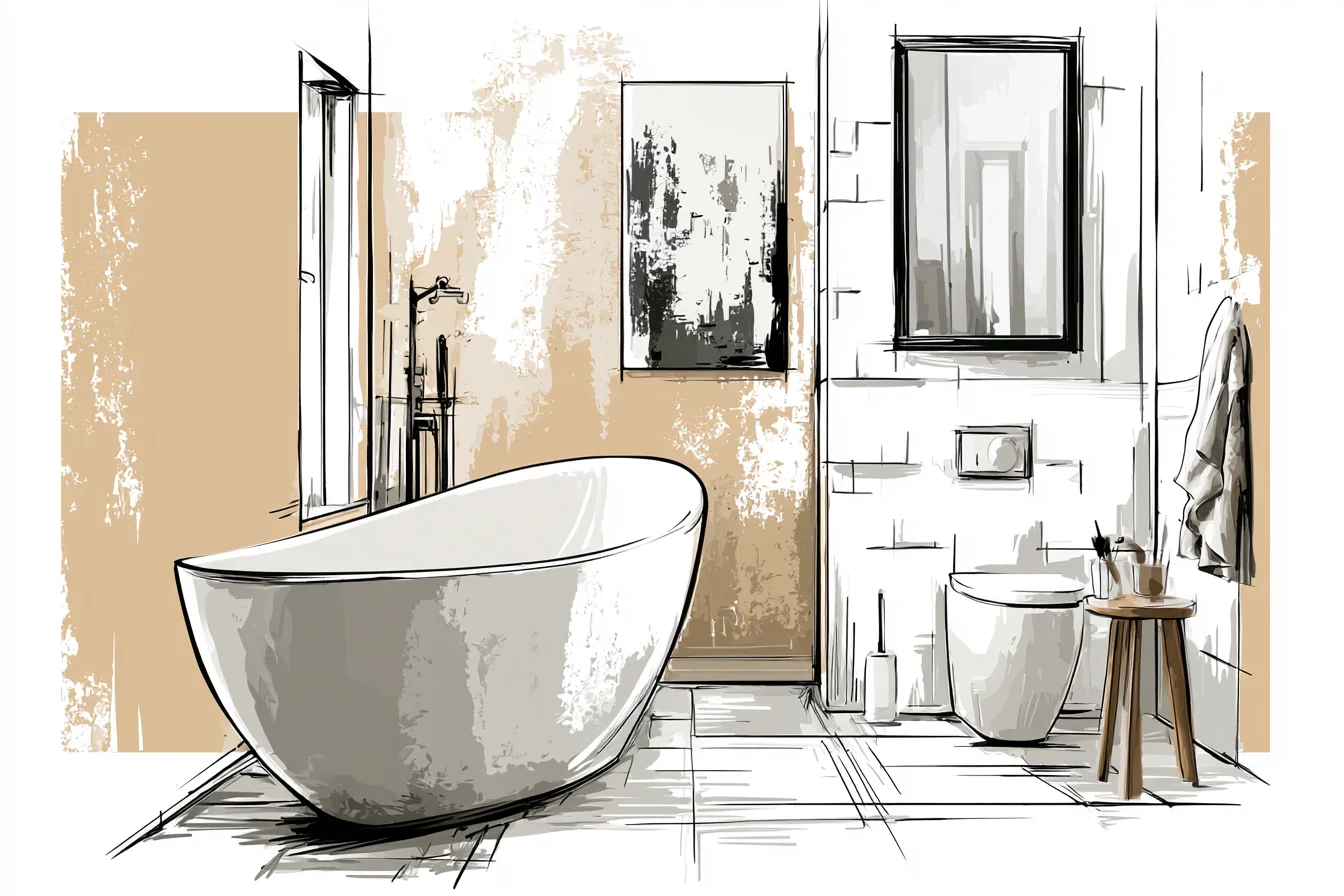
That’s how I wanted to feel coming into my own bathroom.
At first glance, our bathroom was…fine. Beige, beige, beige. Acceptable vanity with the horrendous “Hollywood-lighting-bulbs” directed at your eyes when you open the vanity doors.
The shower was one of those older, worn-out rectangular fiberglass units. Remember those? It LOOKED like it was straight out of the 1980’s.
As far as storage went, we had a medicine cabinet and whatever counter space you could find on top of the toilet tank. Romance was not imminent when you took a step foot into this room. It had been two years since I started stashing money away for our bathroom renovation.
I had a savings account just for this project and every time I’d get a few hundred dollars saved up, I tossed it in there. (Even that bonus tax refund I knew I shouldn’t have spent on tile). My husband told me I was being ridiculous about the whole thing. I reminded him that the average human being spends about an hour a day in their bathroom.
That equates to seven hours every week. Over 300 hours a year! I really broke it down for him like that to drive my point home.
Once I determined that we were indeed renovating this bathroom, it was time to decide on a layout. Our bathroom wasn’t huge by any means – about 8 x 10 feet – but it had potential. I measured everything down to the inch, drew about a million different floor plans on graph paper, and even created a mock-up of our new vanity arrangement using cardboard boxes. (Yes, I am that girl.) Our vanity was positioned in the middle of one wall, which made it nearly impossible to “share” the bathroom without getting in each other’s way.
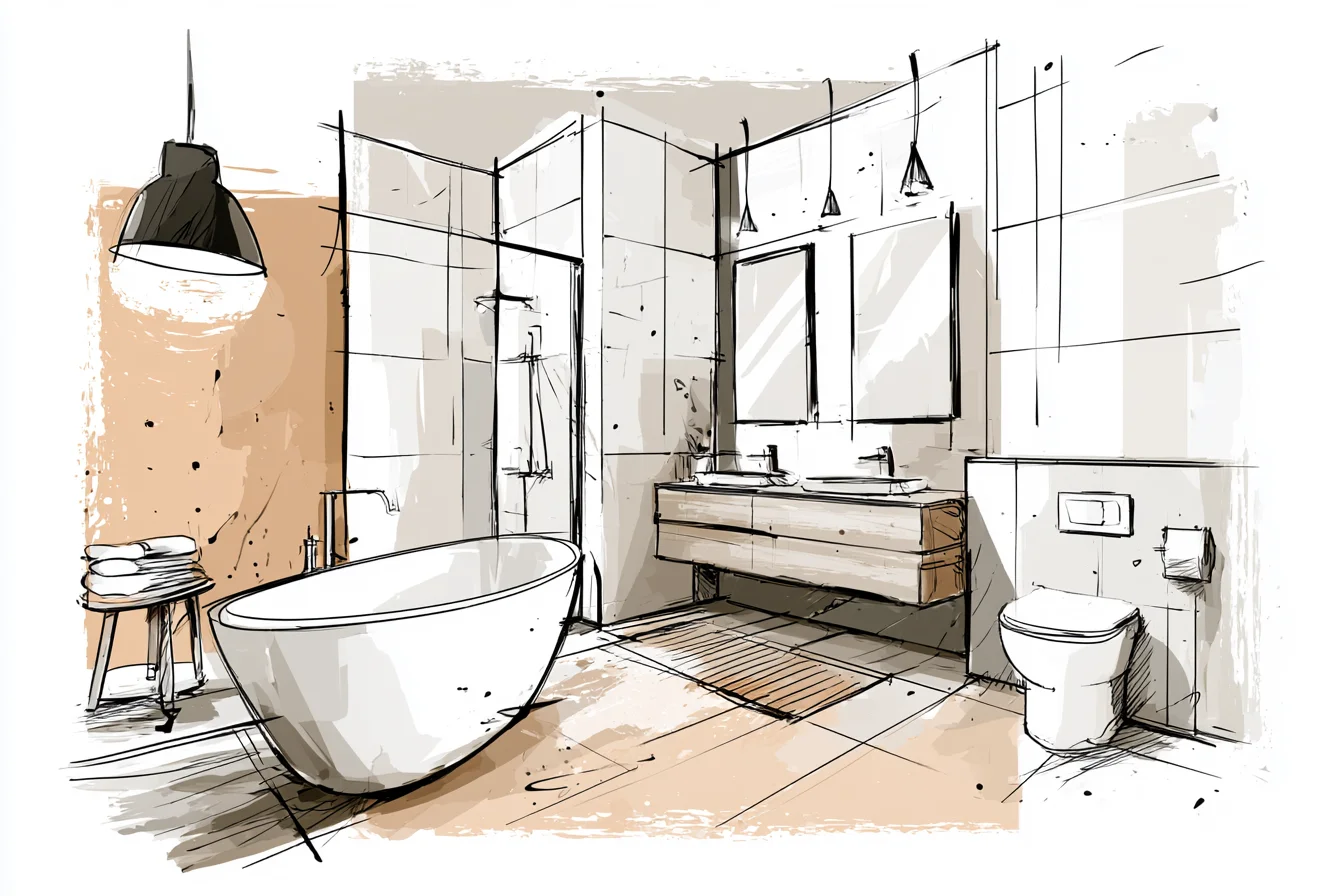
My solution? I centred our new vanity across the largest part of the wall and installed two sinks. Game changer.
Moving the toilet was the tricky part. As mentioned before, it was positioned in the middle of the bathroom. Every floor plan I devised looked like I simply pushed the vanity around the toilet.
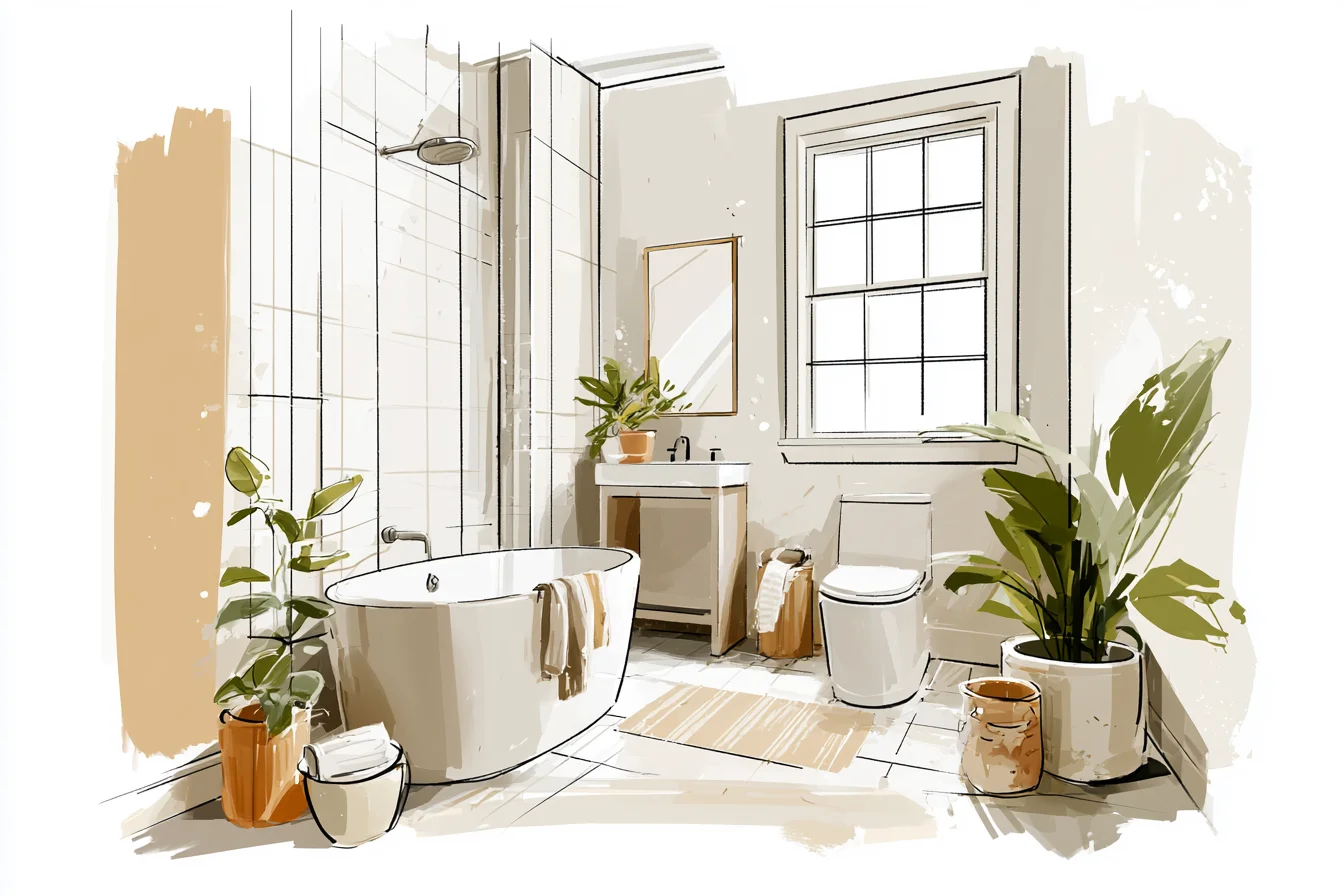
I eventually solicited bids from THREE plumbers (gross!) and we agreed to relocate the toilet to the corner of the room. Hiring a plumber to move the toilet wasn’t cheap, but it opened up the space and allowed me to add my favourite feature to the bathroom: a free standing soaking tub. Tubs.
Ugh. Why does picking a tub have to be so difficult? Should I get cast iron or acrylic?
Claw foot or modern style? Deep or wide? Did I mention I also had to decide on shower fixtures during this process?
I ultimately decided on a 60 inch Acrylic Tub by American Standard. It wasn’t the most inexpensive option out there, but had stellar reviews and was the right size for our bathroom. Don’t forget this baby came wrapped in more protective foam than a Picasso painting.
Score. FREE shipping! Obsessed with vanities set in.
I wanted the space to have that “Custom Built” feel without breaking the bank. I literally spent hours and hours touring Vanitory showrooms across town. (My husband refused to join me after Ikea Showroom #8.) Eventually I came across a company that specialised in semi-custom vanity units. I ordered a 72 inch Floating Vanity in White Oak with hidden handles.
You Might Also Like

The white oak really warms up the space and the floating effect makes the room feel more…open. Believe it or not, picking sinks was harder than picking a new tub. Undermount VS Vessel Sink, Single Basin VS Double Basin, Rectangle VS Oval.
I eventually settled on rectangular undermount KOHLER sinks. They had clean lines, were super easy to clean, and didn’t splash water EVERYWHERE like SOME vessel sinks do. Picking Taps took even longer than picking sinks.
I looked at….50 different taps. I settled on some Matte Black Single Handle Taps. They photograph well (we’re not lying here!) and haven’t shown water spots like my Chrome Taps have.
Say goodbye to that grotesque overhead fixture. Mix and match is KEY when it comes to bathroom lighting. I installed Recessed Lighting on Dimmers throughout the room, pendant lighting above the vanity (These gorgeous milk glass ones from West Elm), and LED Strip Lighting inside my medicine cabinet.
You need ample lighting for washing your face and getting ready in the mornings BUT you also want nice, dim lighting for nighttime soaks. Trust me on this. I ruined my first sink-by soaking myself with blast of unbearable light!
Our shower ended up becoming a much bigger project than we initially intended. What began as, “Let’s order a new shower unit and slap it in there,” quickly turned into “LET’S GUT THE ENTIRE BACK CORNER OF THIS BATHROOM AND START OVER.” White subway tile was installed on a Herringbone Pattern for Three Walls and we found a beautiful Natural Stone slab for the accent wall. We went with a Frameless Glass Enclosure to really open up the space.
And of course I had to Splurge on that Rainfall Showerhead + Handheld Combo. So freaking worth it when you’re washing your hair or need to deep clean. This was something I thought about literally EVERY day leading up to the renovation.
I wanted “everything” to have a place but didn’t want the bathroom to LOOK cluttered. Deep drawers on the Vanity were a MUST. We installed a Tall cabinet (where our old toilet used to live) to keep our towels and “extra” toiletries.
We chose Two Separate Medicine Cabinets so we’d have lighting AND electrical outlets inside the cabinets for small appliances. Tile. Marble.
Should I or shouldn’t I?! I loved the look of marble BUT wasn’t sure how much maintenance it would require. Vinyl was “easy” but looked cheap.
Enter…CARRARA MARBLE LOOK ALIKE porcelain tile. Those fancy guys at Home Depot showed me LARGE FORMAT Tiles that mimic marble perfectly. It’s waterproof, super easy to clean, and wasn’t as pricey as the real stuff.
We kept the colour scheme pretty neutral throughout the bathroom. Whites, grey, and that yummy wood tone from our new vanity. I tried to add COLOUR through the hardware, lighting and accessories.
The matte black fixtures really POP against all the white without being too overpowering. Plants always add life to any space and a good towel can make any bathroom feel like a luxury spa. It took us THREE MONTHS to finish our dream bathroom.
Cost? Around $18,000 give or take.
Including labour.
Which wasn’t cheap, but totally worth it to have it DONE. What I love about waking up now is that EVERY DAY IS DIFFERENT. My lighting is flattering rather than attacking me with fluorescent lights.
Taking a shower feels like a spa day. Even brushing my teeth isn’t nearly as bad because we aren’t bumping into each other all the time. My favourite part about this entire process?
Coming home from work or travelling somewhere and stepping INTO my bathroom. It’s everything I envisioned and more. It’s my daily-retreat.
A place to unwind and make daily routines feel special. Some investments are monetary, this was an investment in my quality of life.