
Teachers don’t typically make a lot of money, but we hate to ask for help. When folks come visit, you want your house to at least look like you’ve got it together. When my mum came to visit last autumn, she graciously said, “oh, that’s such an … interesting space” when she entered our upstairs bathroom after using it.
Translation: Son, whatever “home projects” you’ve been working on have failed miserably. The entire bathroom was beige. Like, nuclear orange-peach beige.
From the ceramic tile on the floors and walls to the brass cabinet knobs sprayed with beige to match. The mirror had black spot oxidation bubbling up around the edges, and we’re pretty sure the shower doors hadn’t actually been clean since George H.W.
Bush was president.
The issue was, we’d JUST finished our kitchen disaster. Remember that post? We learned our lesson about renovating a kitchen during the school year.
Six weeks of eating takeout and washing dishes in the bathtub was enough. My boyfriend and I were traumatized, broke, and not ready to tackle another project that required demolishing an entire room in our house. We both wanted to crawl in bed and sleep for a month.
But we couldn’t ignore the bathroom any longer. My mum had seen it, and once you know something is disgusting, you can’t unknow it. As luck would have it, my dad used to say that to me all the time growing up.
You don’t always have to rip your house apart to freshen it up. Oftentimes, it’s the little things that other people notice that drive people crazy. So what were the “eye-sores” in our bathroom that really made it look trashy?
Was it the floor tile? Nah, it was ugly but we could live with it. Vanity?
Lighting fixtures? Shower doors? Yep yep and yep.
We transformed our entire bathroom in one weekend for under $800 and people now assume we hired someone to do it. My mum actually asked for my “renovation team’s” contact info when she left for Christmas. Priceless.
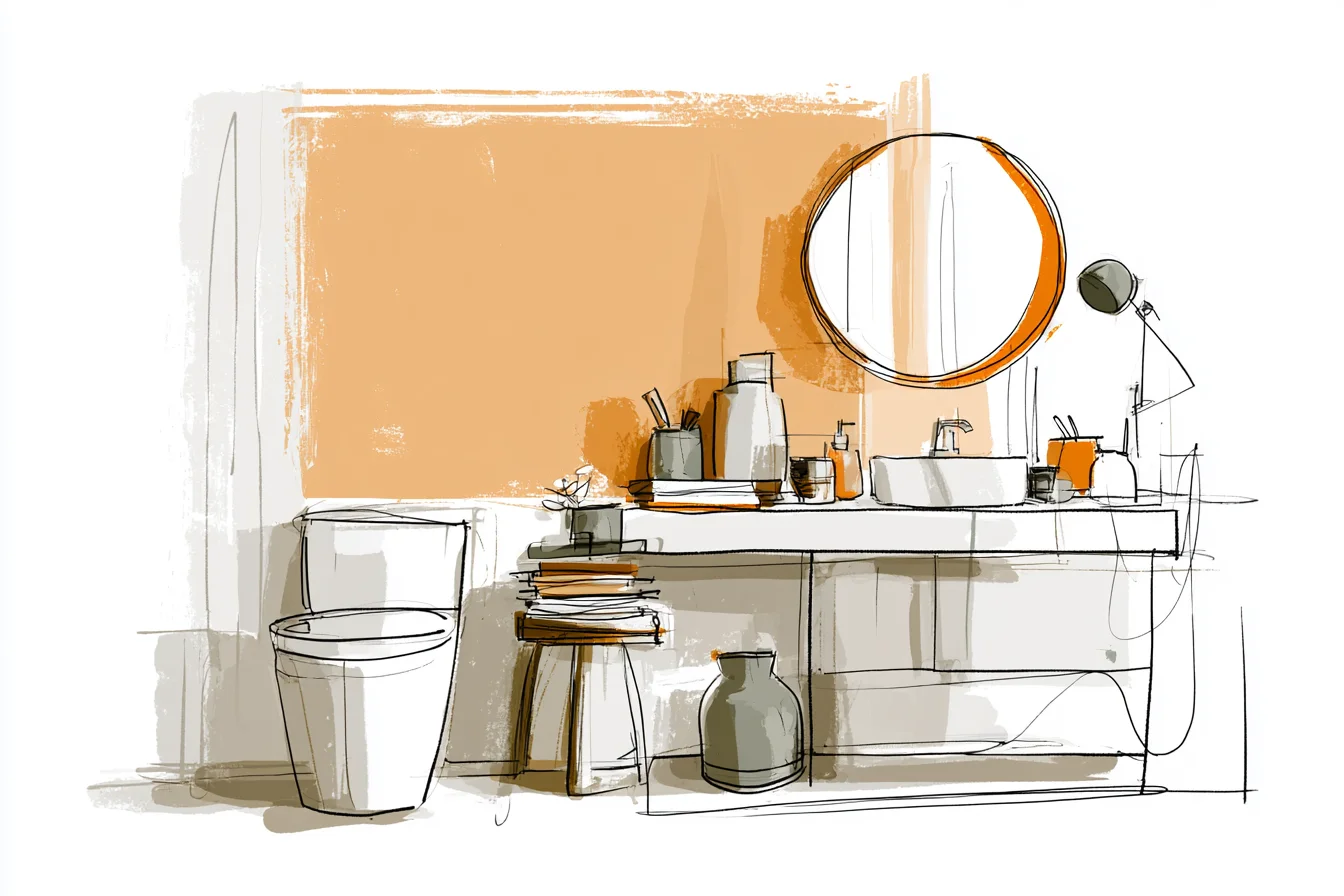
Lesson here: If your bathroom is functional but ugly, you may not need to rip it out and start from scratch. Prioritise what someone will actually see when they walk in that bathroom. For us, the vanity was staring us in the face every time we walked into the bathroom.
Second to the toilet, it’s pretty much the first thing you notice when you enter any bathroom. Ours was an oak monster with fake marbled porcelain front. Super cheap builder-grade from 1994.
Sure, we could have demo’d the whole thing out and dealt with plumbing. Instead, we got creative. I took all the cabinet doors off and rebuilt new ones using standard pine boards from the lumber yard.
They weren’t super nice wood – just straight sided boards with a flat centre panel. Essentially lazy man’s shaker style. Maybe $60 in materials and an afternoon with my miter saw.
Painted the whole thing Benjamin Moore’s Frontier Bay (husband pick), and now it looks like custom built cabinets instead of something the skeleton crew brought up when they finished our floor. As for the countertop, believe it or not, you can now buy prefab quartz countertops that just DROP IN. Lowes had one for around $220 that we liked and it came with the sink already built in!
Swearing ensued when we popped off the faux-marble top because it came off like butter, but the new countertop went on in five minutes with some construction adhesive. The hardest part was hooking up the drain. But hear me out on this – if you FOLLOW THE DIRECTIONS, it’s not hard at all.
I typically do not follow directions very well, so take that as you will. Our old tap was one of those brass monstrosities with those clear plastic handles. We swapped that out for a basic matte black tap that cost us less than $90 and took twenty minutes to install.
Literally. Just unscrewed the old one, screw in the new one with your hands, tighten with a wrench, and wrap some white plumber’s tape around the base of the handles. FYI – You have to make sure your new tap has the correct number of holes to match your countertop!
Otherwise you need to buy a cover plate to fill the extra holes. Our mirror was also glued directly to the wall. Another thing builders love to do.
You cannot simply take the mirror off without breaking it, unless you want to patch half your drywall as well. Instead I measured and built a small frame that covered the entire mirror and mounted it on top of the existing mirror. I used the same pine boards as the cabinet doors, painted them the same blue, and affixed them to the wall with mirror adhesive.
You Might Also Like
BAM. Custom framed mirror for $25 and an hour of my time. Looks like I spent WAY more than that.
The lighting was awful. Most builder grade bathrooms come with these horrid sleek paper white moulding with exposed light bulbs that make everyone look like zombies. We scored a three light fixture at Lowe’s that had frosted glass light covers.
It allows for MUCH better light when you’re trying to figure out how scary you actually look at 38 years old. It was about $75, but fair warning- if you don’t know how to do basic electrical work, hire someone to change your bathroom light fixture. I am comfortable replacing the damn thing, but don’t mess with electricity if you don’t know what you’re doing.
It can kill you. But holy crap our shower tho. When we first bought the house, I didn’t realise that shower door situation was even possible.
Soap scum magnet sliding glass doors that you can never get clean no matter how hard you scrub. Totally insulated, but still, grody. We simply unscrewed the WHOLEthing from the wall and tossed it in the trash.
Caulked down where the screws were, picked up a curved shower rod for $35 bucks, and hung a decent shower curtain in its place. Makes the whole shower feel bigger and much more updated. Plus NO MORE gross sliding glass doors to battle with every time you want to shower.
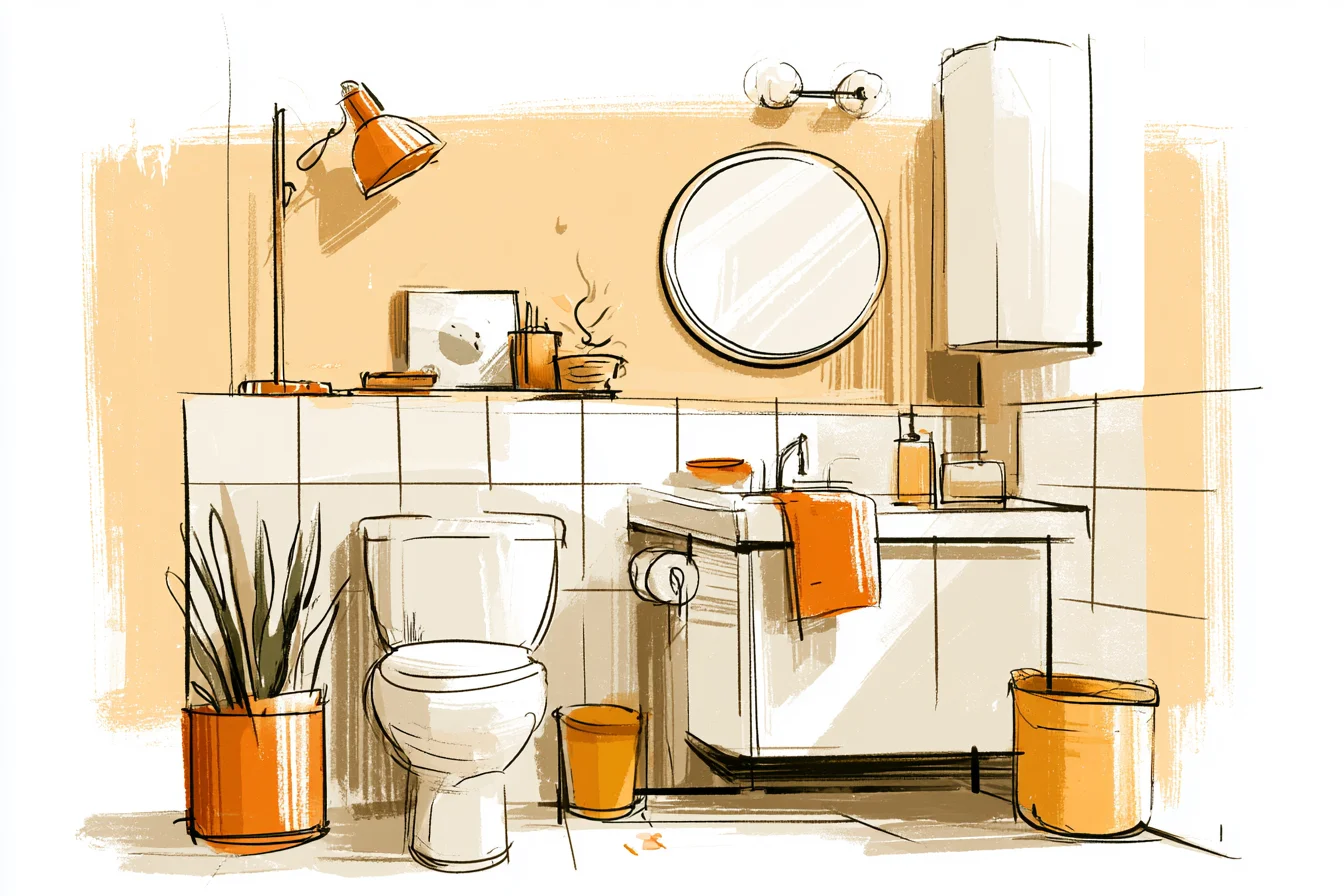
We even upgraded our toilet. It functioned properly so we didn’t really need to replace it. But everything about it screamed tired.
New soft-close toilet seat (they are LIFE-CHANGING if you haven’t upgraded your toilet seat lately) and new flush handle. About $15 and instantly it didn’t look like we forgot about the toilet. See those hideous beige tiles EVERYWHERE??
We obviously couldn’t do anything about the floors without demo-ing everything, but hear me out. You can work WITH dated tile to make it less noticeable instead of fighting against it. Our tile was that peachy beige colour that EVERYONE loved in the 90’s.
So instead of fighting against it, we painted colours that ACTUALLY coordinated with it! We painted the walls a warm greige that complimented the tile and made it look like we chose that tile purposefully versus what was already there when we moved in. The dark vanity countertop and cabinet gave us enough contrast that we didn’t feel like we were swimming in beige, and we replaced all the towel bars, toilet paper holder, towel hooks with matte black hardware.
Everything coordinate and it immediately looks more intentional rather than randomly selecting the cheapest options at Hobby Lobby over the course of ten years. We hung a couple of inexpensive botanical prints above the toilet in black frames. Gives someone’s eye somewhere to look besides our dirty tile.
Tricking people into thinking you spent money on upgrades you didn’t actually make is my favourite. Lastly, we bought some decent light bulbs. Whoever lived here before us left us the wiliest assortment of light bulbs I’ve ever seen.
We switched to these LED bulbs that have a better “colour rendering” so things don’t look blue/yellow like most bulbs. About $20 for a pack and it really helped tie together all the other changes we made. Grand total- $787 and roughly 12 hours of work between the two of us.
Spread out over two days of course, giving you time to properly clean off like a psycho while your wife sings “Die Another Day” at the top of her lungs because you spent 20 minutes on one screw. People seriously think we hired someone to do this. Here in Denver, you’re looking at $15,000 MINIMUM to renovate a bathroom and at least a MONTH of no shower.
Trust me, if you can avoid full renovations, take the time to see what you can transform instead. It’s been six months and everything is holding up amazingly. I’ll probably refinish the hardwood floors upstairs once we get into summer so the whole upstairs matches, but that tile truly drove me nuts.
Our bathroom finally feels like it belongs in the same house as the rest of our updated rooms. And when we do decide to remodel, we’ve bought ourselves years without embarrassing guests or breaking the bank.
Lesson here- you can update your house without spending a fortune.
Living in older neighbourhoods is amazing, but things come with it. Figure out what you can change without tearing your house apart, and research like crazy to learn how to do it yourself. After completing quite a few projects on our house myself and my boyfriend have decided to start sharing some of our stuff on my blog.
Because guess what? EVERYONE likes to know their shitless contractor is stupid and they can probably do it themselves. Especially teachers.
We work hard all year just so we can BUY every tool necessary to “do it once and done yourself” then continue working all summer so we can PAY someone else to fix what we “fixed” in our spare time. I will say what I’ve learned the hard way through trial and error has helped tons of teachers renovate and decorate their homes on a teacher’s salary, so I’m following dad’s advice and paying it forward. And if I haven’t lost you in that tiny rant, cheque out my blog.
Oh, and measure twice, cut once. And read directions.

