I was standing in my master bathroom staring at that beige fiberglass panel around my perfectly serviceable but completely soulless bathtub when it happened. You know that moment when you look around your home with completely new perspective? When a guest arrives and remarks “this is… cozy” while employing that tone we all use when trying to soften news we know someone doesn’t like?
That was my bathtub epiphany. Not only was there zero personality in the bland builder-grade mush that graced my bathroom walls; it felt like we never visited the décor department and left straight for hospital hallway vibe. The blessing was that my tub worked just fine.
It was the proper size and had decent depth. There were no leaks and it didn’t stain.
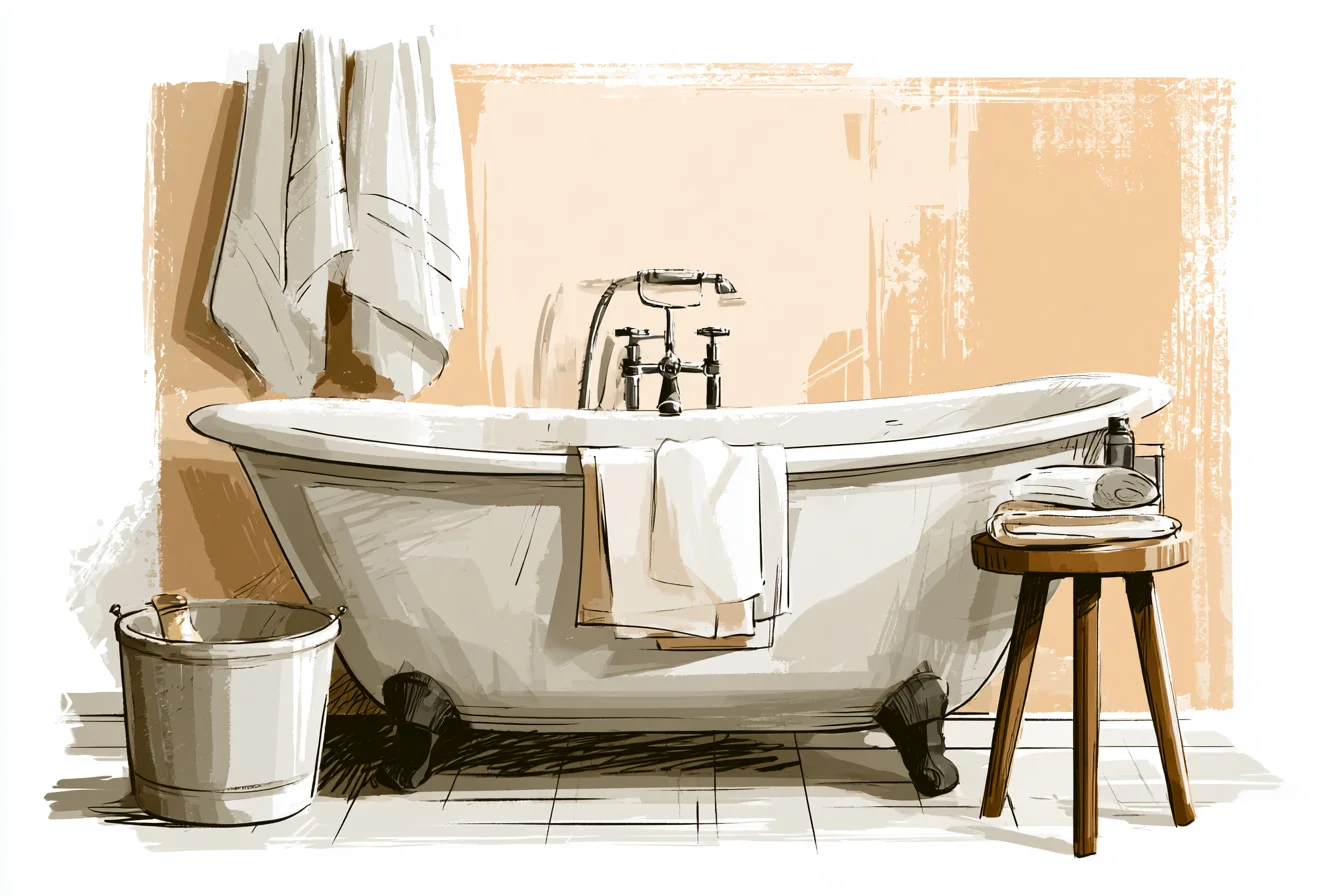
What it did have were walls that shouted, “We didn’t even try!” I had begrudgingly looked at them for 2 years and told myself every day that I would just rip the entire bathroom out.
Truthfully? That sounded like a lot of work and a lot of money and I wasn’t emotionally ready to deal with the destruction of a full remodel. Enter my sister visiting last Spring and casually making the remark that when she was in my bathroom it felt like it was “trying to disappear.” OUCH.
Hey, she didn’t mean anything by it! And she was right. The whole bathroom was so painstakingly neutral that it may as well have been invisible.
Something clicked in my brain at that moment. I didn’t have to replace every.single.thing. I just had to give purpose to the things that were already there.
Tile, of course, is an obvious answer. I’d been drooling over gorgeous subway tile transformations on Pinterest where some magical being turns a basic ol’ tub into a spa we covet in magazines. But as I measured my space and began pricing out tile, reality checked me pretty hard.
Tile can be expensive. Add labour costs…and let’s not even go there. Suddenly I understood why so many of us settle for builder grade nonsense when it comes to our bathrooms.
I scoured the internet for weeks. What I discovered was this: You have options, more than you think. And many of those options do not break the bank.
It was up to me to decide what factors were most important to me. Do you want your space to have a high-end finish? Do you mind spending more time cleaning special materials?
Are you able to install these pieces yourself without hurling your tools against the wall? Acrylic shower panels became my gateway drug to overall bathroom happiness. Hear me out.
When I first started looking into changing up my boring bathtub surround, I was dead set against anything that wasn’t tile. Aren’t shower panels just… plastic? Well yes, but not the kind of plastic you’d slap up in 1999.
Today’s acrylic panels come in textured finishes that mimic everything from ceramic tile to natural stone. They’re easy to cut and apply, making DIY installation a totally reasonable endeavour. By doing it myself I also cut the overall price in half by not having to pay for labour.
I selected acrylic panels with a textured finish that mimicked marble. It was fancy without being over the top. And installing my own panel was oddly therapeutic.
Measure. Cut. Adhere.
Over and over again. It took me a good part of a weekend doing mostly evenings, but I wasn’t rushed and the bathroom bump allowed life to continue around me. The difference was night and day.
You Might Also Like

What once was an empty dead zone became a focal point I actually loved. But here’s the crazy part. Once my new shower surround was installed everything else in my bathroom began to look cheap.
It’s kind of like when you clean your bathroom window. The rest of the bathroom suddenly looks dirty. Yeah.
I noticed the outdated tap. The cheap towel racks. The mirror that came with the house.
One simple upgrade led me to see what other areas needed improvement. Behold the birth of my meditation on storage options. Those built-in corner shelves that appear to be an extension of the shower surround?
Yeah, you can totally add those after the fact. I sacrificed one panel to create a small built in cabinet by cutting out a rectangle and lining it with leftover tile from when my father-in-law remodeled his bathroom. Bonus!
Not only did I have a built in to help hide my shampoo bottles, I finally got rid of that plastic shower recess holder that hung from the showerhead like a prison tattoo. Speaking of lighting, that was another upgrade I immediately noticed after my shower panel install. See, most builder-basic bathrooms come equipped with that one gross overhead bulb that makes everyone who showers under it look like they work at a funeral home.
I installed some waterproof LED strip lights behind one of the tiny ledges we built into my surround design. Now my bathroom has a warm glow that makes it feel more intentional. WARNING: Electrical work in and around wet areas terrifies me.
But if I can handle installing LED lighting by myself, so can you. It just takes patience, and watching every YouTube tutorial you can find on working with moisture rated electrical materials. I’ll never forget snaking the wire through those tiny walls caps.
I wanted to cry. But the end result was so worth it. Now for you daredevils out there (or those of you with money that isn’t pinched) I fully believe that tile is still the way to go.
Some of my friends have created beautiful looks using anything from traditional subway to dramatic, large format porcelain. When installing your own tile, keep in mind that it’s not just about the tile. Believe me, having the grout colour match too closely will drive you batty.
Also, how you finish the edges can make or break your project. And please, please, please do the waterproofing correctly behind your tile. I’ve seen too many gorgeous tile bathrooms come to ruin because the installers skipped that step.
I will also say this: Don’t be afraid of using more than one material. My neighbour installed tile on the main walls of his shower and then added a natural wood accent panel to one wall.
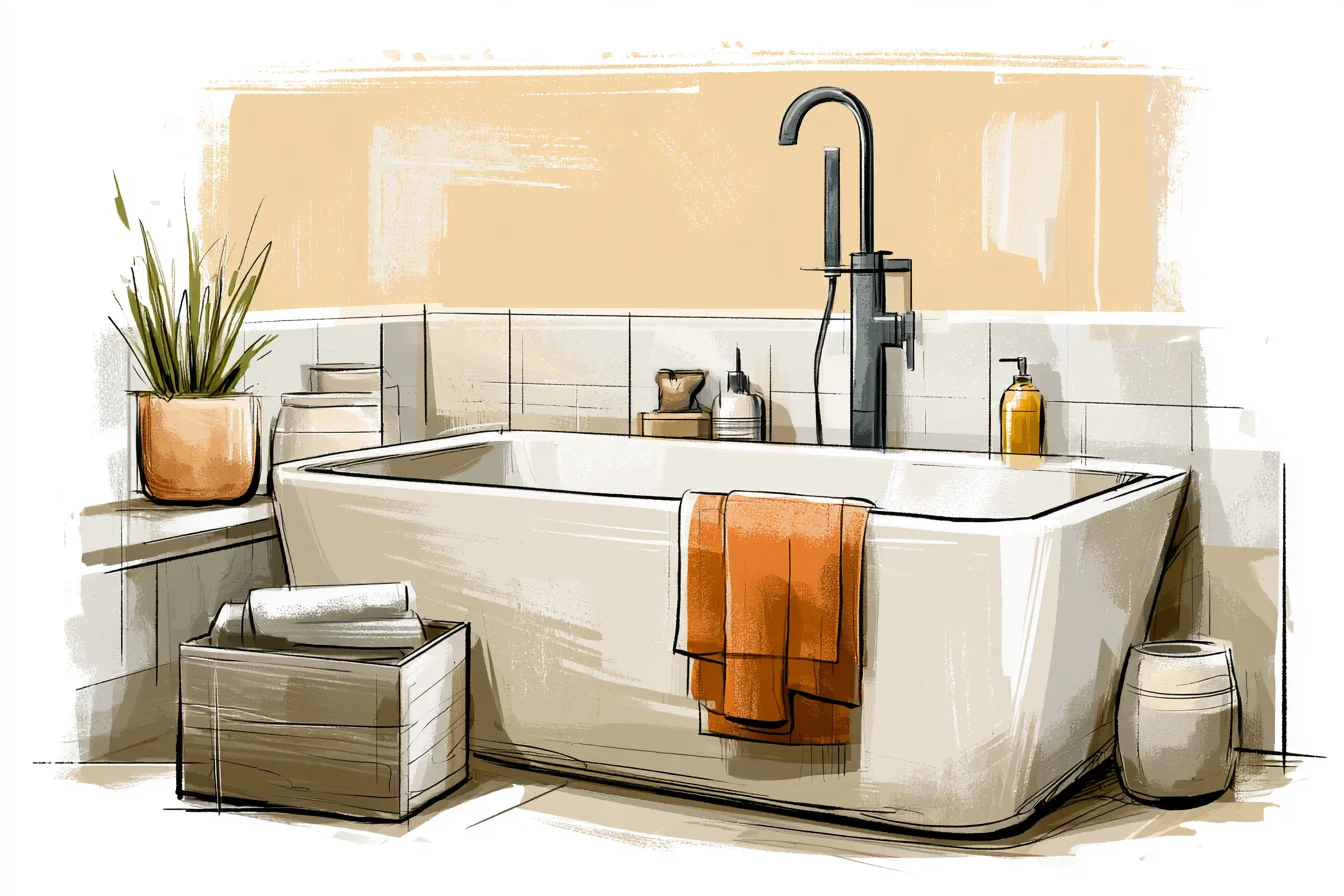
Sounds bonkers, right?
No. If you seal/stain properly and have good ventilation it adds a warmth and tranquility that makes his bathroom a retreat, not just a room. As I mentioned before, my pennies were saved DIY shower panels cost me around $400.00 give or take.
That includes the cost of panels, adhesive, a couple of tools I didn’t already own, and materials for the built in storage I added. Depending upon your tile choice, tools needed, and waterproofing methods, going the full tile route would probably land you somewhere around $1,500.00-$2,000.00. Your budget will determine which project is best for you!
If I could go back in time I might hit myself for waiting so long to start fixing up the rest of my bathroom. Leaving everything else ugly while I popped in my fabulous new shower surround felt jarring. On one hand I wanted to scream “LOOK AT ME!” but every time I left the bathroom it looked unfinished.
But starting with the shower surround allowed me to feel successful which gave me momentum to tackle other projects down the road. Sometimes you have to win at one battle to believe you can win the war, one step at a time.