It was 7am, and I was brushing my teeth. Half-way to my mouth with the toothbrush I had an epiphany. The layout of my bathroom made no sense whatsoever.
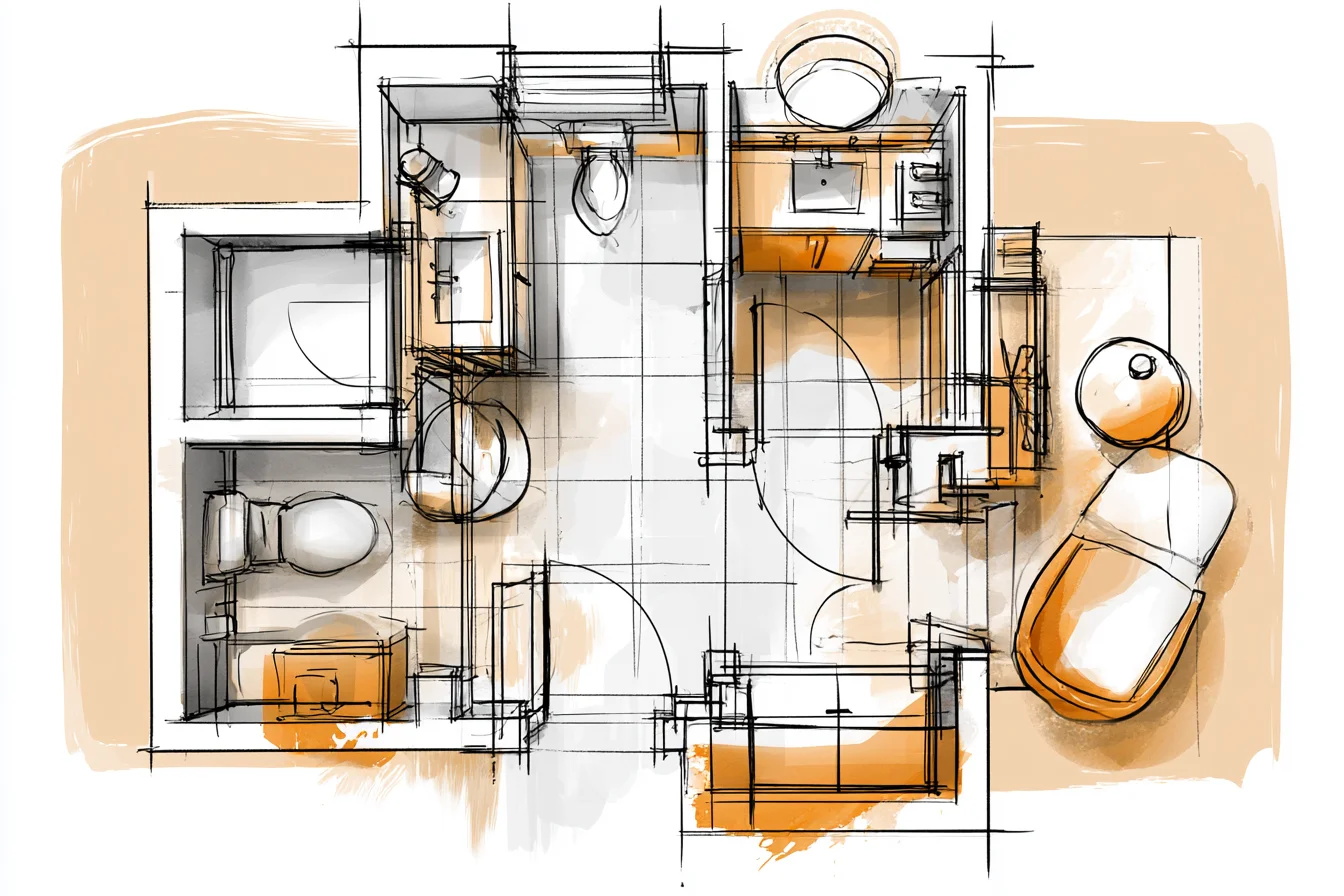
The door swung open into the toilet. The vanity was shoved up against the window (helloooo NO natural light). And of course there was that awkward dead spot of floor behind the door that served no purpose other than to attract dust bunnies.
I’d avoided seeing corner because for the past three years, I was constantly brushing hips on the edge of the sink. And for the past three years our guests had performed the toilet shuffle just to get to the sink to wash their hands.
Oh hindsight.
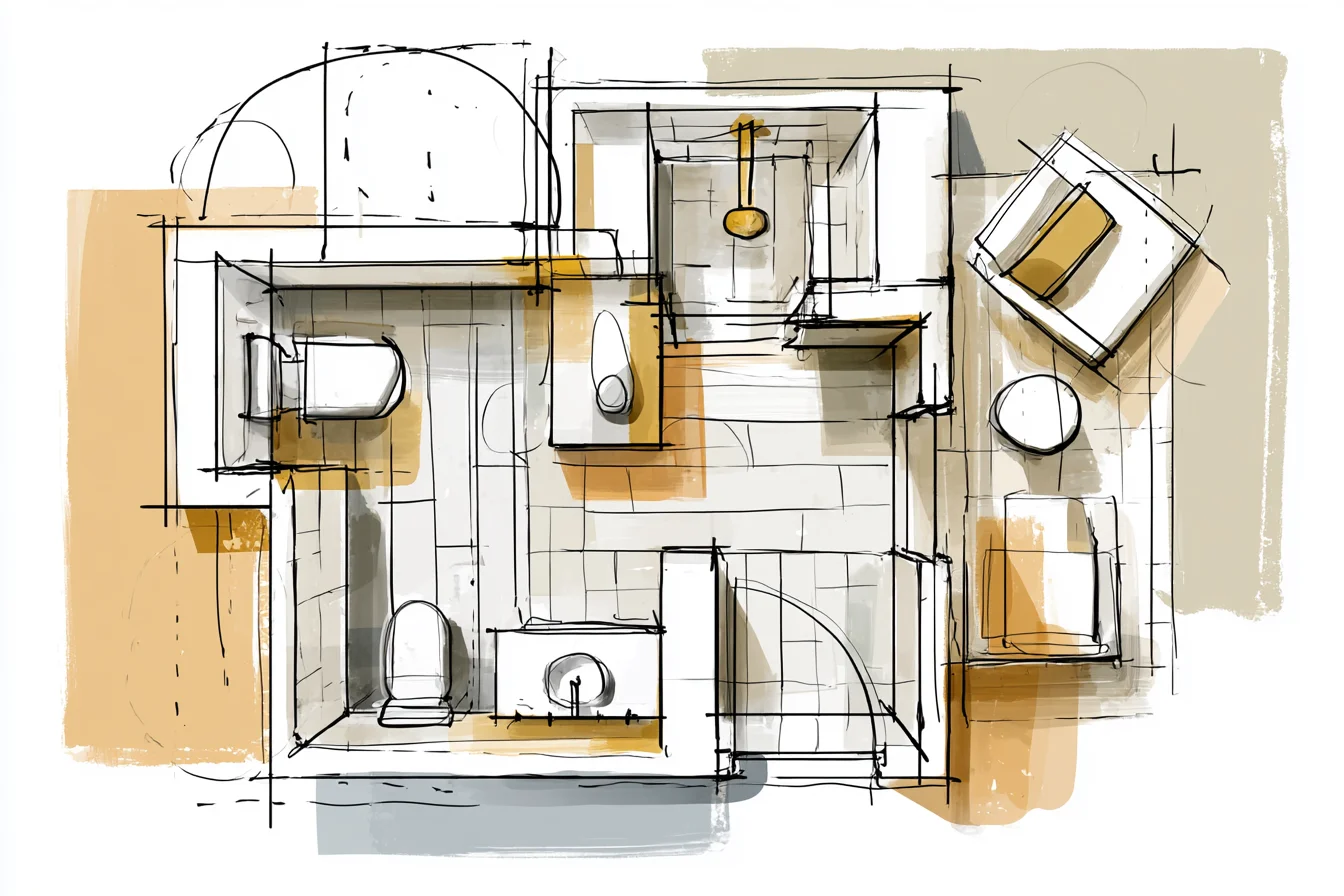
Why are you so loud? Someone must have thought this layout was genius when they designed it. Draw some nice neat rectangles on a floorplan to designate where the fixtures should go and “voila!” bathroom is done.
Whoever landed on this layout clearly never actually used a bathroom before. The toilet stares at you when you walk in – awkward for guest and user alike. The shower is tucked so far into the corner you have to squeeze past the vanity (most likely dripping from your shower) to get to it.
And let’s talk about storage opportunities… OK fine. I’ll admit I put up with this ridiculous layout for three years because I assumed bathroom renovations were expensive AND difficult. Fun Fact: They can be.
BUT my friend Sarah came to visit and asked where she could freshen up? (Yes, Translation: “Where should I put my makeup bag because I don’t want to set it on top of your toilet?”) Moral of the story: ask the right question and you will find your answer. First stop on my journey to bath remodel heaven was measuring. Everything.
Twice. I literally sat on the floor in the middle of my bathroom and analysed how I used the space. Sure, the sink was where I brushed my teeth but where did I want to hang my towel?
How much space did I really need around my toilet? (**Hint if you’ re remodeling your bathroom you need A LOT MORE than what you think)** One of the first things I discovered was that stupid door swing. When you open the door, it created a blockage from accessing the other half of the bathroom. Changing out the door to a pocket door (which required me to cut open some drywall and surgically remove a chunk of wall) gave me back about eight feet of square feet.
Don’t laugh. In a bathroom that is HUGE. Speaking of huge, I moved the vanity ALL THE WAY TO THE OTHER WALL.
Moving the vanity meant relocating plumbing. Also not cheap (£800 for a plumber who patiently answered my 173 questions without making me feel stupid). But hey, now I could actually SEE myself in the mirror AND feel morning sunlight streaming in from the window to my side.
Revolutionary, I know. The toilet got moved to what used to be the vanity wall. Creating some privacy for whoever uses it and logic to how people moved through the space.
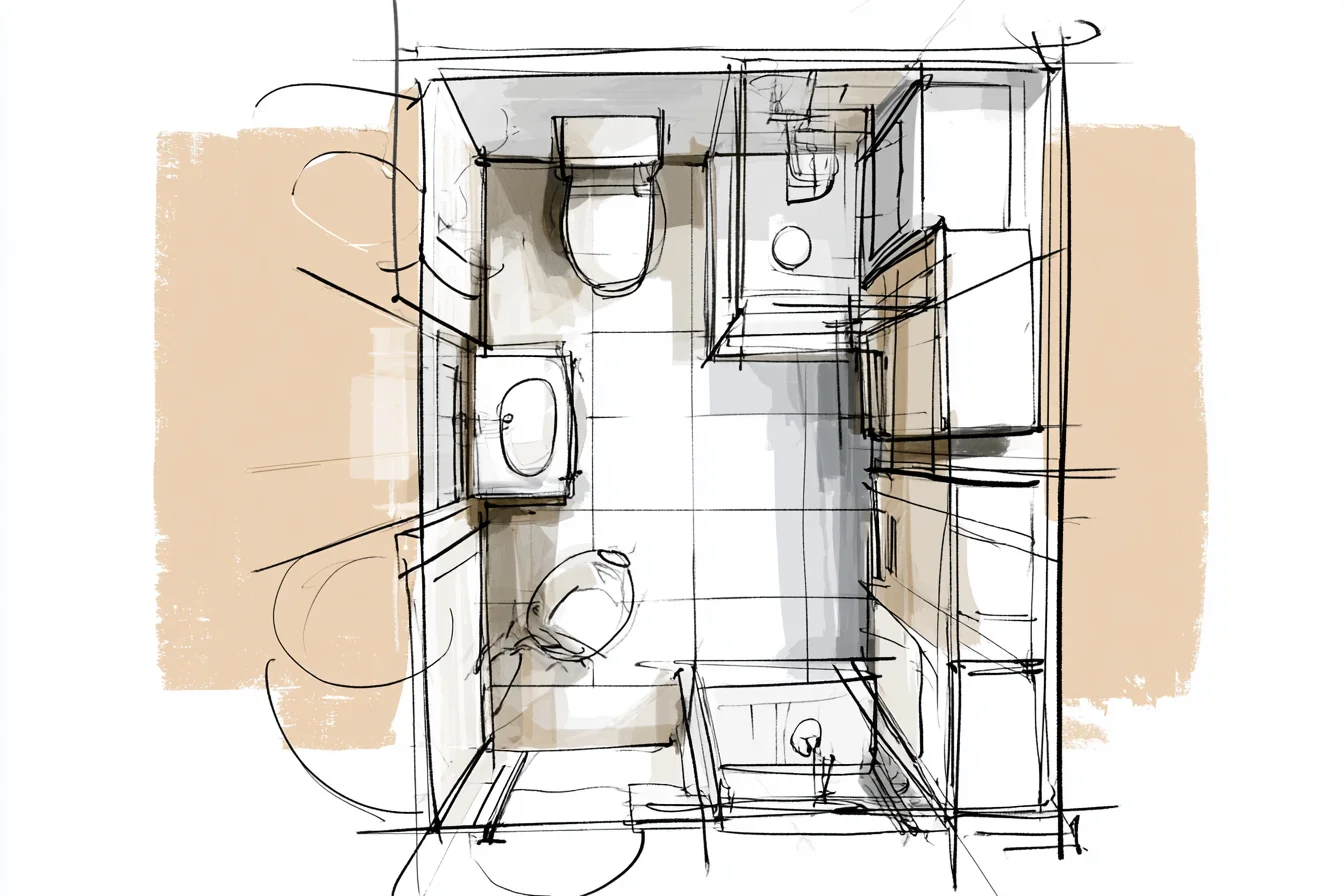
Now you walk in, turn left to the vanity OR head straight for the shower. It was the touching thing ever. So then it got FUN.
What was formerly “dead space” behind the door was now ALL MY BAMBIN’. Once I switched the door to a pocket door, I had space to add a narrow console cabinet. Only 150 mm deep but it runs from floor to ceiling.
Boom. I suddenly had storage for cleaning supplies, extra toilet paper, towels – you name it. Everything I didn’t want cluttering up my UNDER sink found a new home on this shelf.
As for the shower… that was the biggest challenge. When you opened the original shower, the door dug INTO the room. Ugh.
Minor detail? NOPE. Major pain in the you-know-what.
So I flipped it around 180 degrees so that when you open the door it faces the back wall and not the room entrance. BAM. No more awkward puddles landing at your feet when someone showers.
You Might Also Like

I added what I like to call a “landing zone”. Basically a narrow shelf mounted on the wall next to the door about waist height. Enough space to drop your keys, coat, purse or whatever else you need to shed when you walk in BEFORE you tackle the shower/vanity.
Seemed like a silly detail but trust me it keeps the vanity from becoming dumping zone for everything but toilet paper rolls and toothbrushes. Speaking of toilets, mirrors. Ugh.
Don’t even get me started on the builder basic mirror that was too high up and too small. Once I knocked that monster down I installed a lovely large round mirror. About 25 percent larger than the original and hung lower so I can actually see myself when I use it.
And instead of leaving it boring and mirror-ous I added a shelf underneath to stash my everydayudiences. Game changer. While I was prioritising every square inch of space I could, I also went vertical whenever possible.
Tall and narrow cabinets instead of short and squat. Wall-mounted everything I could. And even made the toilet paper holder a recessed style that holds four rolls instead of one.
Because there is nothing worse than running out of toilet paper when you have people over. The biggest surprise was the flooring. I went from teeny tiny white subway tiles to larger grey tiles.
Not only does grey hide the dust and dirt better than holy but larger tiles = larger space. Seriously. Also less grout= less scrubbing for me.
Hallelujah. Lastly, lighting. Wow.
What a difference some basic task lighting can make. The original bathroom came with one dark, nasty overhead light that blinded you whenever it was turned on. After installing a light on either side of the mirror (actual task lighting so you can do your thing without playing Operation) I now enjoy a nice glow whenever I’m in there.
The overhead light now has a bulb with lower wattage so it’ s more for general lighting. Bonus? It didn’t overpower the vanity lights.
All in all the entire reno cost me about £3200. Not cheap by any means. But done over several months it was totally worth every penny spent to make this room functional.
Mostly the plumbing relocation was pricey. Plus some of the cabinets were built to measure. Which you pay a little extra for.
But way worth it. If I could do anything differently? I should have installed a new ventilation system at the same time.
The old fan was loud and clunky. Adding one later on created twice as much work.
I recommend doing them both at the same time.
Overall I absolutely love my new space. I can actually spend time in there without dodging toes and elbows. If a guest gets up while someone else is in the shower they no longer crash into each other.
And yes, Sarah has a place to set her makeup bag whenever she comes to visit. Sometimes the most egregious problems are the ones we become blind to. Life throws us these dilemmas, we realise they’ re super annoying but continue to live with them because somebody hasn’t forced us to actually CHANGE it.
My bathroom was due for a whole lot more than a new coat of paint. Subway tiles were ripped out. Walls moved.
And I couldn’t be happier with how it turned out. If I’ ve done one thing right this year, remodeling my bathroom was it.