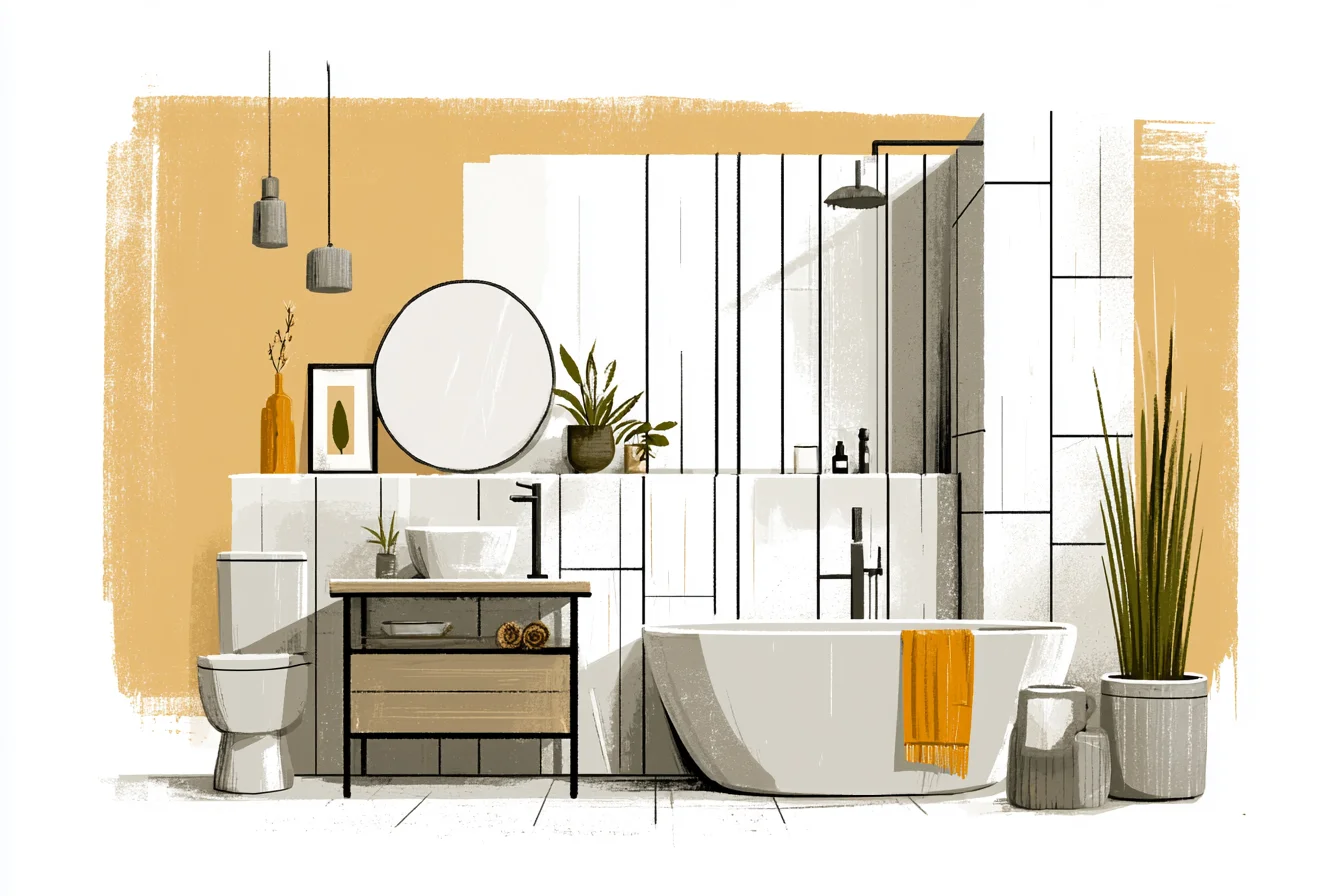
Have you ever walked into a bathroom and felt like the walls were just… there? They weren’t doing anything exciting, they just existed. They were painted beige or white.
It felt cold and sterile. I was standing in front of my guest bathroom walls three years ago feeling exactly this way. Those walls looked like something you would find in a cheap hotel and not in your home where you actually enjoy spending time.
I’m not going to lie, the walls in that bathroom weren’t terrible. They just weren’t exciting.
The walls were drywall.
Plain and dull. What I’ve learned from countless weekend DIY adventures and hours of pouring over Pinterest pages is walls do not have to be bland. You can have your walls add function, style, warmth, and intention to your bathroom.
Enter wall paneling. OK, wall paneling may not be the sexiest thing to say, but hear me out. Paneling has become one of my favourite ways to take bland bathroom walls and elevate them.
When I first started thinking about bathroom remodel ideas and “bathroom paneling” popped into my head I instantly thought of the dreaded brown wood grain paneled bathroom from every 70’s house ever. That style of paneling made every room scream lodge. Thankfully, modern paneling is nothing like this.
Modern paneling can add texture, style, and yes, even function by helping to hide imperfections in old walls or warding off moisture. My introduction to paneling in a bathroom began with that very guest bathroom. It’s a small bathroom, about 6 x 8 feet.
One of its many quirks was that any imperfection on the wall was highlighted including scratches and water droplets. For months I avoided washing the walls or did my best to ignore the evidence that they looked worn down. Finally when my sister visited and said the room felt “sort of cold.” It was time to do something.
Like most of my projects, I spent weeks looking online for bathroom remodeling ideas and finally settled on beadboard paneling. I decided to go with wainscoting. I wanted to create some visual weight and texture to the room while keeping it feeling open.
Before I began I learned one thing that I wish someone had told me before. Water. MOISTURE RESISTANCE is important.
Like, every-other-option-you’re-considering-is-wrong-if-you-live-in-a-house-with-water important. We live in humid climates and regular ol’ wood paneling will buckle, crack, or mildew at an exponentially faster rate than you want to hear the words “I need to call you to take care of a problem with your bathroom.” Trust me on this one. I didn’t and my lovely pine beadboard that I purchased from Home Depot started cracking at the seams from stress just three weeks after I installed it.
So what’s the solution? Trim your paneling selection down to MDF (Medium-Density Fiberboard) that is coated with a moisture resistant sealant OR stick with PVC beadboard that looks like the real thing without risking your sanity when the steam hits. Yes, this option can be more expensive.
I’ll let you in on a little secret though, you won’t regret spending more money on something that won’t come loose from your walls years from now because it’s made of materials that can handle humidity (saving you money in the long run by preventing costly repairs). Installing the paneling itself was really quite simple compared to some of my other DIY projects. Here are a few tips that I wish I would have known before starting: Have a level handy and take your time with measurements.
I chose to use construction adhesive as well as finish nails. If you’re going to invest the time in doing this yourself make sure you can nail into the stud of your wall whenever possible. The construction adhesive was not enough on its own.
You Might Also Like

Trust me, I tried it…. on a small section. As soon as I stepped away I noticed a board begin to slide down the wall like it no longer wanted to be there. You want these bad boys to stay put!
Once I had the panels up, it was night and day. The walls went from bland and cold to instant depth and warmth. Beadboard creates shadows and highlights that change as the sun moves throughout the day in my small window.
Plus, it hides every imperfection including the scratches I couldn’t avoid! Don’t think you have to stop at beadboard though. There are so many different options that can change the feel and style of your bathroom.
Board and batten paneling is completely up your alley if you’re looking to create large horizontal and/or vertical lines that can make the ceiling appear higher than it really is. This is great for bathrooms with low ceilings like I utilised in this powder room renovation last year. Every.single.time someone enters the room they comment on how “big” it is.
If you’re looking for something more modern you can stick with flat panel wainscoting or my personal favourite- shiplap. Yes, shiplap in the bathroom works! You’ll just want to seal it correctly.
I installed shiplap horizontally about halfway up my walls in my master bathroom. Shiplap is textured enough to create visual interest but not overly rustic or busy. One trick I’ve really been enjoying is to mix your materials.
On my latest project I installed subway tile on the bottom half of the wall, then added vertical wood-look paneling to the top. The tile helps combat the high moisture exposure near the shower and sink, while the wood panels add texture and warmth to the area of the wall that won’t get as wet. Don’t limit yourself to white paint either.
I used to always paint my panels white or leave them the natural wood colour. There are so many ways painted paneling can change the feel of your bathroom. Install a soft sage green wainscot like my friends did and instantly your pure white sinks and taps will feel crisp and clean.
Go bold and install navy like I did in this bathroom to create a cozy feel that pairs well with brass hardware. Bonus: painting your walls really can help disguise those scratches and dings we all find in older homes! Hang on to your hat, you can even use paneling to help fix some common problems around the house.
Paneling can help hide imperfect walls, give you some insulation, and create a hard surface that will stand up to traffic better. I’ve noticed that areas of my home with paneling stay cleaner longer and are much easier to care for.
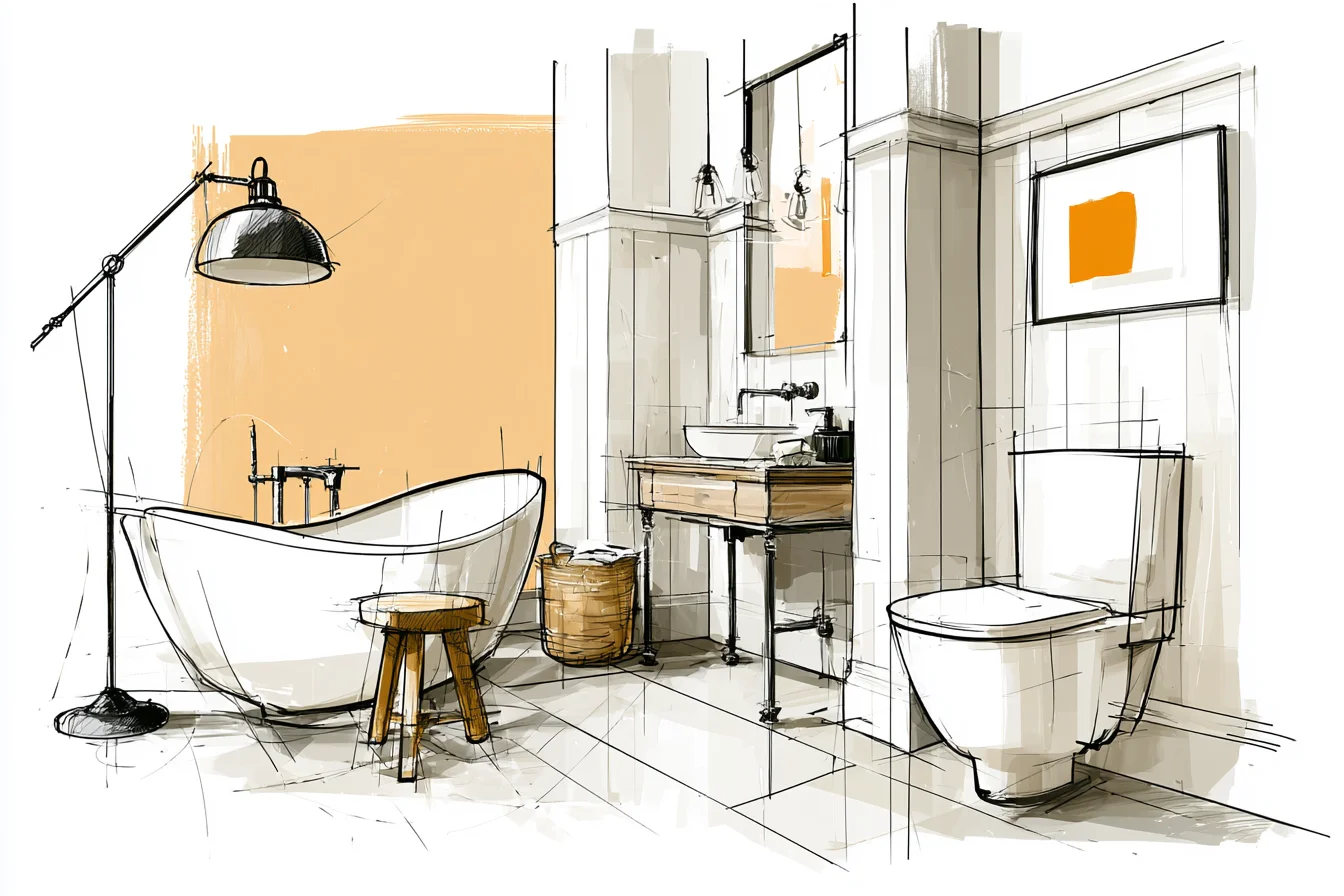
Wall bumps from an errant towel rack or medicine cabinet door are no match for our new bathroom paneling.
Expect to pay anywhere depending on the materials you choose and whether you’re proud of yourself enough to DIY or hire someone to come do it. The materials for my beadboard adventure ended up being around $300 for the small bathroom. Labour was around two weekends worth of my time.
Hiring someone to do this would likely cost you $800-$1200 for materials and labour but you also wouldn’t have to worry about making sure your lines were perfectly straight or picking up tool time mistakes. Like with anything trend related, it’s all about what works for you and your style. There are plenty of paneling materials out there that require you to seal or paint every few years.
Other products, like quality PVC wainscoting, are pretty much “set it and forget it.” When I look back on my decision to add paneling to that very first bathroom, I know that it was one of those inexpensive changes that completely transformed the feel of the space. No one noticed my bathroom before. Sure, they used it.
But once I added some simple paneling that cold, forgotten bathroom turned into a space that people noticed and commented on. All for the cost of a few weekend projects and a fraction of what you’d spend on a new bathroom vanity.